Catalogues and Specifications
User Guide
Working With PARAGON Applications : Create : Create Category
When working in the Steelwork application, the user can create the following category types. The Category Creation window contains different options, which are explained:
When working in the Electrical application, the user can create the following category types. The Category Creation window contains different options, which are explained:
When working in the Pipework application, select Create > Category from the main menu to display the Create Category window.
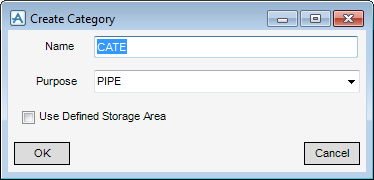
Enter the Name to be assigned to the new Category.
All classes of Component can use component parameters, design parameters and insulation parameters. Structural Components can also use attached and owning design parameters. Component parameters are defined in the Catalogue; the other classes of parameters allow characteristics to be set during the design process.
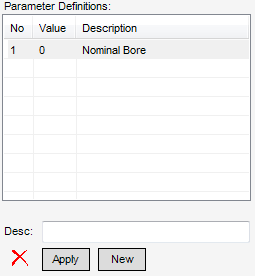
To add a parameter, type a description in the Desc text field and click New. A new numbered row is added to the Parameter Definitions field. A new parameter with its value set to zero will be added to any component that uses this parameter definition.
To modify a parameter description, highlight the parameter and modify the description in the Description input field and click Apply.
To delete a parameter definition, highlight the last parameter entry click the red cross to delete the parameter.
Highlight a row and click the red cross to delete the selected component.
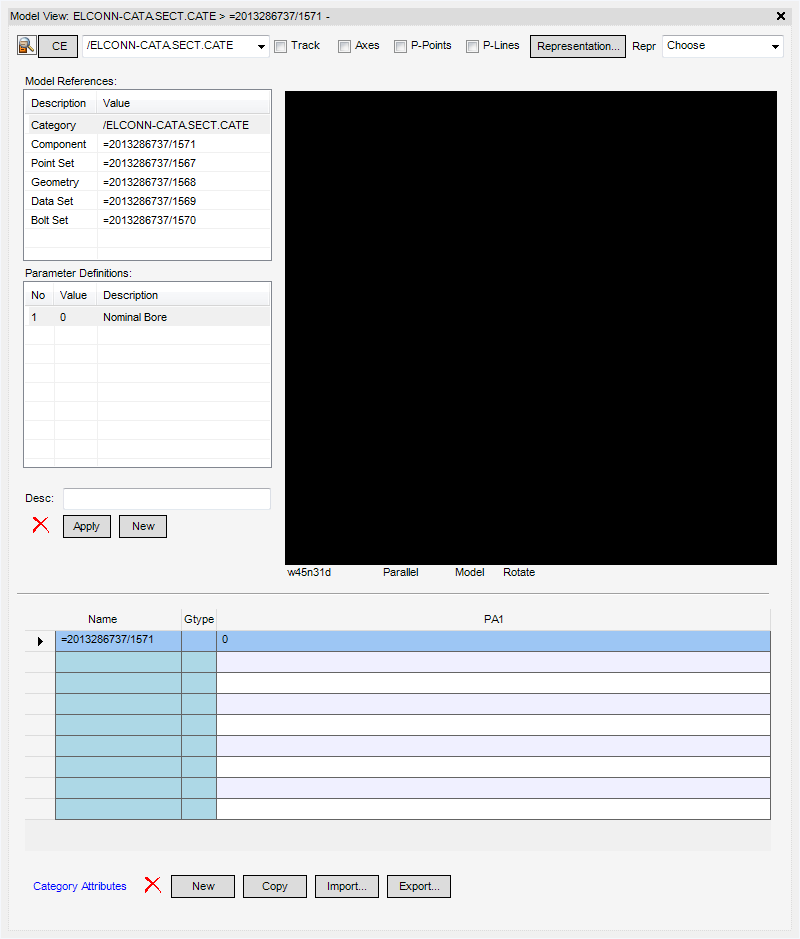
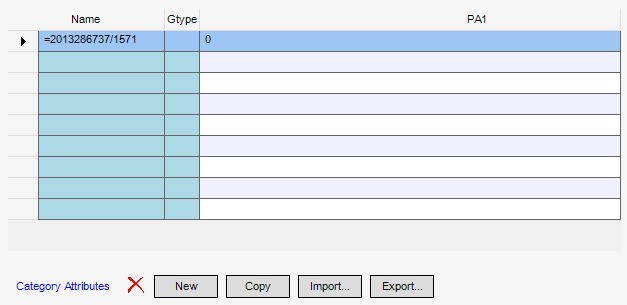
Click Category Attributes to allow edits to be made to the attributes of the owning Category element.
The grid will also contain a column for each parameter created in the previous section.
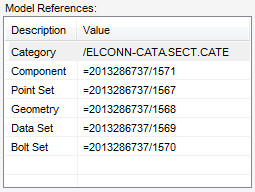
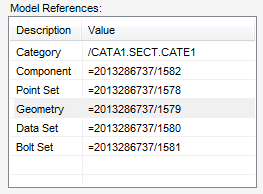
To edit the properties of the component, highlight an entry in the list and click Element in the Model References group to display the following window:

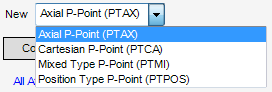
A GTYPE must be set be selecting a value from the Generic Type drop-down.
|
1.
|

|
3.
|
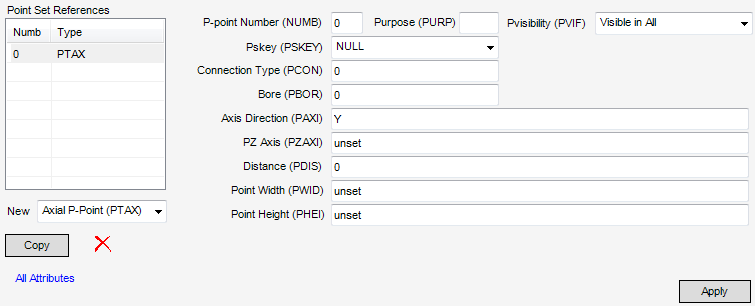
Click Copy to create a duplicate of the Point Ref.
|
|
4.
|
Click the Red Cross to delete the Point Ref
|
|
5.
|
Click Apply to commit the changes.
|
|
6.
|
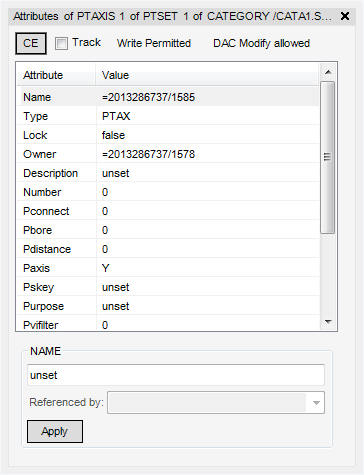
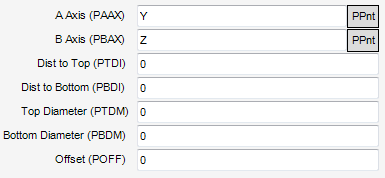
Click All Attributes to display a popup window allowing all attributes of the Point Ref to be edited as follows:
|
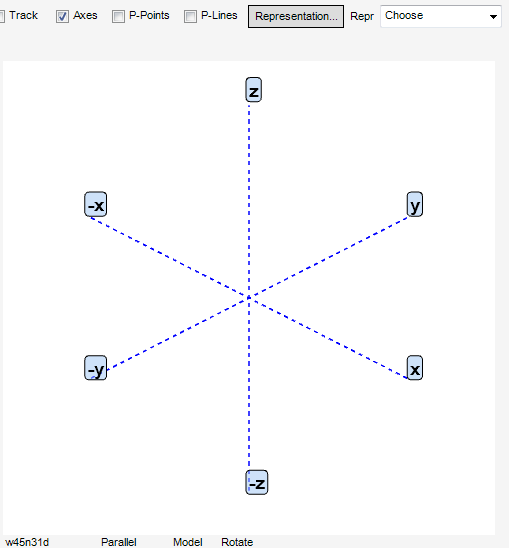
To display an axis in the 3D view pane check the Axes Radio option at the top of the Category window:
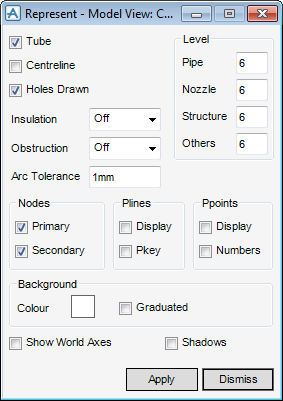
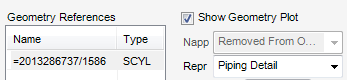
Click Representation to change the way the 3D view draws the geometry of the element (when geometry is associated, see following):
|
Note:
|
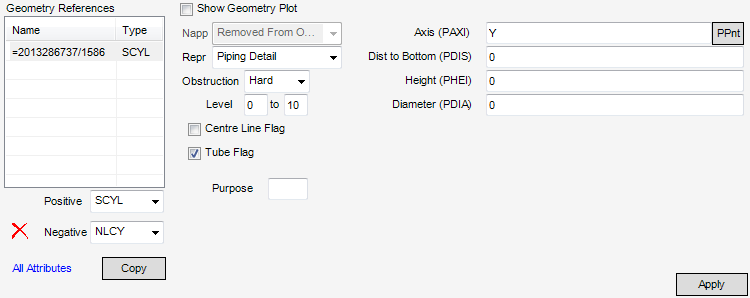
For a full list of available Positive and Negative Primitives in PARAGON refer to Catalogue Database Elements Setup in PARAGON in the Catalogues and Specifications Reference Manual.
|
Check the Show Geometry Plot to display the primitive in the 3D view.
For a full explanation of Negative Primitives refer to Catalogue Database Elements Setup in PARAGON in the Catalogues and Specifications Reference Manual.
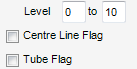
If the PARAGON LEVEL setting is within the LEVEL range specified for the primitive (as its LEVEL attribute) then the primitive will be considered for drawing, otherwise it will not be. If the level condition is satisfied, then whether a primitive is displayed or not in PARAGON depends upon the settings of its Tube Flag and Centre Line Flag.
Click Copy to create a copy of the highlighted element.
After populating the window click Apply to commit the changes.
In Model Operations select Data Ref to create Data Set references.
Close the window by clicking the X on the top right.
To return to the Category window select Modify > Category from the main window drop-down.