Catalogues and Specifications
User Guide
Working With PARAGON Applications : Create : Create Specification
For a detailed explanation of a Specification refer to Creating Catalogues, Sections and Catalogue Components in the Catalogues and Specifications Reference Manual.
Select Create > Specification > Specification from the main menu to display the Create Specification window.
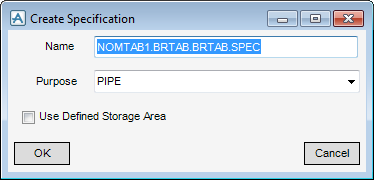
Enter the Name to be assigned to the new Specification.
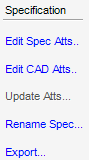
Click OK to create the Specification (SPEC element) in the database hierarchy and display the following window which allows the user to access various tasks which administer all aspects of a new Specification.
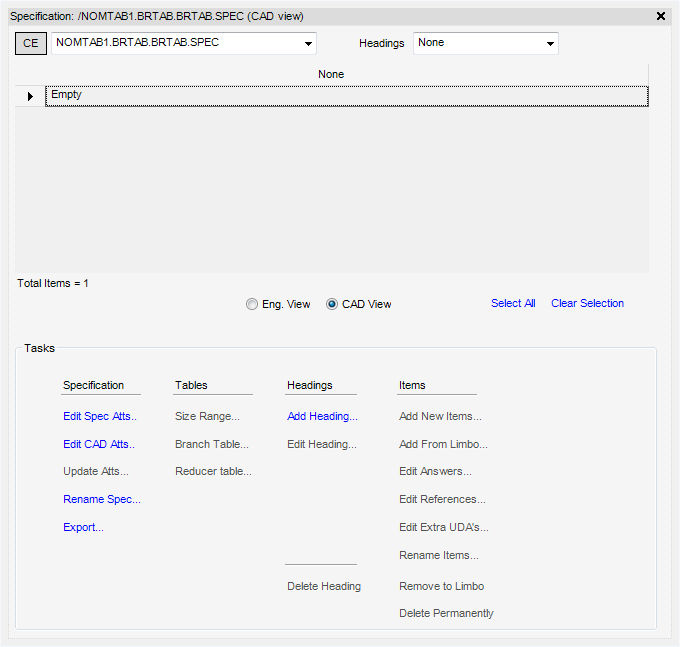
If the CE option is used, the drop-down to the right acts as a History which allows the user to select between Specification elements which have been selected while the window has been displayed.
The Headings drop-down acts in a similar way allowing selections between the component GTYPEs of the specification.
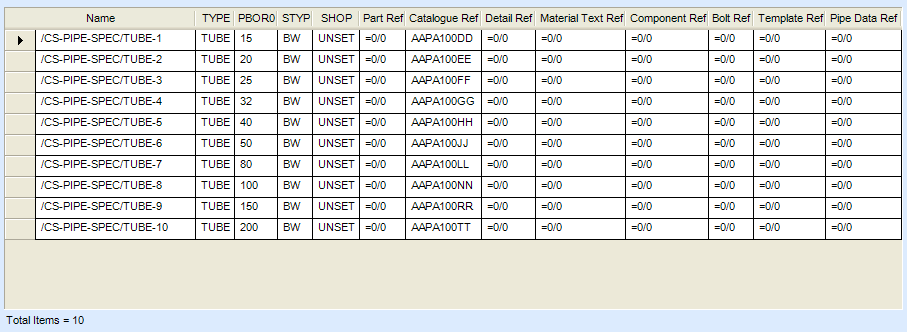
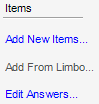
A grid area lists the items assigned to the Specification. Directly below are the following options:

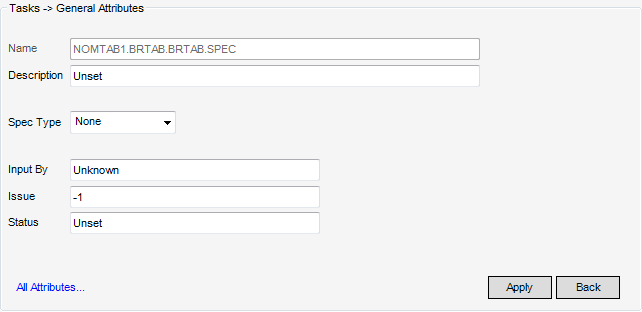
In the Description field enter an appropriate explanation of what the specification is to be used for.
In Spec Type select a value from the drop-down list:
In the Input By field enter the name of the administrator creating the new specification.
In the Issue field enter an issue number.
In the Status field enter any additional tracking information that may be useful for identifying the status of the specification.

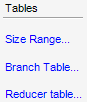
In the Catalogue Explorer locate the elements created in the previous sections for Create Nominal Bore Table, Create Branch Tables and Create Reducer Tables. Use the CE option to pick the Spec Tables from the Catalogue explorer and bind them to the Cad Attributes window.
Alternatively click on the search icon to the left of CE to conduct a search in the Catalogue DB for the appropriate tables.
Components can be added to specifications based on a Part Family list. Each component stores a reference to a single part from the family and also duplicates some of the part's reference attributes, for example, the Detail Text and Material Text references. However, if the part's reference attributes are subsequently modified, the specification component's references will no longer match the part's references. To correct this, click Update Atts to display the Update Attributes sub window.
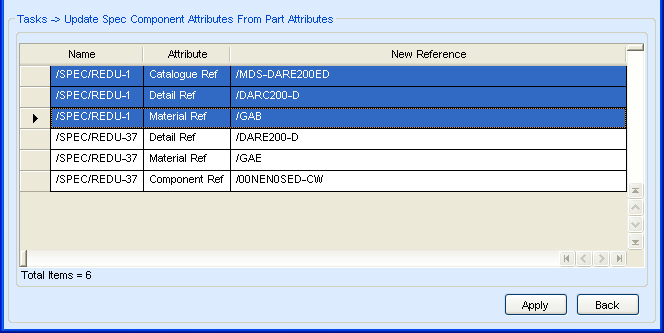
Clicking Apply updates the selected attributes and removes them from the list.
Select a radio option to change the way a spec is renamed.
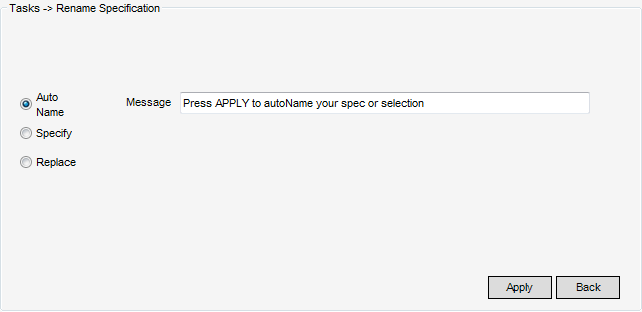
By default Auto Name will be selected and a message is displayed to prompt the user to Press Apply to autoName their spec or selection. Doing so will rename the spec with the next incremental auto number value (for example spec/005 will be renamed spec/006).
Clicking Specify allows the user to enter a specific name for the spec. The input field will also change to Specify. Enter a new name in the Specify.
Clicking Replace allows the user to replace part of the spec name with a new string. Two input fields will become available, Replace and With. In each case click Apply to commit the change.
Click Export to display a standard windows file browser.
|
•
|
TYPE is the generic type (GTYPE) of the component represented by an SPCOM.
|
|
•
|
NAME is the unique identifier for each SPCOM.
|
Refer to Catalogue Database Structure for further information.

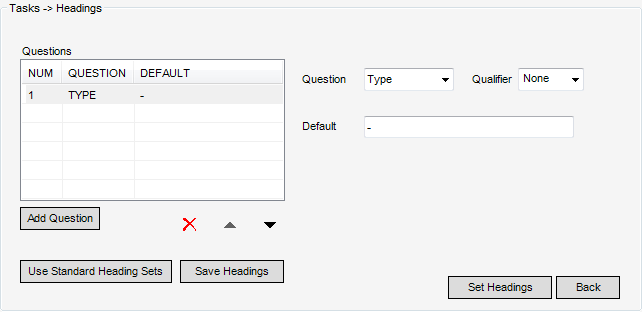
The Questions table to the left of the window lists all the current Heading columns of the Specification.
|
|
|
|
|
|
|
|
|
|
|
|
|
|
|
|
|
To change a Question type; highlight a row in the Questions table and select a new value from the Question drop-down to the right of the table. The available Question types are as follows:
When dealing with a PBORE, a Qualifier can be either a null value or a numeric value from 0 – 9, change the value by selecting a value from the Qualifier drop-down to the far right of the window.
Click Set Headings to commit changes.
Click Back to return to the Tasks sub window.
Click Use Standard Heading Sets to display the following sub window:
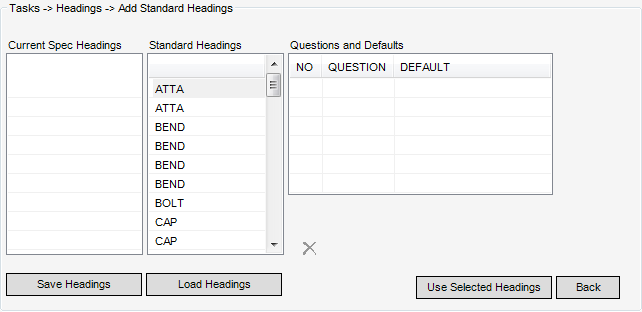
Upon selection of the required Standard Heading the right hand Questions and Defaults list will be populated with appropriate questions.
Click Use Standard Headings to commit changes.
Click Back to return to the Tasks sub window.
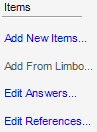
After creating the main column headings for the Specification parts can be retrieved from the Catalogue by using the Add New Items window.

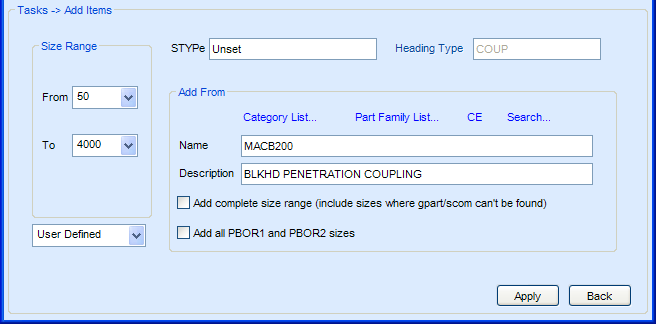
The Add Items window is used to retrieve the Answer part of the Question.
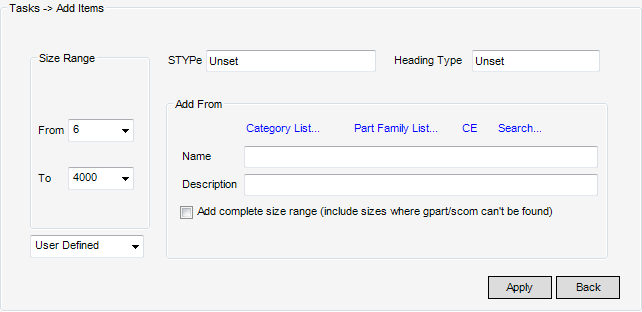
In the Size Range group select a from and to value (minimum size and maximum size) from the drop-down lists. These values are constrained by the spec tables selected in the CAD Atts window.
Use the Stype and Heading Type fields to enter a valid sub type and GTYPE value, this will be used in the Specification heading (but not as part of the Question).
To search within a catalogue click Search to display the following window:
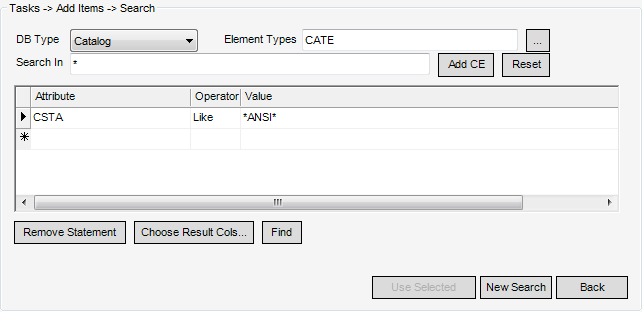
The Search window displayed is a generic search facility, it will be pre-populated with an appropriate criteria designed to return valid top level Catalogue elements.
It is recommended to click Find without changing any of the search criteria. However if experienced it is possible to adapt the search if more than one Catalogue databases are present in a project (see Search).

After clicking Find a list of results will be displayed which can then be filtered further if required.
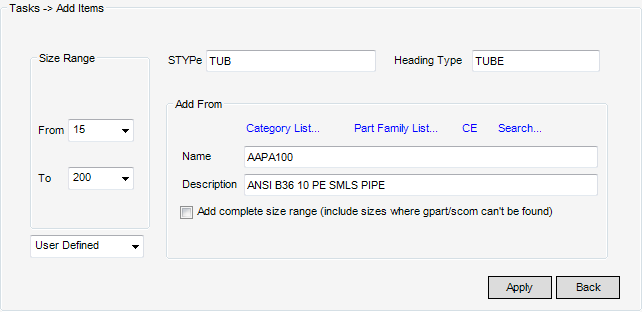
Highlight an entry in the list of results and click Use Selected, this will return to the Add Items window and pass through the selection to the Add From group in the Add Items window. As follows:
If both PBOR1 and PBOR2 are used in the heading, the option Add All PBOR1 and PBOR2 sizes appears on the window. If this box is checked, all possible components sizes are added to the specification. If this box is not checked, then only components with PBOR1 greater than PBOR2 are added. An equivalent option appears if PBOR1 and PBOR3 are used in the heading, the only difference being that if it is not checked, only components with PBOR1 greater than or equal to PBOR3 are added to the specification.
Click Apply to now run the Question query on the Catalogue database on all elements below the selection made in the Add From group. The results will be formatted with the headings specified in the Add Heading window.
Click Back to return to the Tasks window.
|
Note:
|
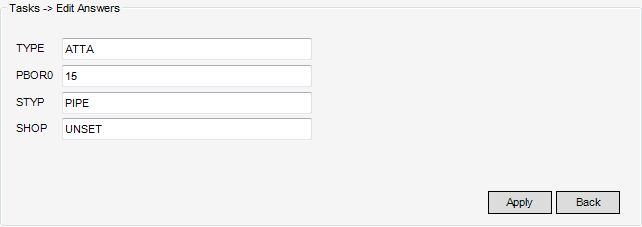
The available fields are dependant on the Headings specified earlier in the Add Headings window.
|
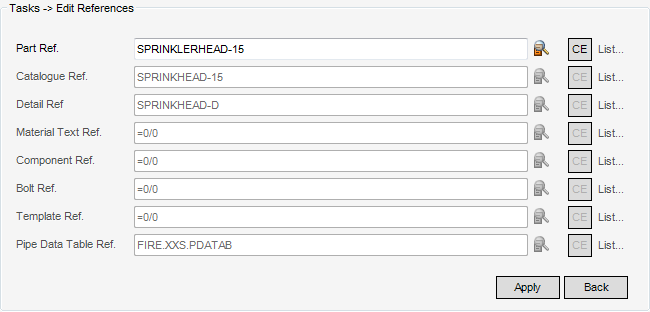
Clicking List to the right of Detail Ref will display the following window:
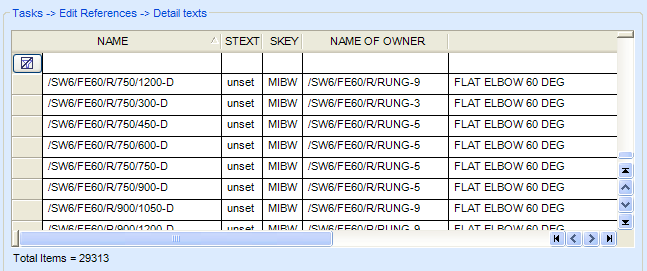
The list can be filtered using the standard filter tools provided in grid tables, for a detailed explanation of grid lists refer to GUI Grid Data for further information.
Click to highlight an item in the list then click Rename Items.
Refer to Renaming a Specification for a detailed explanation.
Selecting Delete Permanently will remove the selected item from the specification.
Close the window by clicking the X on the top right.
To return to the Specification table select Modify Specification from the main window drop-down.