Cable Design
User Guide
Cableway Branch : Create Cableway Branch : Create Route Attachment Points
To display the Route Attachment Points Create Tasks window, select Create Route Attachment Points from the Branch Tasks window.
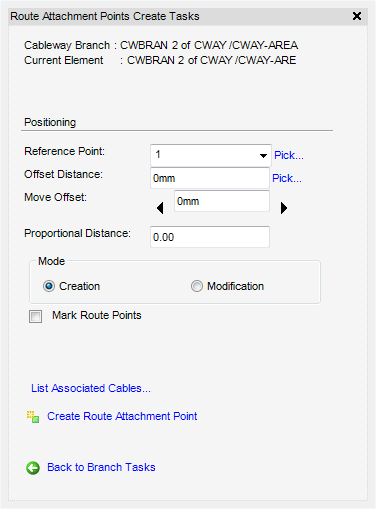
The Route Attachments Points Create Tasks window is a dual purpose window, which allows the Creation of a new route attachment point or the Modification of an existing route attachment point. For more information on the Modification of an existing route node, refer to Modify Cableway Branch.
The Cableway Branch and Current Element are displayed in the Route Attachment Points Create Tasks window.
The Positioning part of the Route Node Create Tasks window allows the user to define the position of the route node on the Cableway Branch.
The user can select a reference point from the drop-down menu (the Offset Distance is automatically populated) or select Pick where the user will be prompted to Pick on the segment which RNODE should be placed.
Input an offset distance in the Offset Distance box or select Pick where the user will be prompted to Pick to define position (Snap) Snap.
To increase or decrease the Offset, select the appropriate arrow either side of the Move Offset box.
Click to select the Mark Route Points check box to display the route point labels on the 3D view.
To display associated cables, click List Associated Cables to display the List of Cables window, listing all the associated cables.
To create a route attachment point, click Create Route Attachment Point. The new route attachment point is a created and displayed the Model Explorer. The position of the created routed attachment point on the cableway branch is shown in the 3D view. The Route Attachment Points Create Tasks window resets, clearing all entries so that more route attachment points can be created.
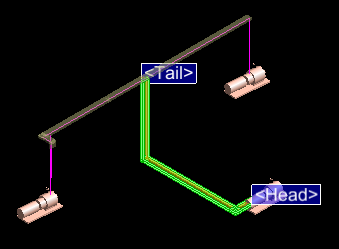
A cableway branch can be created and connected to another branch at the attachment point. Refer to Connect Cableway Branches for further information.