Piping
Spooling : Pipework Spool
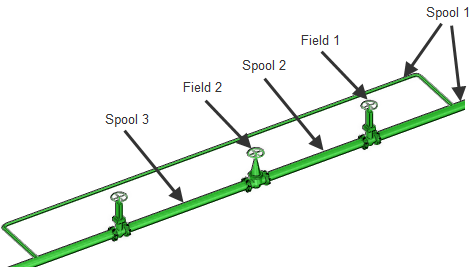
Spooling networks consist of interconnected spools and fields. Where a SPOOL is defined as a run of piping components and tube that is connected during fabrication and a FIELD is an individual or group of piping components that are connected during the erection phase.
|
•
|
To create a spool break, select Create > Spool Break from the main menu bar. Select the first element to add to the spool break, then select another.
Before selecting pipework elements to be added to a spool drawing (SPLDRG). The spool drawing hierarchy must be created in the Fabrication database. Refer to Database Structure and DRAW User Guide for further information on the hierarchy.
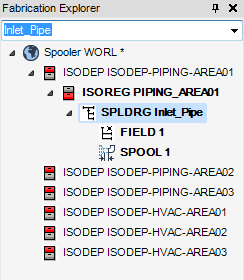
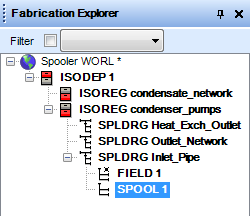
The selection becomes the Current Element (CE) in the Fabrication Explorer and displays as the active Spool Drawing in the text box on the SPOOL toolbar.
Gaskets on the ends of pipes (for example, between a flange and the nozzle of an equipment) cannot be picked in the 3D graphical view and therefore cannot be manually added to a Spool Drawing. To overcome this problem, adjacent field components can be automatically included, as separate FIELDs, when a spool is added to a Spool Drawing. Use Include Field Components from the SPOOL menu bar.
Use Add to Spool Drawing from the SPOOL menu bar, to add pipework elements to a spool.
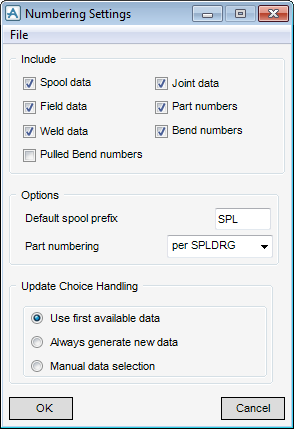
Use the Numbering Settings window, to define what elements of the spools are to be numbered.
All of the principle data for numbering settings are available from the Numbering Settings window.
Select what data has a number setting, click to check the appropriate check boxes, from the Include part of the Number Settings window. After the selection has been made, the user can define the Default spool prefix.
Select how the numbering is applied, from the part numbering drop-down list, the user can choose to apply the numbering per SPLDRG or per SPOOL.
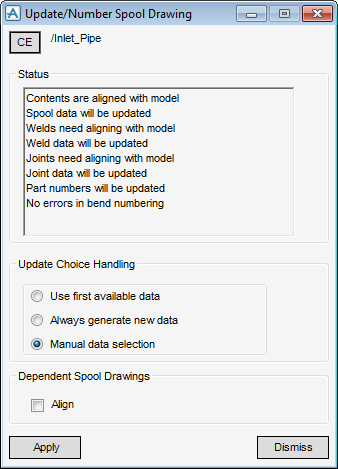
The display numbers in the Model Explorer are for indication purposes only. They only match the real spool numbers when the Spool Drawing is first numbered. When the numbering is updated after something has been changed (for example, inserted a field weld to split a spool) the members list numbers get out of synchronisation with the real numbers. The way the spools are numbered, once updating is applied can be changed by selecting from the three options in the Update Choice Handling part of the Numbering Settings window:
|
•
|
Use first available data - The first spool in which the data has changed is automatically picked up the first available number. When there are no more existing numbers new data is generated for any remaining spools.
|
|
•
|
Always generate new data - Existing numbers are ignored and new data is generated for all affected spools.
|
|
•
|
Manual data selection - Use the Select Data for Spool Element window, to select an existing number to use for the modified spool or whether to generate new data.
|
The Select Data for Spool Elements window is populated with the Spool numbers and available attribute data.
Use the Update/Number Spool Drawing window to carry out a check of the Spool Drawing numbering, this takes a few seconds and then displays the Update/Number Spool Drawing window, with the results of the check populated in the Status part of the Update/Number Spool Drawing window.
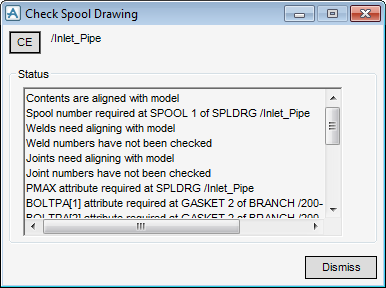
Once any changes have been made, it is best practice to check the spool drawing before producing an isometric. Use the Check Spool Drawing window to automatically check the spool drawing, once complete all of the results displayed in the Check Spool Drawing window.
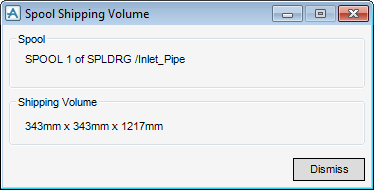
While it may be logical to have a long pipe as one spool, if that pipe is too large to be transported the spool may need to be split. Use the Spool Shipping Volume window to check the size of a spool.
The Spool Shipping Volume window is populated with the name of the Spool and its Shipping Volume.
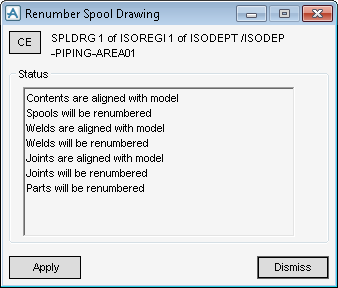
Use the Renumber Spool Drawing window to renumber the spools in the spool drawing.


