Supports
User Guide
Support Editor : 2D View : Framework Tab
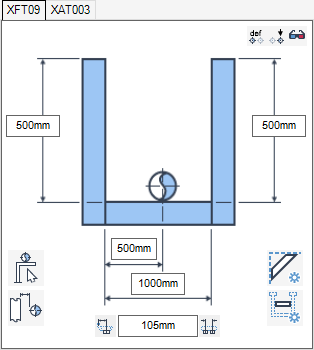
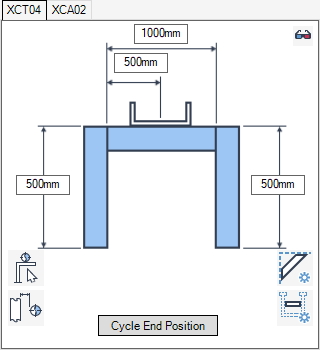
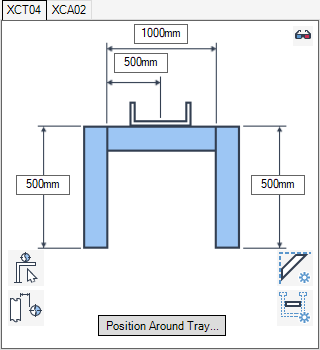
By default, a separate tab displays on the Support Editor window for the framework support and each of the associated ancillaries.
|
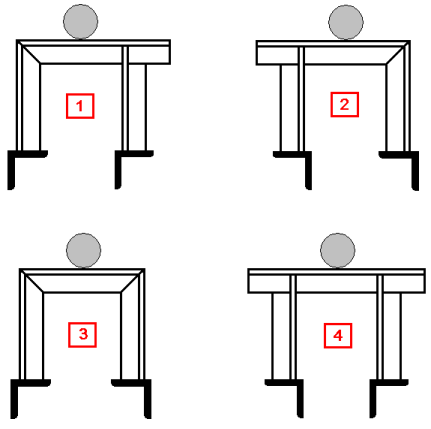
Click Cycle End Position to move the framework support to a different component end position ppoint. Repeat the command to cycle through the available ppoints.
|
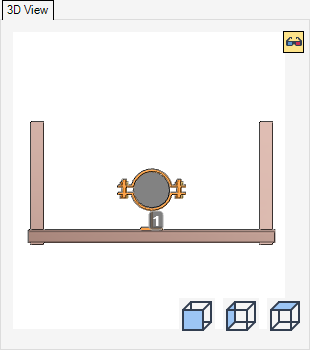
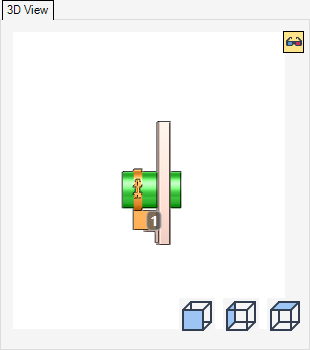
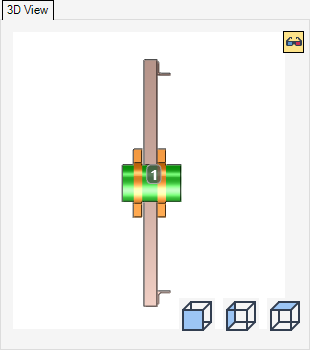
The 3D View part of the Support Editor window allows you to view a 3D representation of the support and the associated ancillaries.
The 3D view of the support and the associated ancillaries can be manipulated with the middle mouse button. Refer to Middle Button Drag for further information.
When creating a framework using Create By Cursor or Create By Clearance, if the structural element that is picked is not a steel profile (GENSEC or HSTIFF) a civils connection is created. Examples of such elements are: FLOOR, STWALL, PANE.
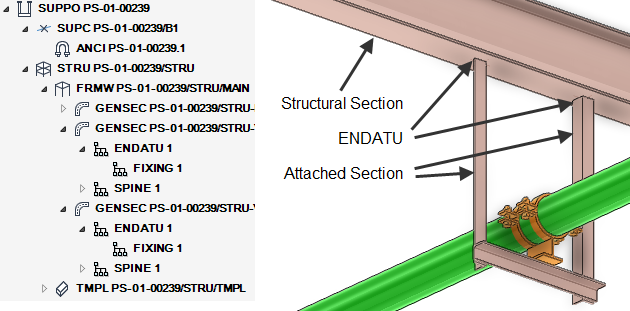
The GENSEC properties for the attached framework support are identical to the fixing properties for structural sections. Refer to Attached Sections for further information.
The ENDATU properties for a framework support section are identical to the end datum properties for structural sections. Refer to End Datum Properties for further information.
The FIXING properties for a framework support section are identical to the fixing properties for structural sections. Refer to Fixing Properties for further information.
Although each connection has created ENDATU and FIXING elements in the Design database, these do not yet have any geometry associated with them. In order to represent them properly, a catalogue specification must be associated with each joint. Refer to Joint Specification for further information.
|
You are prompted to Identify brace member to be modified
|
||
|
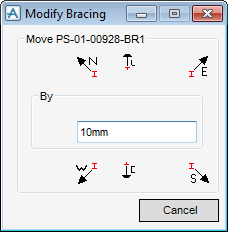
Allows you to nudge the bracing by a set distance. Refer to Nudge Bracing for further information.
|
||
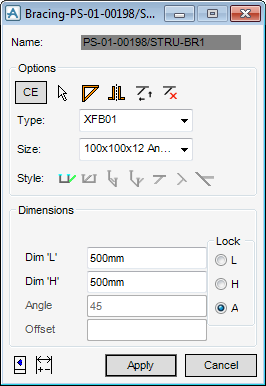
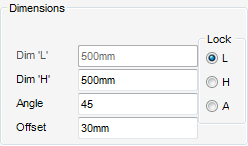
The Dimensions part of the Bracing window allows you to define the bracing dimensions, angle and offset.
|
Select the L option button to lock the Dim ‘L’ dimension.
|
|
|
Select the H option button to lock the Dim ‘H’ dimension.
|
|
|
Select the A option button to lock the angle.
|
|
The bottom of the Bracing window allows you to view an illustration of the bracing and define the graphical display settings for the bracing dimensions.
|
Click to display the View Multi Discipline Standard window. The functionality of the View Multi Discipline Standard window is explained. Refer to View Multi Discipline Support Standard for further information.
|
||
Click Apply to create the bracing, you must identify the associated framework support section using a cursor pick in the 3D view.
You are prompted to Identify frame member to be braced
You are prompted to Identify supporting member
By default, a connection is made between the framework support bracing section (GENSEC) and the structural support section (GENSEC). Refer to Supports Connectivity for further information.
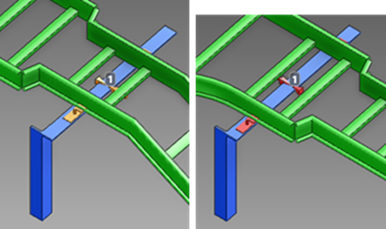
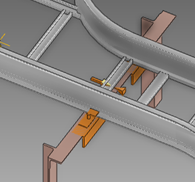
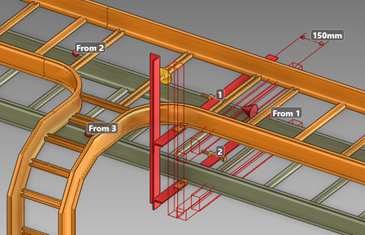
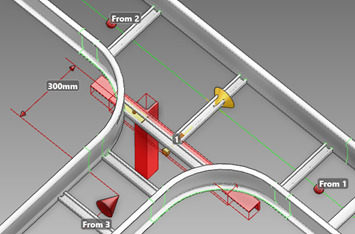
The application is currently limited in its ability to handle stacked trays on the same support. Positioning around the tray is limited by the combination of supported components. Using the example below, the support functions as expected on the straight line of the main branch but does not give good results if the support is moved to the P3 of the tee. If the results of any position change are not acceptable, click Reset to revert to the previously saved position.
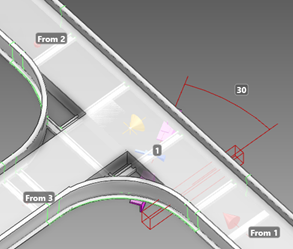
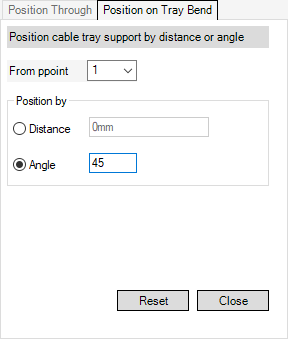
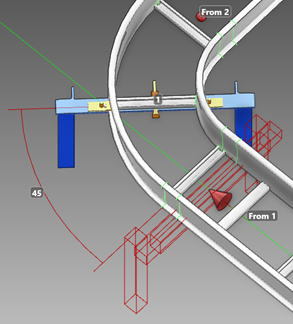
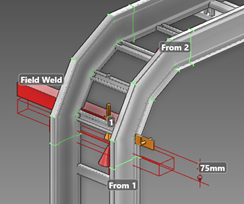
The Position on Tray Bend tab allows you to position a framework support on a cable tray bend. The framework support is positioned using a defined ppoint and a distance or angle value.
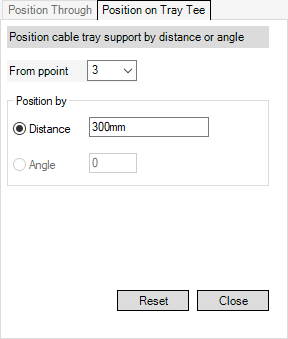
The Position on Tray Tee tab allows you to position a framework support on a cable tray tee. The framework support is positioned using a defined ppoint and a distance or angle value.
The functionality is identical to positioning a support on a cable tray bend. Refer to Position on Tray Bend Tab for further information.
|
Note:
|
The Angle field is not available when positioning a support from ppoint 3.
|
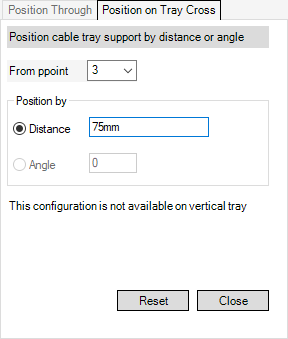
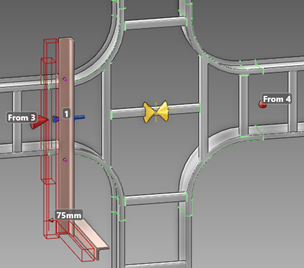
The Position on Tray Cross tab allows you to position a framework support on a cable tray cross. The framework support is positioned using a defined ppoint and a distance value.
The functionality is identical to positioning a support on a cable tray bend. Refer to Position on Tray Bend Tab for further information.
|
Note:
|
The Angle field is not available when positioning a support on a cable tray cross.
|
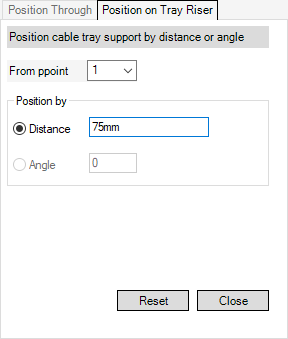
The Position on Tray Riser tab allows you to position a framework support on a cable tray riser. The framework support is positioned using a defined ppoint, the distance is restricted to the tangent length of the riser.
The functionality is identical to positioning a support on a cable tray bend. Refer to Position on Tray Bend Tab for further information.
|
Note:
|
The Angle field is not available when positioning a support on a cable tray riser.
|
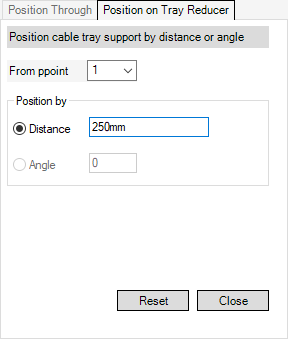
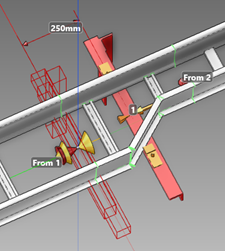
The Position on Tray Reducer tab allows you to position a framework support on a cable tray reducer. The framework support is positioned using a defined ppoint and a distance value.
The functionality is identical to positioning a support on a cable tray bend. Refer to Position on Tray Bend Tab for further information.
|
Note:
|
The Angle field is not available when positioning a support on a cable tray reducer.
|

