Supports
User Guide
Support Editor
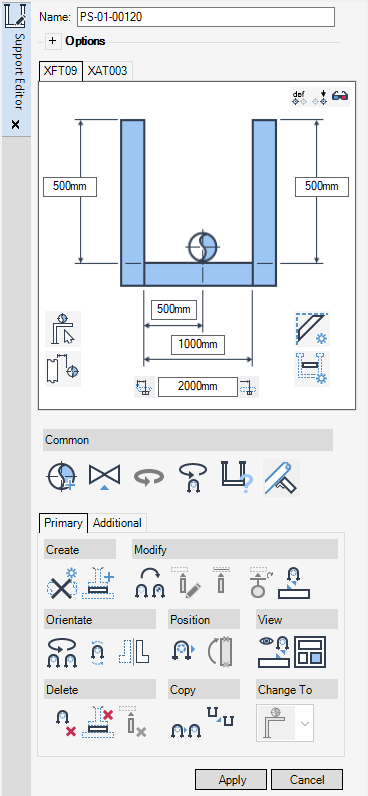
All of the tasks that are associated with the creation or modification of supports and ancillaries are initiated from a central Support Editor window which acts as a task hub.
Depending on the selections made in the Support Editor window, you are presented with further windows prompting for input. After inputting information in these windows you are returned to the Support Editor window, allowing the workflow to continue.
|
•
|
By default, the display of the Support Editor window is configured for the settings of the currently selected support type.
The Support Editor window allows you to create, position and refine the detailing for the support and the associated ancillaries. Only the options available for the selected support type are active.
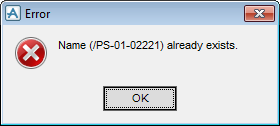
The support name displays at the top of the Support Editor window. By default, the Supports application populates the Name field. Refer to Auto Name Defaults for further information. You can input a value in the field to modify the support name.
Click Cancel to discard any inputs and close the Support Editor window. A confirm window displays asking you to OK the deletion. Click Yes to delete the item.
|
Note:
|
If Cancel was applied on an existing support, A confirm window displays informing you that the support will be to returned to the original state prior to modification. Click Yes to discard any modifications.
|


