Cable Trays
User Guide
Cable Tray Components : Create Component
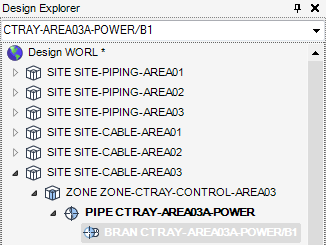
Referring to the Cable Tray Hierarchy, a Cable Tray component must reside below an existing Branch element. Refer to Branch Element for a more detailed explanation of creating a cable tray branch.
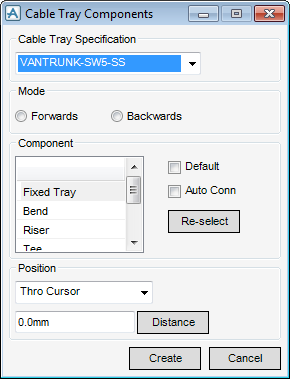
The Cable Tray Components window allows you to create and modify the components of a branch.
On the Cable Tray tab, in the Create group, click Components to display the Cable Tray Components window.
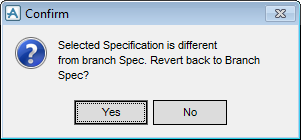
Although a specification was selected earlier you can select a different specification for the component. The default specification is initially selected but you can select an alternative specification from the Cable Tray drop-down list.
Click Yes to revert back to the branch specification or click No to create a component using an alternative specification and close the Confirm window.
The Cable Tray Components window displays all the component types available from the catalogue under the current piping specification set at the Pipe and Branch level.
Select the Default check box to apply the default selection type automatically for each component.
Select the Auto Conn check box to position, orientate and connect the component to the preceding component automatically.
Click Re-select to modify an existing component using the CHOOSE window. The CHOOSE window display changes for each component type, refer to Component Specific Information for further information.
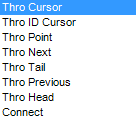
The Cable Tray Components window allows you to specify the position of the component.
|
You are prompted to Enter a 3-d position in the 3D graphical view.
|
|
|
You are prompted to Identify element in the 3D graphical view.
|
|
|
You are prompted to Identify design ppoint in the 3D graphical view.
|
|
In the Distance text field input a value to move a component a specified distance from the previous component.
Click Create to create a component using the CHOOSE window. The CHOOSE window display changes for each component type, refer to Component Specific Information for further information. Click CANCEL to discard any changes and close the Cable Tray Components window.
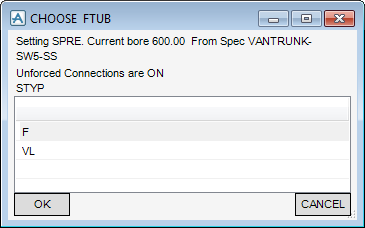
The CHOOSE FTUB window displays when you select a Fixed Tray to be created.
The Setting, Current bore, Specification and Unforced Connections status display at the top of the CHOOSE FTUB window.
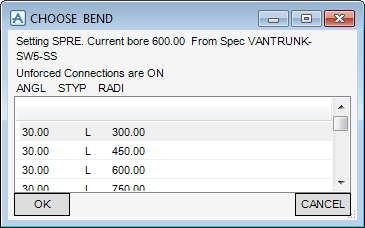
The CHOOSE BEND window displays when you select a Bend to be created.
The Setting, Current bore, Specification and Unforced Connections status display at the top of the CHOOSE BEND window.
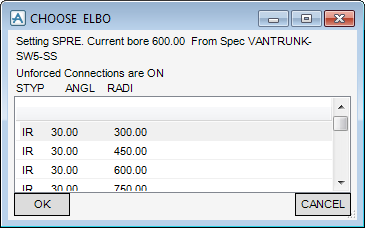
The CHOOSE ELBO window displays when you select a Riser to be created.
The Setting, Current bore, Specification and Unforced Connections status display at the top of the CHOOSE ELBO window.
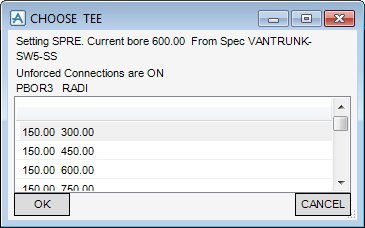
The CHOOSE TEE window displays when you select a Tee to be created.
The Setting, Current bore, Specification and Unforced Connections status display at the top of the CHOOSE TEE window.
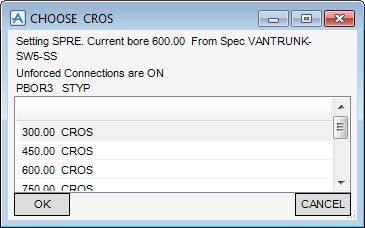
The CHOOSE CROS window displays when you select a Cross to be created.
The Setting, Current bore, Specification and Unforced Connections status display at the top of the CHOOSE CROS window.
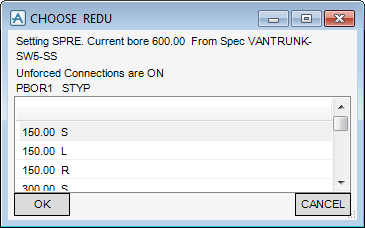
The CHOOSE REDU window displays when you select a Reducer to be created.
The Setting, Current bore, Specification and Unforced Connections status display at the top of the CHOOSE redu window.
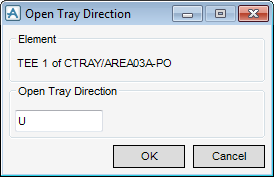
When the first component of a branch or an unconnected component is created you must specify the open tray direction of the component, the Open Tray Direction window displays by default.
The component name and branch display at the top of the Open Tray Direction window.
In the Open Tray Direction box, input the direction of the new Cable Tray Element (the default direction is U (up)).
Click OK to create the component or Cancel to discard any changes and close the Open Tray Direction window.

