Diagrams
User Guide
On the Attribute Presentation tab the user can set up the attribute presentation to be used in the Shape Data Window as well as in the Item List. To the left there is a tree-view containing the different element types relevant to the Diagrams application. In case UDETs have been defined, these will be included in the list.
|
Presentation label for the attribute. This controls the name to be presented to the user in the Shape Data window only. This setting does not apply to the Item List as it shows mixed items in the same list.
|
|
|
If this checkbox is checked, it will not be possible to update the attribute value from the Shape Data window or from the Item List.
|
|
By clicking the Move Up and Move Down buttons, the presentation order of the currently selected attribute can be changed.
In the Import Shape Wizard there is a possibility to override the default attribute presentation settings for individual shapes. In case this override should be enabled, the Allow individual shape settings to override default settings should be checked. This setting can be applied individually for each element type by first selecting a type in the tree before clicking the checkbox. If this is not checked, any attribute presentation settings done in the Import Shape Wizard for individual shapes will be ignored.
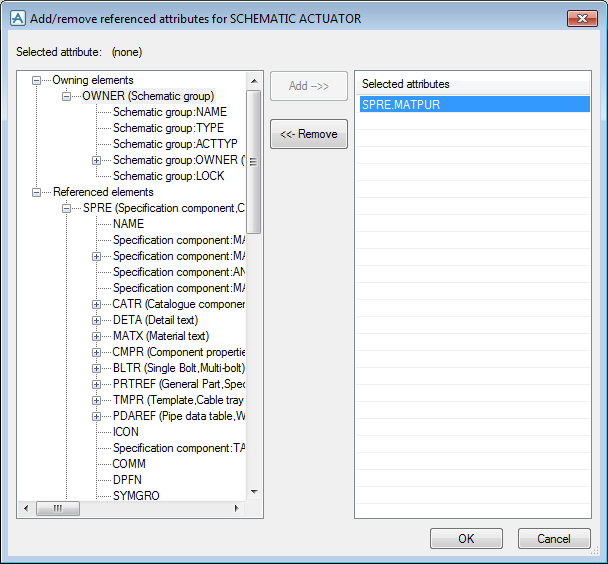
By clicking the Referenced attributes button, it is possible to add attributes from referenced or hierarchically superior elements.
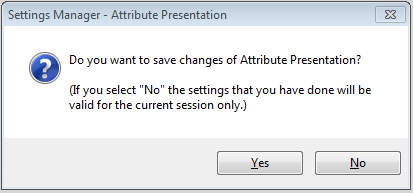
If changes have been made when the dialogue is closed by clicking the OK button, the below dialogue will be shown. In case the user clicks Yes the attribute presentation settings will be saved for the next program session. If the user clicks No, the settings will only apply to the current program session.
By default Attribute Presentation settings are machine specific and should be configured separately on each machine, but it is also possible to make them specific for the project. For more information about handling settings files please see Working with Diagrams Options chapter Document Files, Sessions etc. in Chapter Application Setup.
|
1.
|
Navigate and select. Navigate and select the attribute in the tree view on the right hand pane, and click the Add button to add them to the Selected Attributes list on the right hand side.
|
|
2.
|
Key-in. Click on the next free line in the Selected Attributes list, and key in the name of the referenced attribute using a dot notation as described in Attribute Presentation Notation in Chapter Appendices.
|
Attributes selected by Navigate and Select can also be manually edited by selecting them in the Selected Attributes list. For example by selecting SPRE.CATR.PARA and then manually adding (0) at the end to get the first parameter.
|
Note:
|
Pseudo attributes are not shown in the list of attributes in Attribute Presentation and Referenced Attributes dialogues. In case pseudo attributes should be presented, these will have to be added manually by using the Key-in method described above. A few pseudo attributes that can be useful for the Diagrams user are described in Pseudo Attributes in Chapter Appendices.
|


