Piping
Spooling : Prepare the Site for Spool
The SPOOL module does not operate correctly if there are errors in the consistency check, warnings do not affect the operation. Make sure the ZONE SPOOL-PIPE element in the Model Explorer is the CE.
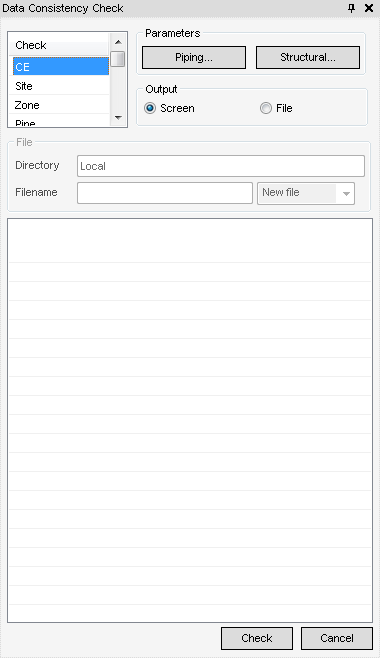
Refer to Data Consistency for further information.
The easiest way of inspecting the site is a visual check of the site looking for any possible problems (for example, very long pipes or complex networks) and for any parts wanted separately, for test purposes. As the spools are completely assembled before they are shipped to the erection site, they must be small enough to be transported. The maximum acceptable size is dependent upon project requirements and the length of the supplied pipe, so any lengths greater than this in one spool are required to be joined with a Shop weld. Refer to Measure the Pipe Lengths and Insert Shop and Field Welds for further information.
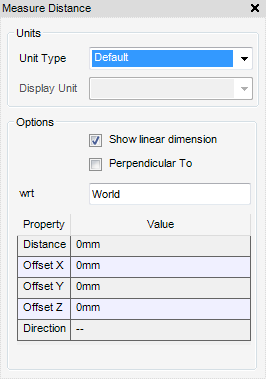
Once the inspection has been carried out and a pipe is believed too large to be shipped as a single spool and therefore requires the insertion of welds or if the length of pipe was too long to be created from a single length of tube. Use the Measure Distance window to determine where to insert the welds or cut the pipe into acceptable lengths, using the functionality available from the Measure Distance window. Refer to Measure Distance for further information.
The Create Weld window is a dual purpose window, which allows the insertion of a weld at a design point or at a position in the tube (pipe).
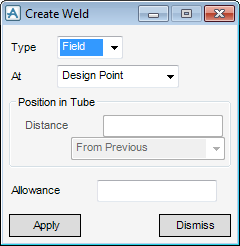
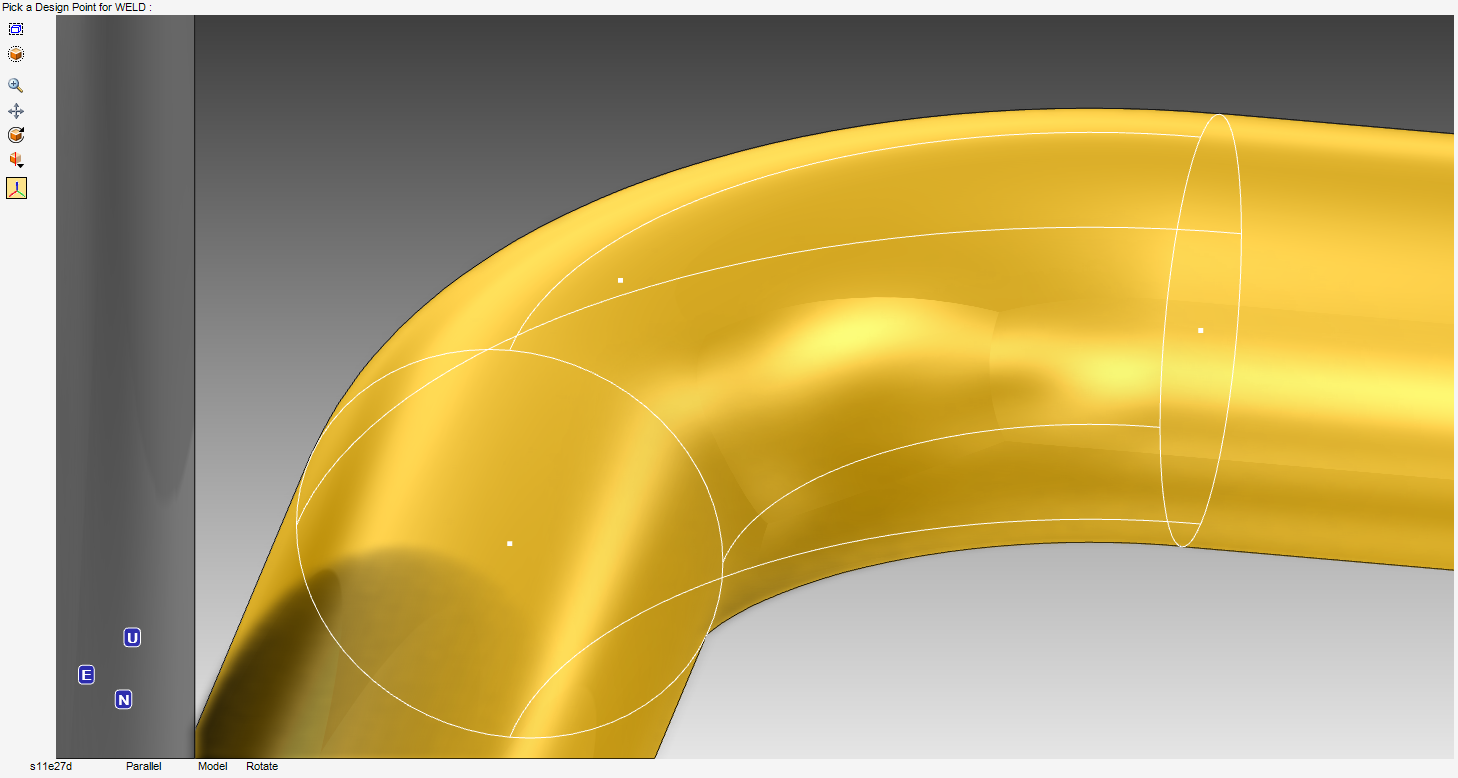
Once the selection has been identified, the software then automatically selects the required weld in the current specification. If there is a choice and the specification does not have a default, the CHOOSE window displays populated with these choices.
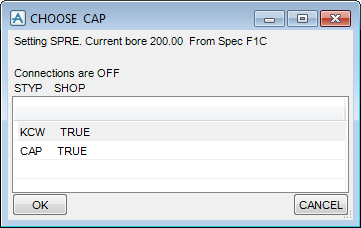
Use the CHOOSE window to select the type of weld to use, once the selection has been made, the weld is inserted at the design point and the weld displays in the design hierarchy as a welded element.

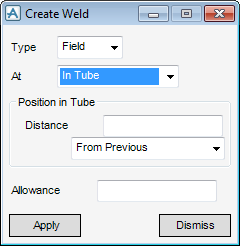
Use the Create Weld window to insert a weld at a position in tube (pipe).
|
•
|
Click From Previous - Inserts the weld the specified distance from a reference element picked on the 3D graphical view.
|
|
•
|
Click In Front of item - Inserts the weld the specified distance in front of the reference element picked on the 3D graphical view.
|
|
•
|
Click Behind Item - Inserts the weld the specified distance behind the reference element picked on the 3D graphical view.
|