Structural Design
User Guide
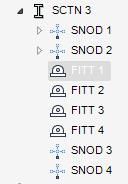
Sections : Section Fittings
On the SECTIONS tab, in the Create group, click Fitting, select Single from the drop down list to display the Create Fitting window.
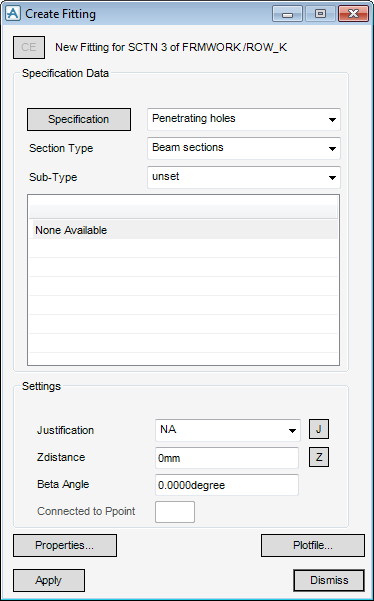
All of the tasks that a user would carry out that are associated with the creation of a fitting are initiated from the Create Fitting window which acts as a task hub.
The user must set the specification of the fitting, from the Specification Data part of the Create Fitting window. Select Specification to display all the available groups of fittings covered by a specification. Once a group of fittings has been selected from the drop-down list, the Section Type and Sub- Type fields are automatically populated with generic types sub types and components available for selection as governed by the specification.
From the Settings part of the Create Fitting window, allows the user to position and orientate the new fitting.
As each section fitting is designed to be associated with one or more Plines for the section profile it is attached to, the user must identify the Pline to be associated with. From the Settings part of the Create Fitting window, select the Justification drop-down list to select from a list of available Pline or select Pick Justification to select the Pline from the 3D view. The user is prompted to ‘Identify Pline:’.
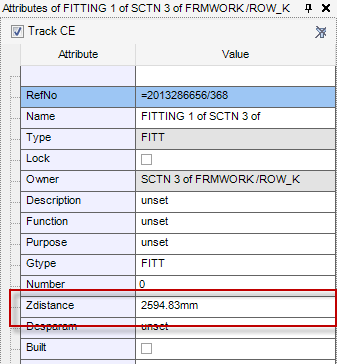
As a section fitting is positioned relative to the start position of a SCTN element (along its extrusion direction, that is the Z direction). Input the Zdistance directly into the Zdistance field or select Position Element, the Positioning Control window is displayed and the user is prompted to ‘Position Element (Distance [0]) Snap;’.
Use the Positioning Control window to select the functionality which will allow the user to select a position in the 3D view. For more information on the functionality available from the Positioning Control window, refer to Common Functionality Guide.
Click Properties to display the properties of the new fitting.
Click Plotfile to display a graphical representation of the new fitting.
Click Apply to create the new fitting.
Click Dismiss to discard any inputs and close the Create Fitting window.
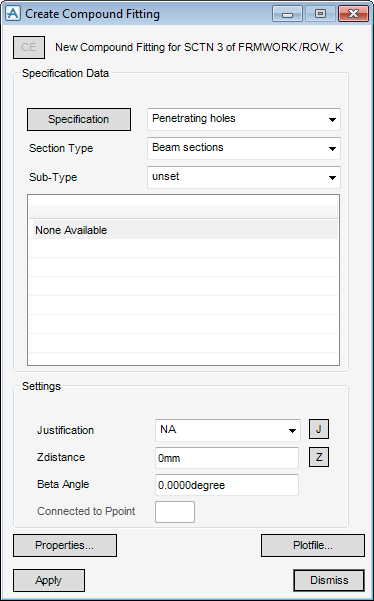
On the SECTIONS tab, in the Create group, click Fitting, select Compound from the drop down list to display the Create Compound Fitting window.
All of the tasks that a user would carry out that are associated with the creation of a fitting are initiated from the Create Compound Fitting window which acts as a task hub.
The functionality available from the Create Compound Fitting is identical to that available from the Create Fitting, for more information refer to Create Single Fitting.
All of the tasks that a user would carry out that are associated with the creation of a fitting are initiated from the Create Compound Fitting window which acts as a task hub.
The functionality available from the Create Compound Fitting is identical to that available from the Create Fitting window, for more information refer to Create Single Fitting.
On the SECTIONS tab, in the Create group, click Fitting, select Sub-Compound from the drop down list to display the Create Sub Fitting window.
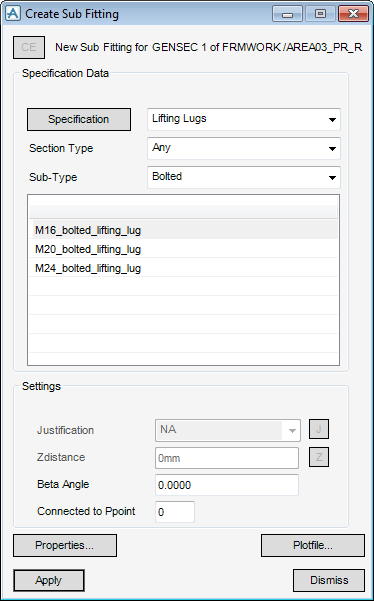
All of the tasks that a user would carry out that are associated with the creation of a fitting are initiated from the Create Sub Fitting window which acts as a task hub.
The functionality available from the Create Sub Fitting is identical to that available from the Create Fitting window, for more information refer to Create Single Fitting.