Structural Design
User Guide
Handrails : Detail Handrail
The Detail Mode is a more complex physical representation of the handrail where the database contains items for the individual posts, rails, kickplates, gates and terminations.
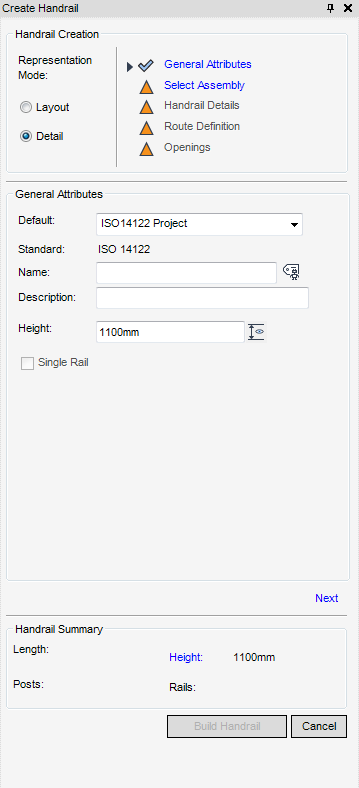
The functionality available for the General Attributes of the handrail in Detail is identical to that described in Layout, for more information refer to General Attributes.
The Select Assembly part of the Create Handrail window is automatically populated with all of the handrail assemblies available for selection governed by the default file. A 3D graphical representation of the handrail assembly is also displayed.
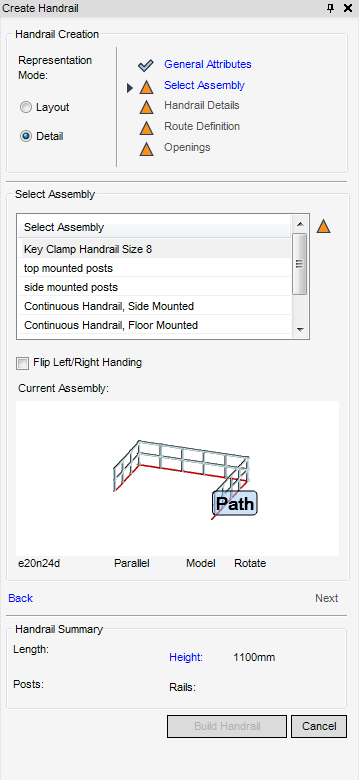
Select the Flip Left/Right Handrail check box to flip the handrail.
Use the Handrail Details part of the Create Handrail window to view and if required modify (within the maximum and minimum limits) the default values for the handrail and the addition or removal of a kickplate.
If required, the user can display any of the dimensions from the Handrail Details window in the 3D view. To label a dimension, click Display alongside the dimension field.

The functionality available for the Route Definition of the handrail in the Detail Mode is identical to that described in the Layout mode, for more information refer to Route Definition with the exception of Route Point Tools.
Use the Route Point Tools to close, move or delete the route points of the handrail:
|
|
||
|
|
The user is prompted to ‘Pick route point to make current’
|
|
|
|
The user is prompted to ‘Pick new position for current route point (Distance [0]) WP Snap:’
|
|
|
|
||
|
|
The user is prompted to ‘Pick first route point of sequence to be deleted’
Once the selection has been made, the user is prompted to ‘Pick last route of sequence to be deleted’#
Once the selection has been made the route points are deleted, the user is then prompted to ‘Pick position of new route point (Distance [0]) WP Snap:’
|
|
|
|
Deletes all the route point of the handrail, the user is prompted with an Confirm window: Delete all route points?.
|
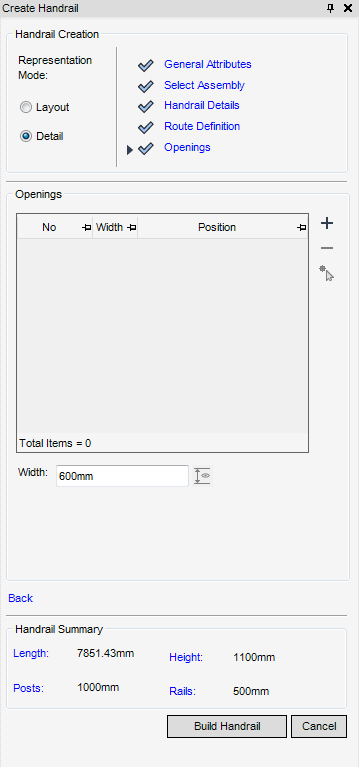
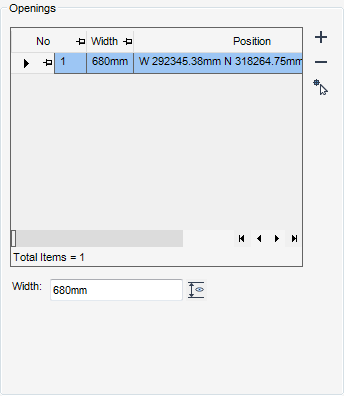
By default, the width of the openings is displayed in the Width field, to display the Width dimension in the 3D view, select Display. Add Opening is the only functionality available for selection, from the Openings part of the Create Handrail window, click Add Opening.

The Positioning Control window is displayed and the user is prompted to ‘Pick the position to insert gate opening (Snap) Snap:’
Upon selection, the Openings part of the Create Handrail window, is populated with its co-ordinates, (width is dictated by the default file).
|
|
The user is prompted to ‘Pick position to insert gate (Snap) Snap:’ and the Positioning Control window is displayed. Once the new position is selected in the 3D view, the Openings part of the Create Handrail window is populated with co-ordinates of the Opening.
|
|
|
|
The user is prompted to ‘Pick new position for gate (Snap) Snap:’ and the Positioning Control window is displayed. Once the new position is selected in the 3D view, the Openings part of the Create Handrail window is populated with co-ordinates of the Opening.
|
|
|
|
A Confirm window is displayed: ‘Delete the selected openings’.
|
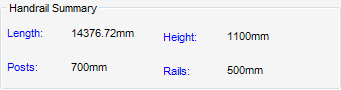
The Handrail Summary part of the Create Handrail window, is populated with the main attributes of the handrail. If required, before the creation of the handrail element the user can select the attribute by name and modify it from the displayed part of the Create Handrail window