DRAW
User Guide
Create Drawing Sheets and Support Elements : Create Departments, Registries and Drawings : Create Departments, Registries and Drawings with the Tools Tab
On the Tools tab, in the Explorers group, click Department, select Create from the drop-down list to display the Create DEPT window.
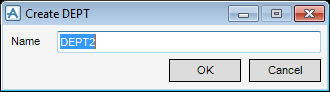
The Create DEPT window displays a default name for the element followed by the next available number, for example, DEPT2. Input a different name if required.
Click OK to apply the DEPT name or Cancel to discard any changes and close the Create DEPT window. By default, the Department Information window displays.
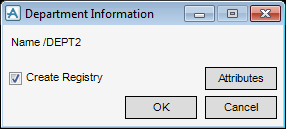
Select the Create Registry check box to create a REGI element below the DEPT element, by default. Refer to Create Registry for further information.
Click Attributes to display the Department Attributes window, which allows the user to define the default attributes for the department. Refer to Modify Department Attributes for further information.
Click OK to create the DEPT element or Cancel to discard any changes and close the Department Information window.
On the Tools tab, in the Explorers group, click Registry, select Create from the drop-down list to display the Create REGI window.
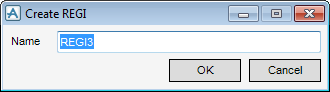
The Create REGI window displays a default name for the element followed by the next available number, for example, REGI3. Input a different name if required.
Click OK to apply the REGI name or Cancel to discard any changes and close the Create REGI window. By default, the Registry Information window displays.
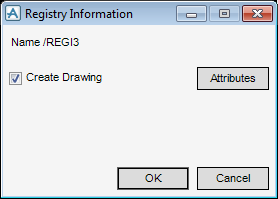
Select the Create Drawing check box to create a DRWG element below the REGI element, by default. Refer to Create Drawing for further information.
Click Attributes to display the Registry Attributes window, which allows the user to define the default attributes for the registry. Refer to Modify Registry Attributes for further information.
Click OK to create the REGI element or Cancel to discard any changes and close the Registry Information window.
On the Tools tab, in the Explorers group, click Drawing, select Create Explicitly from the drop-down list to display the Create DRWG window.
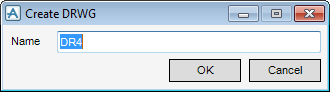
The Create REGI window displays a default name for the element followed by the next available number, for example, DR4. Input a different name if required.
Click OK to apply the DRWG name or Cancel to discard any changes and close the Create DRWG window. By default, the Drawing Definition window displays.
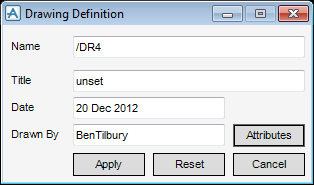
Click Attributes to display the Drawing Attributes window, which allows the user to define the default attributes for the drawing. Refer to Modify Drawing Attributes for further information.
Click Apply to create the DRWG element, Reset to discard any changes or Cancel to close the Drawing Definition window.