DRAW
User Guide
Basic Operations : Print Sheets
|
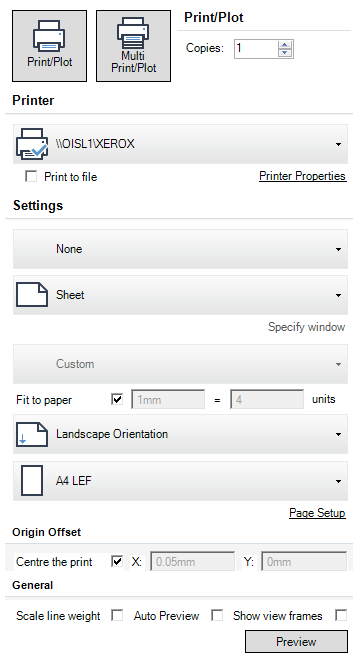
When Print/Plot is selected, the current print settings are saved.
|
|
|
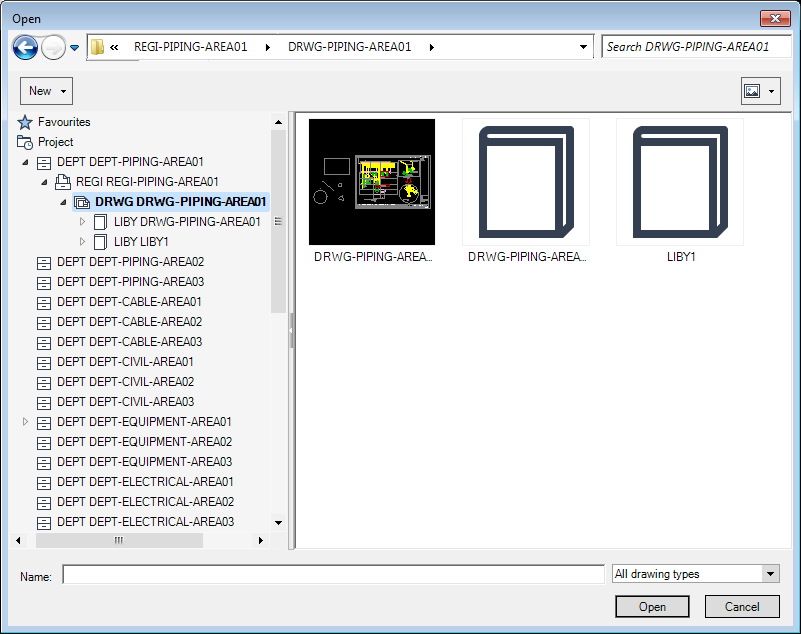
Click Open to print the selected sheets.
When Multi Print/Plot is selected, the current print settings are saved.
|
|
|
When Print/Plot is selected the Save As window displays.
|
|
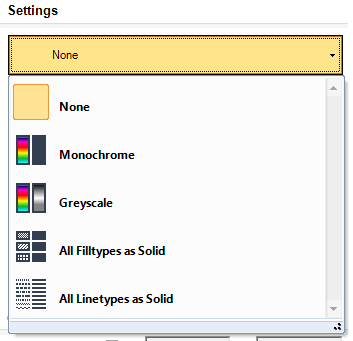 Select None from the drop-down list, the colour, fill and line style settings are not changed.
Select Monochrome from the drop-down list to print all colours as black and white.
Select Greyscale from the drop-down list to print all colours as greyscale.
Select All Filltypes as Solid from the drop-down list to print all filled objects with a solid fill. For example, all objects with shaded fill properties are printed with a solid fill.
Select All Linetypes as Solid from the drop-down list to print all lines with a solid line type. For example, all dashed lines are printed as solid lines.
|
|
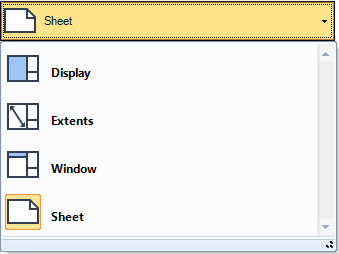 Select Sheet from the drop-down list to print the currently selected sheet.
Select Display from the drop-down list to print the current display area of a sheet.
Select Extents from the drop-down list to print the extents of a sheet.
Select Window from the drop-down list to print a display area defined by the user. Click Specify window to define the display area to be printed.
|
|
|
The user is prompted to Specify first corner
The user is then prompted to Specify opposite corner
The user is returned to the Print Options.
|
|
 |
|
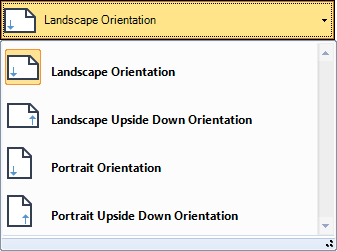 Select Landscape Orientation to print the sheet as Landscape.
Select Landscape Upside Down Orientation to print the sheet as Landscape Upside down. The option can be used for flip book backing sheets.
Select Portrait Orientation to print the sheet as Portrait.
Select Landscape Upside Down Orientation to print the sheet as Landscape Upside down. The option can be used for flip book backing sheets.
|
|
 |
|
|
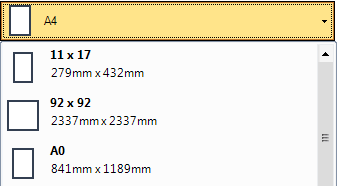
Alllows the user to view and/or select further paper size properties. Click to display the Page Setup window.
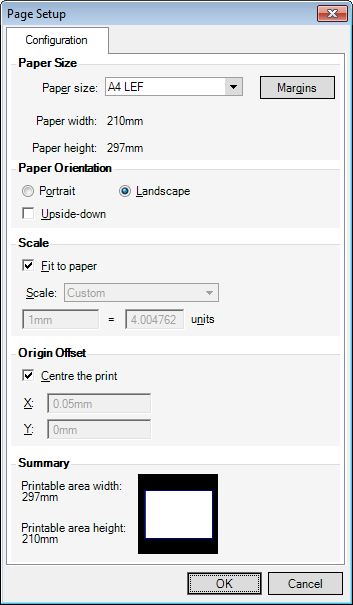 All of the page setup properties can be updated in the Print Options with the exception of margins. Refer to Print Margins for further information
Click OK to apply the page setup modifications or Cancel to discard any changes and close the Page Setup window.
|
|
|
Alternatively, the user can de-select the check box and input coordinates in the X and Y fields to define the centre point of the printed area.
|
|

The user can define the margins for the printed output. On the Page Setup window, click Margins to display the Margins Settings window.
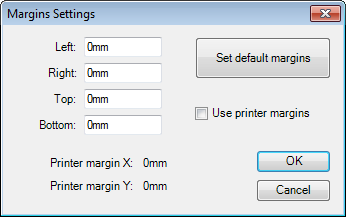
The Margins Settings window allows the user to define individual print margins, set default print margins or select the printed output to use the printer margins.
|
Click to set the current values in Left, Right, Top and Bottom fields as the default margins.
|
|
Click OK to apply the margins or Cancel to discard any changes and close the Margins Settings window. The user is returned to the Page Setup window.