DRAW
User Guide
Output Facilities : Export to PDF
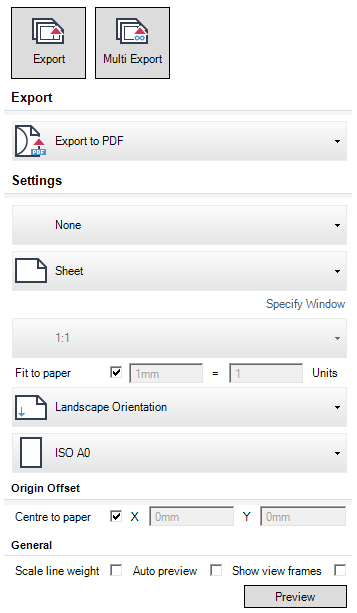
To export a drawing or drawings to a PDF file, on the Project tab, click Export to display the Export Options.
|
When Export is selected, the current export settings are saved.
|
|
|
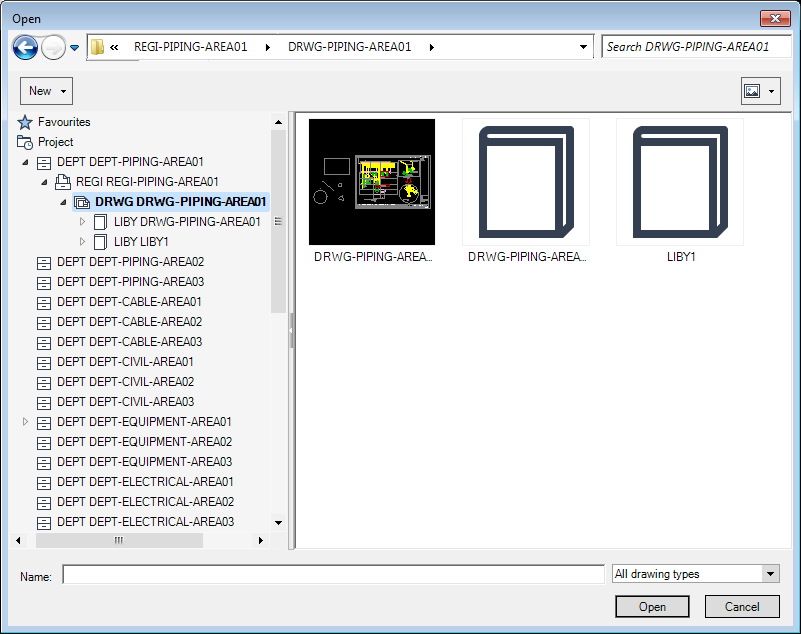
Click Open to export the selected sheets.
A standard Browse for Folder window then displays. The user must specify the folder into which the PDF files are to be exported and click OK to proceed with the export.
When Multi Export is selected, the current export settings are saved.
|
|
|
Select Export to PDF from the drop-down list to define a .PDF file as the export format.
|
|
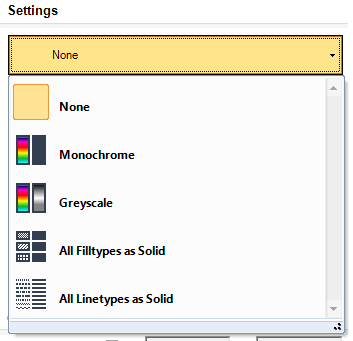 Select None from the drop-down list, the colour, fill and line style settings are not changed.
Select Monochrome from the drop-down list to export all colours as black and white.
Select Greyscale from the drop-down list to export all colours as greyscale.
Select All Filltypes as Solid from the drop-down list to export all filled objects with a solid fill. For example, all objects with shaded fill properties are exported with a solid fill.
Select All Linetypes as Solid from the drop-down list to export all lines with a solid line type. For example, all dashed lines are exported as solid lines.
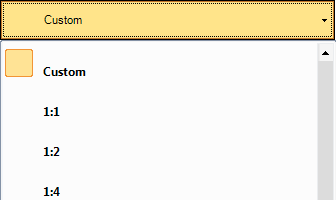
|
|
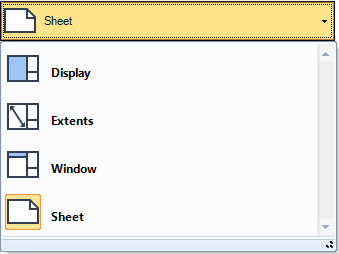 Select Sheet from the drop-down list to export the currently selected sheet.
Select Display from the drop-down list to export the current display area of a sheet.
Select Extents from the drop-down list to export the extents of a sheet.
Select Window from the drop-down list to export a display area defined by the user. Click Specify window to define the display area to be exported.
|
|
|
The user is prompted to Specify first corner
The user is then prompted to Specify opposite corner
The user is returned to the Export Options.
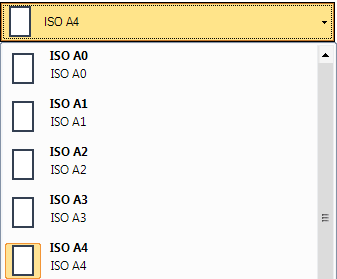
|
|
 |
|
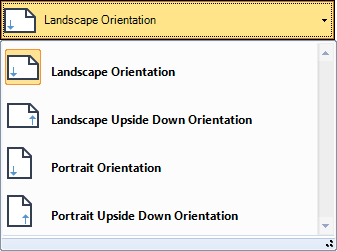 Select Landscape Orientation to export the sheet as Landscape.
Select Landscape Upside Down Orientation to export the sheet as Landscape Upside Down.
Select Portrait Orientation to export the sheet as Portrait.
Select Landscape Upside Down Orientation to export the sheet as Landscape Upside Down.
|
|
 |
|
|
Alternatively, the user can de-select the check box and input coordinates in the X and Y fields to define the centre point of the exported area.
|
|