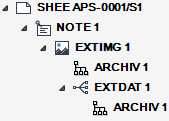
DRAW
User Guide
Add Annotation : Add Excel Tables
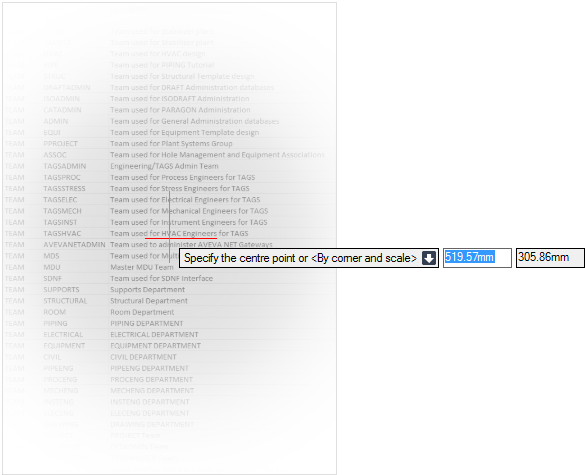
To add Microsoft Excel tables to a drawing, on the Tools tab, in the Import group, click Excel to display the Open window. The user can browse for and select the required Excel table, click Open.
The user is prompted to Specify the centre point or <By corner and scale>
Input values in the dimension fields and press Enter or click to identify the location for the centre of the Excel table.
The user is then prompted to enter the Scale <1>
Input a value in the field and press Enter to define the scale factor. Alternatively the user can move the cursor away from the insertion point to increase the size of the Excel table or move the cursor closer to the insertion point to decrease the size of the Excel table. Click to define the scale factor.
The user is then prompted to enter the Rotation angle <0deg>
Input an angular value in the field and press Enter to define the rotation angle. Alternatively, the user can move the cursor around the centre of the Excel table to visually select the required angle. A ghosted preview of the image rotates to reflect the angle. Click to define the rotation angle.
Throughout the process of adding the Excel table to a drawing the user can press ESC to cancel the command. Additional functionality is also available.
 |
|
|
Press the down arrow key and select By corner and scale to insert an Excel table with a specified corner point.
The user is prompted to Specify the left down corner.
Input values in the dimension fields and press Enter or click to identify the location for the bottom-left of the Excel table.
|
|