Schematic 3D Integrator
User Guide
Integrator Controls : Main Table Options : Column Setup
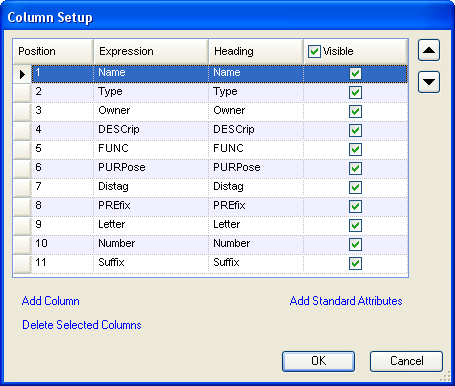
Select Main Table Menu > Column Setup to display the table column setup form.
The Table Column Setup form lists the columns already defined for the main table. Select the Add Column button to define a new column.
|
Figure 4:4.
|
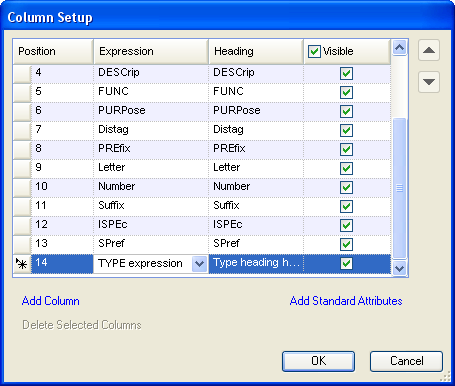
Enter the Attribute and Heading required in the new fields. Clicking Add Standard Attributes allows the user to add all the standard attributes for the current element. The Visible column allows the user to choose which columns to display or hide. Check the required checkboxes to display the columns in the grid.
|
Figure 4:5.
|
To add a single element of an array attribute, use square brackets. For example, multiple pipes can be linked to a single schematic pipeline, so to see just the first of these, use DESLNK[1]. To see the whole array, use the attribute without any array index, e.g. DESLNK.
The table can apply simple calculations to numerical attributes using the operators * / + - for the operations multiply, divide, add and subtract, e.g. NUMBER * 4. You can use parentheses ( ) to nest the expression, e.g. (LENGTH + 3.5) * BORE. Array elements and references cannot be used in mathematical expressions.
To delete one or more columns in the Table Column Setup form, select the columns to be deleted and click on the Delete Selected Columns button.
The release to 3D status for a schematic object can be displayed in the Main Table using the attribute RESTAT. The compare status can be displayed using the attribute CMPSTS. To filter the Main Table on schematic objects that have been released but have not been linked, filter on RESTAT equal to 1 and CMPSTS equal to 'Not linked'. For more details of schematic to 3D links refer to Schematic to 3D Links.