Multi-Discipline Supports
User Guide
Lighting Supports : Create a Lighting Support
To create a lighting support, on the Supports tab, in the Create group, click Lighting Supports to display the Create Lighting Support window.
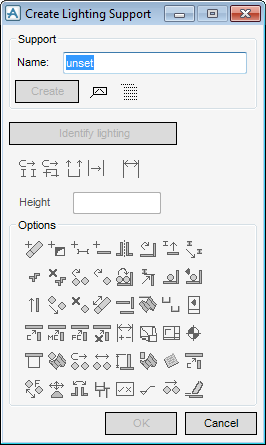
Enter the name of the support to be created into the Name text field or click AutoName. All other gadgets are unavailable until a name is specified.
Once the name is specified, Create becomes active. Click Create to create the new support with the given name.The user is then prompted to pick the light fitting that is to be supported. (Identify Lighting will only become active if the create process is interrupted by pressing the keyboard ESC key).
The Height text box is automatically filled in during the create process, and also modified automatically when clicking the Connect Support to Ceiling /Wall Icon  and identifying the element from which to support the light fitting. Alternatively, the user may manually enter a height value in the text box. The application checks the value to make sure that it is within the alternative height range. To use the Height value to modify the support, click the Dimension icon
  to redesign the support.
|
1.
|
|
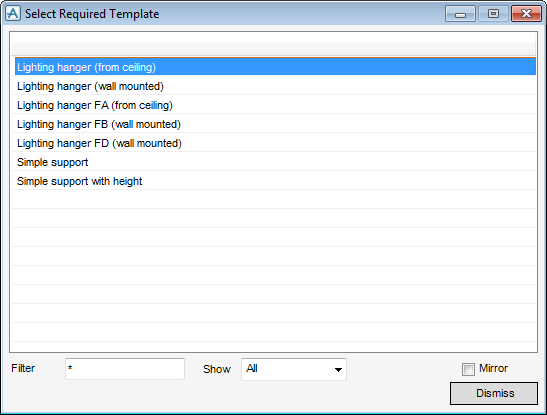
Figure 8:1.
|
|
2.
|
If the template list is large, enter suitable characters and logical operators into the Filter text field to filter the list. A * character means all templates will be listed.
|
|
3.
|
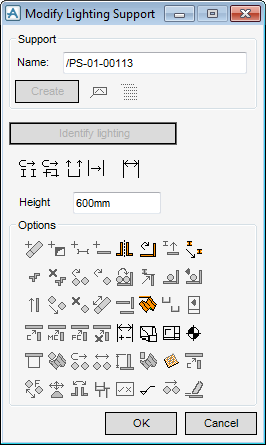
Select a template by clicking on it, then click Dismiss. The selection is accepted, the window is removed and the lighting support creation window is switched to modify mode, as shown in Figure 8:2.: Modify Lighting Support window.
|
|
Figure 8:2.
|
|
|
|
|
|
|
|
|
|
|
|
|
|
|
|
|
|
|
|
|
|
|
|
|
|
|
|
|
|
|
|
|
|
|
|
|
|
|
|
|
|
|
|
|
|
4.
|
Click OK to confirm the changes made. If Cancel is clicked the support is deleted, after confirmation.
|