Equipment
User Guide
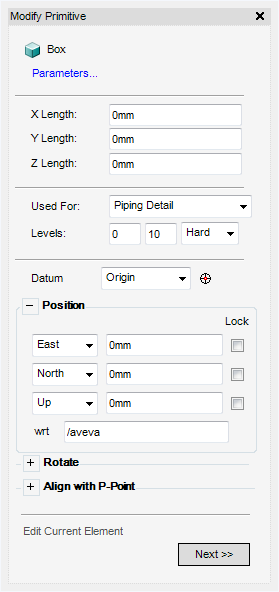
The Modify Primitive window allows the user to modify, position and orientate a primitive.
To modify a primitive, if the Modify Primitives window is not already visible, on the Equipment tab, in the Modify group, click Primitives to display the Modify Primitive window.
The Positioning Control window displays by default. Refer to Positioning Control for further information.
The primitive type displays at the top of the Modify Primitive window.
Click parameters to display the Primitives window, indicating the Parameters fields along the axis for the currently selected primitive. The parameters fields display the parameters for the currently selected primitive.
The Levels part of the Modify Primitive window allows the user to select pre-defined settings that display the level of detail visible to the user. For example, if the user builds a Volume, they can display the primitives in layers 1 - 3, the base in layers 5 - 7 and the nozzles in layer 8 - 10. The levels visible in MODEL determine the display. The current visible levels are set by the Graphic Settings window. Refer to Graphics for further information.
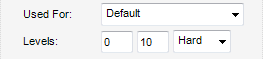
Select a level type from the Used For drop-down list. As well as selecting a pre-defined level, the user can select Default or Unknown, from the Used For drop-down list. The fields in the Levels drop-down list are populated by default.
The Datum part of the Modify Primitive window allows the user to define the Datum point for a primitive. For example, a cylinder has an Origin and two P-points, the Datum point can be sited at any of these points for ease of repositioning.
Alternatively click  to Position the Datum Point using a cursor pick in the 3D view. The user is prompted to Pick Datum P-point :
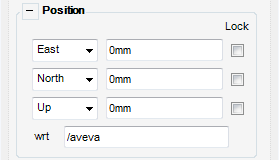
The Position part of the Modify Primitive window allows each primitive to be explicitly positioned with respect to (wrt) another element.
|
From the drop down menu, click to identify the direction of the East/West axis. The user can then input an explicit position value in the Position field.
|
|
|
From the drop down menu, click to identify the direction of the North/South axis. The user can then input an explicit position value in the Position field.
|
|
|
From the drop down menu, click to identify the direction of the Up/Down axis. The user can then input an explicit position value in the Position field.
|
In the wrt text box, input the name of the element to which all co-ordinates are interpreted with respect to, the default is the owning Equipment or Sub-Equipment element.
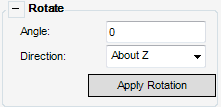
In the Angle field, input the angle of rotation.
Select a rotation axis from the Direction drop-down list.
Click Apply Rotation to rotate the primitive.
The Align with P-Point part of the Modify Primitive window allows the user to align the current element with a P-point on another element.
Click Pick P-Point to align the primitive using a cursor pick in the 3D view. The user is prompted to Pick P-point to align with :