Common Functionality
User Guide
Highlight Changes in Schematic Diagrams
To highlight changes on a diagram, right-click on the diagram element or on an element in the diagram in the Schematic Explorer and select Highlight Changes from the right-click menu that is then displayed:
The Highlight Changes sub-menu consists of two options:
|
•
|
Latest - used to highlight changes made to the diagram during the current session. Refer to Highlight Changes during Latest Session for further information.
|
|
•
|
Choose Sessions - used to select sessions (or stamps) to highlight differences. Refer to Highlight Changes between Selected Sessions for further information.
|
To highlight changes made to the diagram during the current session, select Latest from the sub-menu to display the Diagram Change Highlighting window. Refer to View Changes for further information.
|
Note:
|
If the Diagram Change Highlighting window is already displayed, the diagram, highlighting displayed in the window is replaced. A new instance of the window is not opened.
|
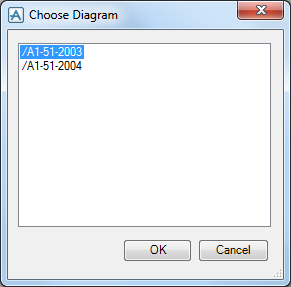
If an element is selected which is present on more than one diagram, the Choose Diagram window is displayed:
Select the required diagram and click OK to continue.
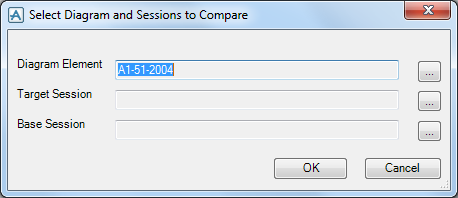
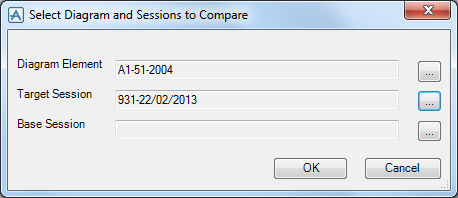
To select sessions (or stamps) to highlight differences between, select Choose Sessions to display the Select Diagram and Sessions to Compare window:
The Diagram Element field displays the name of the selected diagram or the diagram on which the selected element is located.
If an element is selected which is present on more than one diagram, the Choose Diagram window is displayed:
Select the required diagram and click OK to continue.
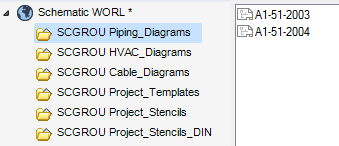
To select a different diagram, click the adjacent button to display the Select Diagram Element window:
Select the required diagram from the list and click OK. The name of the selected diagram is then displayed in the Diagram Element field of the Select Diagram and Sessions to Compare window.
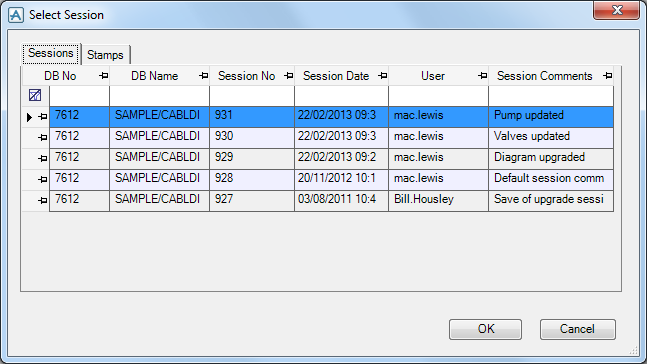
To select the target session or stamp, click the button adjacent to the Target Session field on the Select Diagram and Sessions to Compare window to display the Select Session window:
The Sessions tab displays the list of available sessions. The Stamps tab displays the list of available stamps. Select the required session or stamp and click OK.
The Select Diagram and Sessions to Compare window then displays the selected session in the Target Session field:
When the required diagram and sessions/stamps are selected, click OK. The Diagram Change Highlighting window is then displayed. Refer to View Changes for further information.
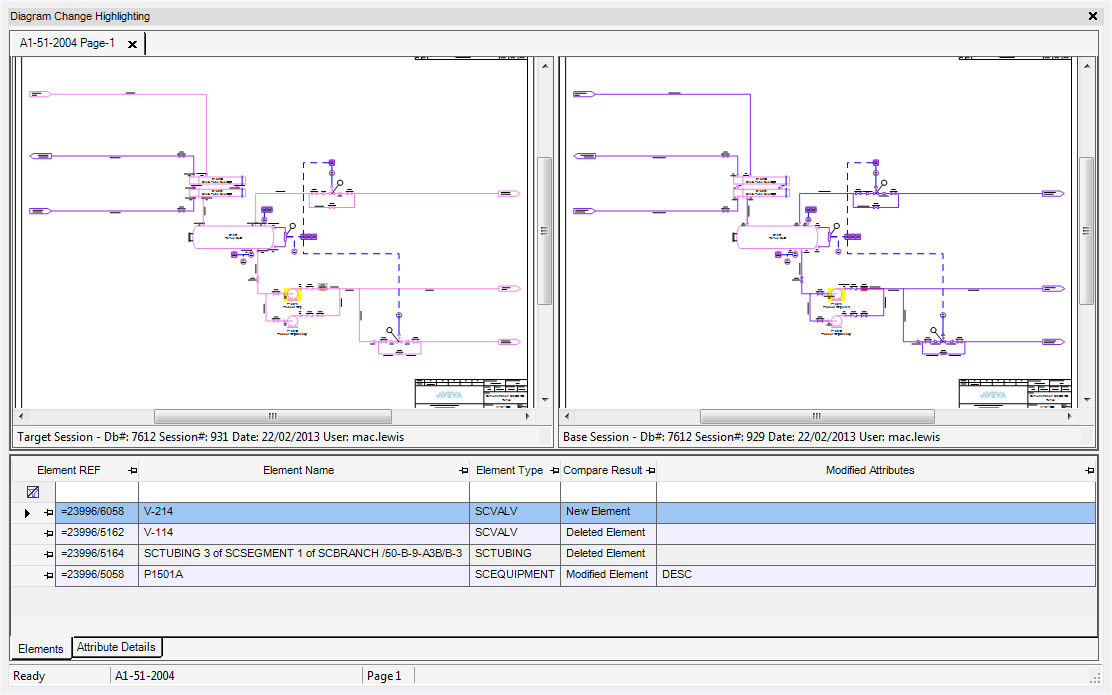
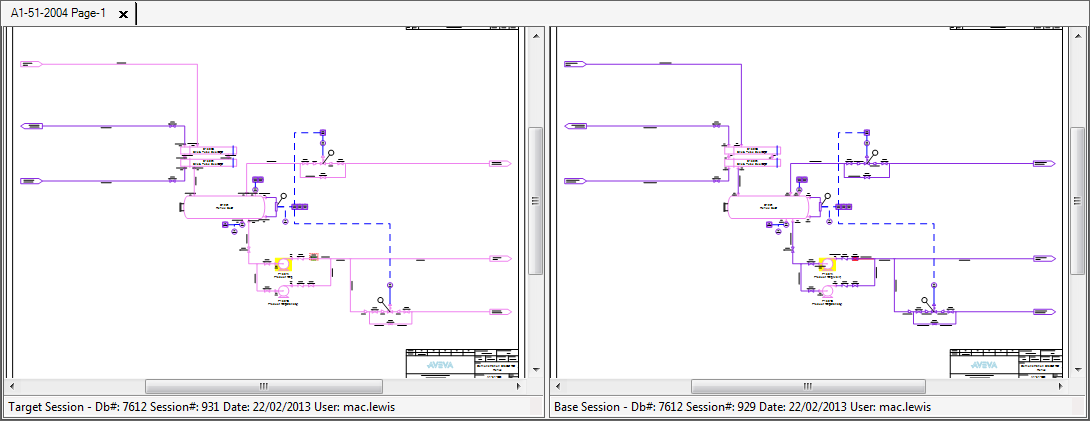
Changes to diagrams between sessions are displayed in the Diagram Change Highlighting window:
If the window was opened using the Highlight Changes > Latest option the target session is the current session and the base session is the previous session.
After opening the Diagram Change Highlighting window, the Diagram Change Highlighting tab activates on the Fluent UI.
|
Start New Comparison - opens the Select Diagram and Sessions to Compare window so that a new session comparison can be made.
|
||
|
Re-Compare Selected Sessions - performs a re-comparison of the current diagram and sessions so that changes made since the comparison was made are highlighted and changes made to attribute and colour settings are implemented.
|
||
|
Highlight New Elements - used to highlight new elements on the diagram in the selected highlight colour for new elements. Refer to Highlight Colour Configuration for further information.
|
||
|
Highlight Deleted Elements - used to highlight deleted elements on the diagram in the selected highlight colour for deleted elements. Refer to Highlight Colour Configuration for further information.
|
||
|
Highlight Modified Elements - used to highlight modified elements on the diagram in the selected highlight colour for modified elements. Refer to Highlight Colour Configuration for further information.
|
||
|
Zoom In - zooms into the diagram.
|
||
|
Zoom Out - zooms out of the diagram.
|
||
|
Zoom to Fit - zooms out so that the entire diagram is visible.
|
||
|
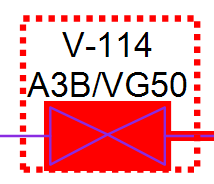
Auto Zoom on Selection - toggles the mode for auto-zoom. When this option is toggled on, selecting an element in the Schematic Explorer or from the list of changes grid in the lower pane zooms the diagram to display that element and highlight it. For example:
|
||
|
Attribute Configuration Options - used to specify which set of attribute settings are to be used when performing a comparison.
|
||
|
Attribute Configuration - used to specify which attributes are to be considered when comparing changes to diagrams, for example changes to specific attributes can be ignored if required. Refer to Attribute Configuration for further information.
|
||
|
Highlight Colour Configuration - used to set the colour used to highlight new, deleted and modified elements. Refer to Highlight Colour Configuration for further information.
|
||
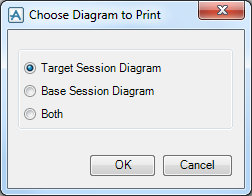
A standard Print window is then displayed from where printing can be initiated in the normal way.
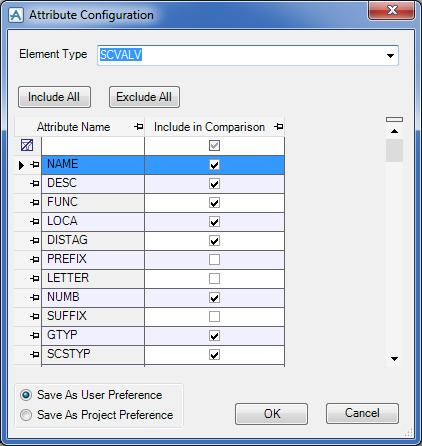
On the Diagram Change Highlighting tab, in the Configure group, click Attributes to display the Attribute Configuration window:
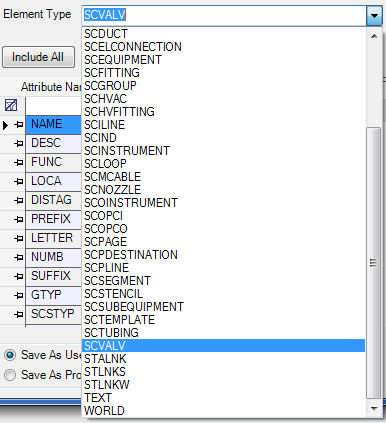
From the Element Type drop-down, select the element type for which attribute settings are to be made:
Select or click to clear the adjacent check boxes to include/exclude attributes in the session comparison. Click Include All to select all the check boxes. Click Exclude All to clear all the selected check boxes.
The settings can be saved as either user preferences or project preferences. Click either Save As User Preference or Save As Project Preference as required.
Click OK to save the settings and exit the window.
The Attribute Configuration Options drop-down in the toolbar is then automatically changed to the selected preference option (for example user or project). Click Re-Compare Selected Sessions to re-run the current comparison using the specified attribute settings.
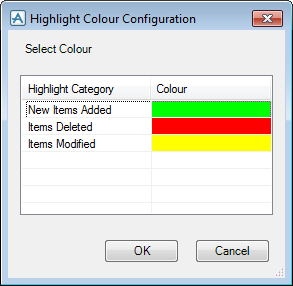
To change the colours used to highlight changes between sessions, on the Diagram Change Highlighting tab, in the Configure group, click Highlight Colours to display the Highlight Colour Configuration window.
The Highlight Colour Configuration window lists each category of highlighted change and the colour used to indicate it.
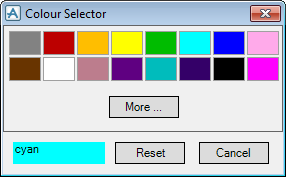
To change a highlight colour for a category of change, click on the row to display the Colour Selector window:
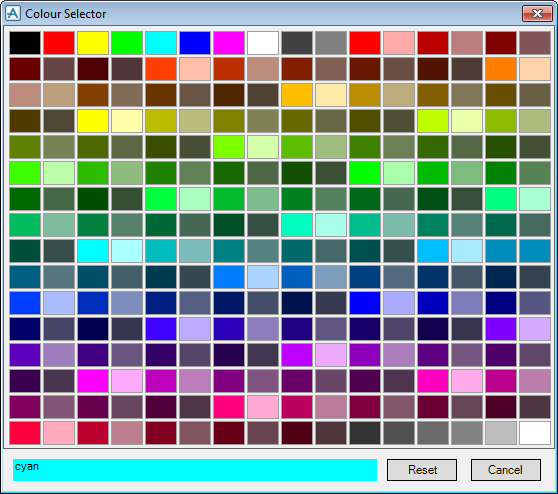
If more colours are required to choose from, click More, additional colours are then presented for selection:
After the required colour has been selected, click Cancel to close the Colour Selector window. The selected colour is then displayed in Highlight Colour Configuration window alongside the category of change.
Click OK to save the settings and exit the window. Click Refresh to re-run the current comparison using the new colour settings.


