Common Functionality
User Guide
Hole Management System : Addition of Managed Holes : Create Managed Hole in the Structures Application Sections and Plates Tab
To request a Managed Hole and without penetrating object, on the Section or Plates tab, in the Penetrate group, click Holes, select General Hole from the drop-down list to display the Create Hole window:
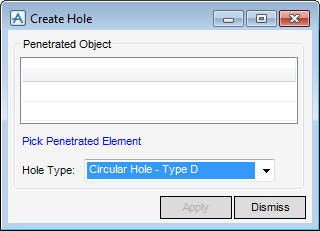
Select the type of hole required from the list of standard hole shapes in the Hole Type section of the window. The selection can be modified in the next step.
When the user clicks Pick Penetrated Item, the user is prompted to identify the panel where the managed hole needs to be placed. The position picked is the initial location of the hole, but then can be modified in the next step.
|
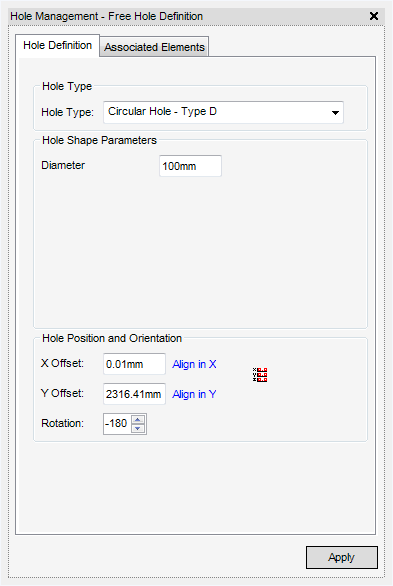
X Offset and Y Offset values for the shape on the selected panel can be entered, and the shape can be rotated using the spin box.
Align in X and Align in Y allow the user to move the shape to a new position by aligning the origin of the shape with an item selected in the 3D view.
|
|
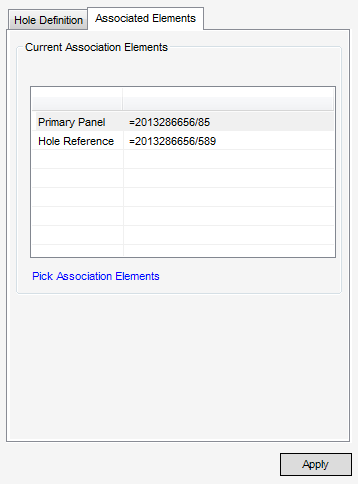
The Current association items list displays the items currently associated with the managed hole.
Pick Items allows the user to select one or more items to add to the list. Remove selected item allows the user to remove selected elements from the association, except for the Primary Panel and the Hole Reference.
Click OK on the window to create an entry in the Hole Management system.