DRAW Administrator Guide
Sheet Library : Create Sheet Library
To create a Sheet Library (SHLB), navigate to the Library (LIBY) level in the hierarchy and then on the Admin tab, in the Libraries group, click Sheet, select Create from the drop-down list to display the Create SHLB window.
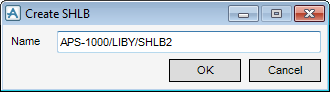
It is recommended that the administrator gives the SHLB a name that makes its contents obvious to users. Click OK to display the Sheet Library window or Cancel to discard any changes and close the Create SHLB window.
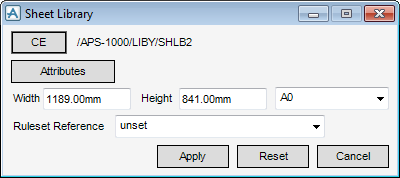
The administrator must specify the SHLB dimensions, either explicitly in the Width and Height fields, or by selecting a standard sheet size from the drop-down list. The size is cascaded down to BACK and OVER levels.
If required, from the Ruleset Reference list, select a ruleset that defines the way in which design graphics on backing sheets and overlays are to be drawn.
To define attributes at SHLB level, such that they are cascaded down to BACK or OVER levels, click Attributes and change the settings on the Sheet Library Attributes window. Refer to Sheet Library Attributes for further information.
Click Apply to create the sheet library or Reset to revert to the values applied when the Sheet Library window was opened.
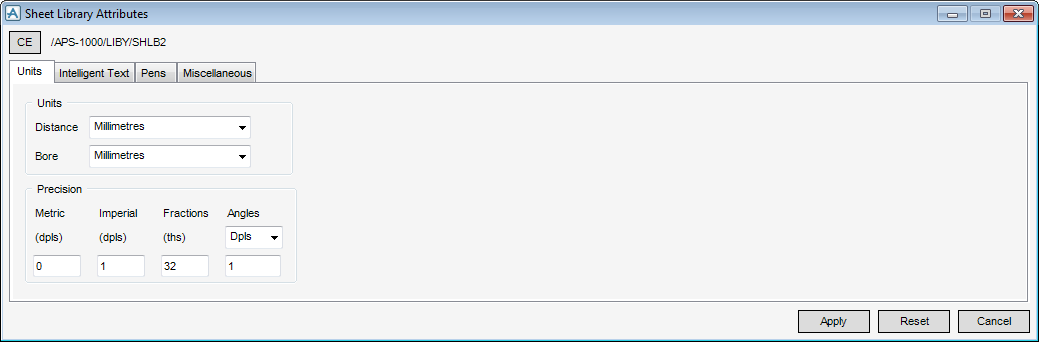
To open the Sheet Library Attributes window, click Attributes on the Sheet Library window. The window allows the administrator to define attributes at SHLB level. The attributes can be modified for individual BACKs or OVERs at a later time if required.
On the Units tab, select the units and set the precision.
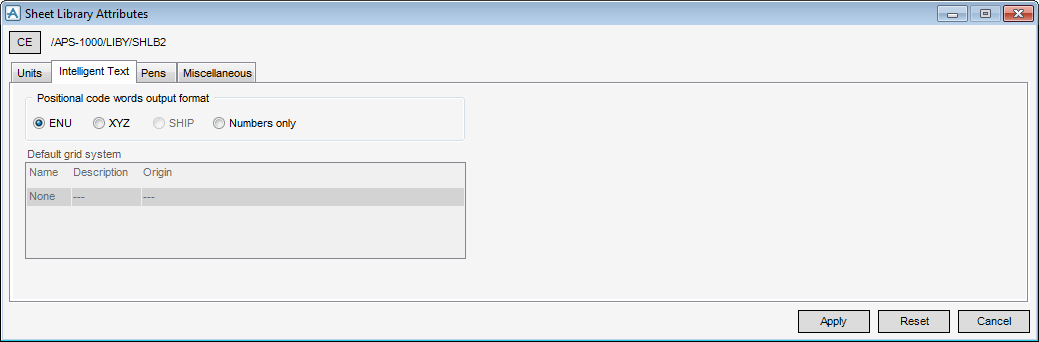
Use the Intelligent Text tab to select an output format for the positional code words used to request the position of certain elements. These expand to a string providing the location expressed in either the ENU (East North Up) coordinate system, as an absolute position (XYZ), or as a purely numerical output (Numbers only).
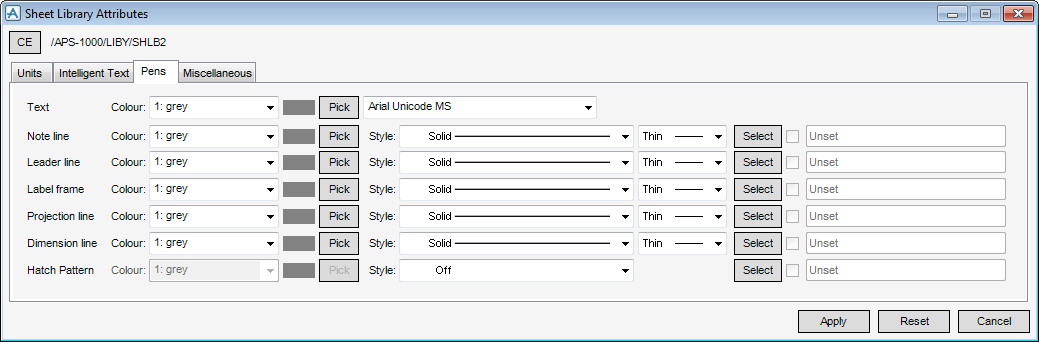
Use the Pens tab to set the line colour and style. Standard options of line colour and style are set explicitly by selecting system-defined settings from the colour, line-pattern and thickness drop-down lists. Click Pick to display the Pick a Colour window. The functionality of the Pick a Colour window is explained, refer to Colour for further information.
To select a user-defined style, click Select to display the User-defined linear styles window. A style table is selected and then a selection is made from the list of styles. After selecting a user defined style, the check box is ticked by default. The administrator can de-select this check box to use a system defined style. The functionality of the User-defined linear styles window is explained, refer to User-Defined Linear Styles for further information.
If the administrator clicks Select next to Hatch Pattern, the User-defined fill styles window displays. The functionality of the User-defined fill styles window is identical to the User-defined linear styles window. Refer to User-Defined Linear Styles for further information.
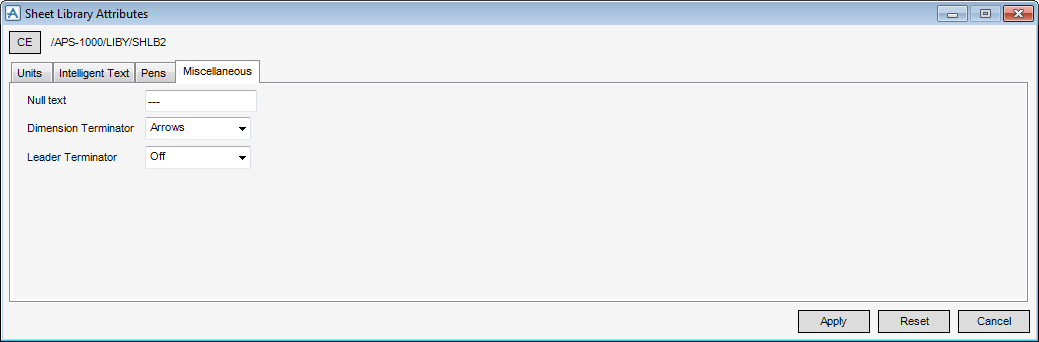
Use the Miscellaneous tab to set various attributes, including note format and dimension terminator.
Click Apply to define the sheet library attributes or Reset to revert to the values applied when the Sheet Library Attributes window was opened.