DRAW Administrator Guide
Hatching : Create Hatching Library
To create a Hatching Library, navigate to the Library (LIBY) level in the hierarchy and then on the Admin tab, in the Libraries group, click Hatching, select Create from the drop-down list to display the Create RPLB window.
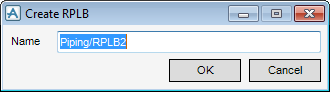
It is recommended that the administrator gives the RPLB a name that makes its contents obvious to users. Click OK to display the Hatching Styles window or Cancel to discard any changes and close the Create RPLB window.
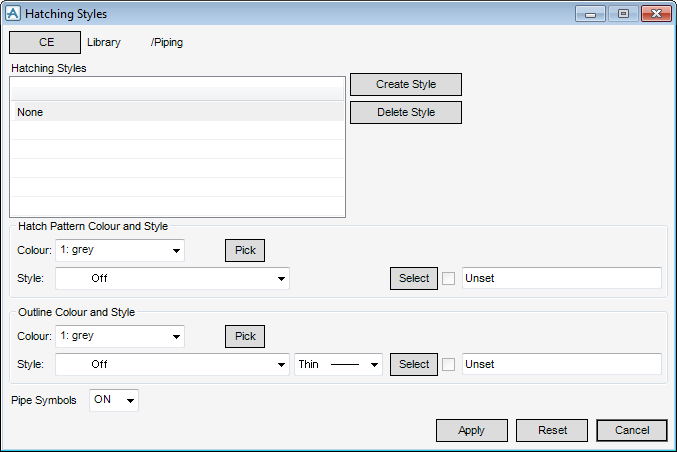
The upper part of the Hatching Styles window displays the name of the current RPLB that is being used as a Hatching Library, and a list of all HSTYLs within it.
|
Note:
|
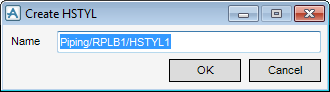
The administrator must name the HSTYL and click OK. The name is added to the Hatching Styles list and highlighted as the current selection.
Click Cancel to discard any changes and close the Create HSTYL window. The administrator is returned to the Hatching Styles window.
To delete a HSTYL from the current library, highlight it in the Hatching Styles list and click Delete Style.
Standard options of line colour and style are set explicitly by selecting system-defined settings from the colour, line-pattern and thickness drop-down lists. To select a colour from a colour palette, click Pick to display the Pick a Colour window. The functionality of the Pick a Colour window is explained. Refer to Colour for further information.
To select a user-defined style, click Select to display, the User-defined linear styles window. A style table is selected and then a selection is made from the list of styles. After selecting a user defined style the check box displays a tick. The administrator can de-select this check box to use a system defined style.The functionality of the User-defined linear styles window is explained. Refer to User-Defined Linear Styles for further information.
If the administrator clicks Select next to Hatch Pattern Colour and Style, the User-defined fill styles window displays. The functionality of the User-defined fill styles window is identical to the User-defined linear styles window. Refer to User-Defined Linear Styles for further information.
Selecting ON hatches the cross-section of a pipe or HVAC duct with a piping or ducting end symbol. OFF hatches the full cross-section of the pipe or duct.
Click Apply to define the hatching styles or Reset to revert to the values applied when the Hatching Styles window was opened.