Catalogues and Specifications
User Guide
Additional Tools : Pipework : Create Coco Table
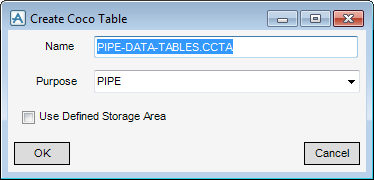
In the Name text-box, enter the name to be assigned to the new table.
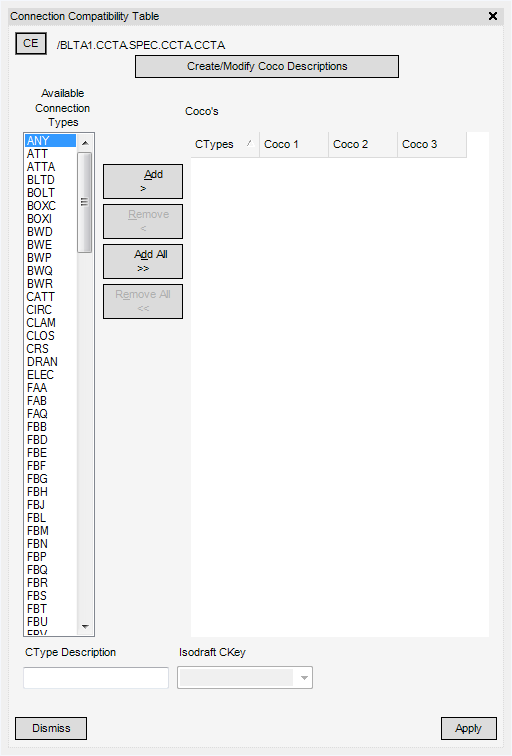
Click OK to create the new Coco Table (CCTA element) in the database hierarchy and display the following window:
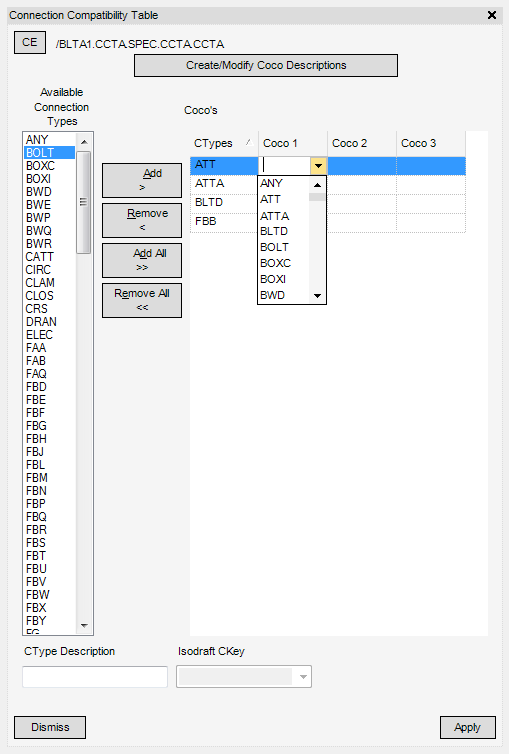
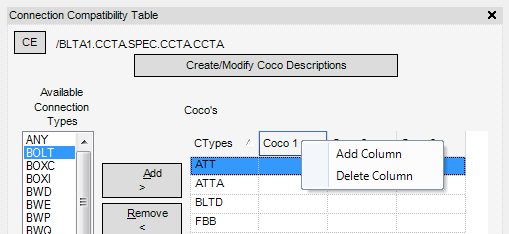
Select the required Connection types from the Available Connection Types list. Multiply selections can be made by holding down the CTRL key and using the left click on the mouse.
To remove all Coco’s click Remove All <<.
Click Apply to commit changes made to the table.
|
Note:
|
Changes made in the table are only saved when the Apply is clicked. Until then they are held in the life time of the window. If Dismiss is clicked then the changes will be lost.
|
Click Add Column to insert an additional Coco column to the table.
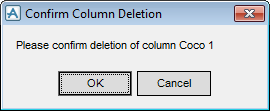
Click Delete Column to remove the Coco table, the user will be prompted to confirm this action:
Click Apply to commit changes.
In the center bottom of the dialog is an ISODRAFT CKey drop-down. The drop-down becomes active once an entry has been populated in the Coco table.
|
•
|
BW Butt Weld
|
|
•
|
CP Compression
|
|
•
|
FL Flange
|
|
•
|
SC Screwed
|
|
•
|
SW Socket Weld
|
|
•
|
PL Plain
|
In the bottom left of the Coco table window is a CType Description read-only text box. Each time a different connection type is selected in either the Available Connection Types list or the Coco’s table will display any previously created/modified Coco description (see Coco Descriptions) to aid the user when populating the window.
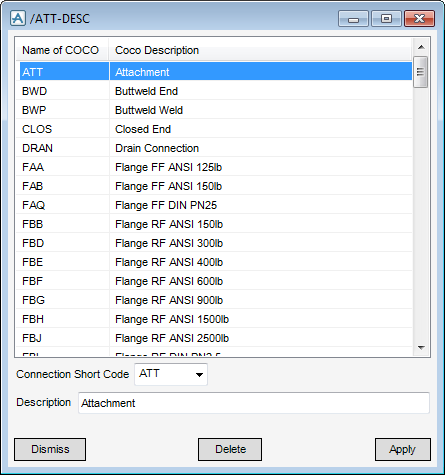
Click Create/Modify Coco Descriptions to display the following window:
To add a long description, select a Connection Short Code from the drop-down list.
In the Description field enter an appropriate description of the Connection Type.
Click Apply to commit the change and add the description to the list.

