Catalogues and Specifications
User Guide
Additional Tools : Pipework : Bolt Table Utilities
Although the Bolt Table is part of the Catalogue Database, it has been designed for the exclusive use with ISODRAFT. Refer to BOLTING for further information.
Select Create > Bolt Table Utilities from the main menu to display the Create Bolt Table Utilities windows.
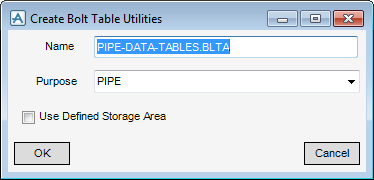
To use a pre-defined storage area, check the Use Defined Storage Area box. Refer to Storage Areas for further information.
Click OK to create a Bolt Table (BLTA element) in the database hierarchy and display the Bolt Table Utilities window:
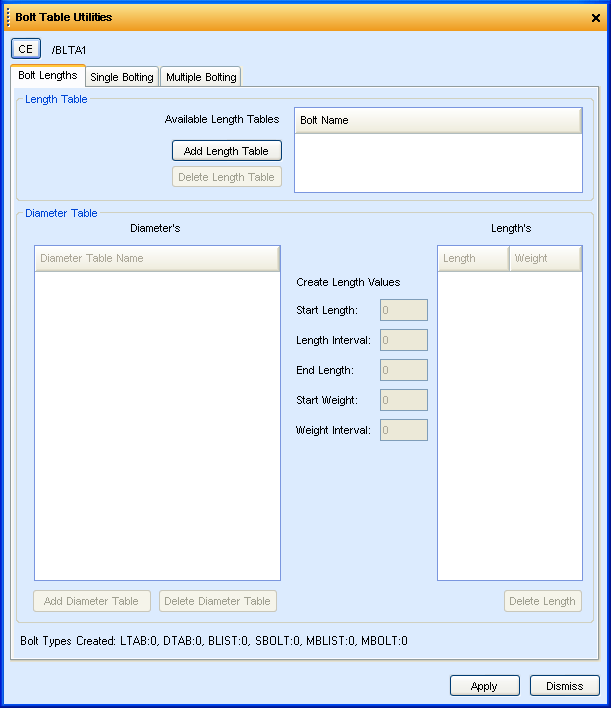
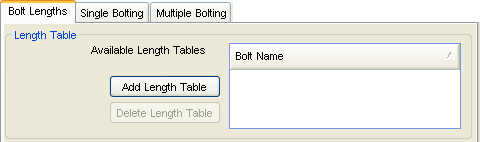
The Bolt Table Utilities window is divided into tabs. By default the Bolting Table Utilities window will display the Bolt Lengths tab:
To create a Length Table click Add Length Name and change the text in the Available Length Tables box to the required name.
A new LTAB element is created in the database hierarchy and the element will appear in the list of Available Length Tables.
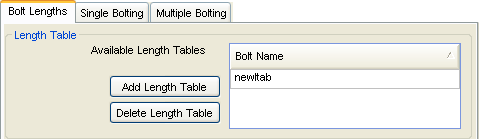
More entries can be added to the list of Available Length Tables by repeating the above steps.
Clicking Delete Length Table will remove the currently selected item from the Available Length Tables list.
A Diameter Table can now be created:
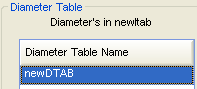
To create a Diameter Table click Add Diameter Table and change the text in the Diameter Table Name box to the required name.
Click Apply located at the bottom of the Bolt Table Utilities window. A new DTAB element is created in the database hierarchy:
The Diameter Table allows a range of values to be input:
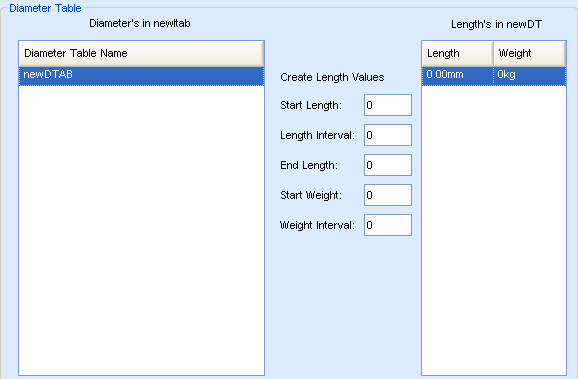
Populate the Diameter Table as follows:
|
1.
|
Enter a starting value such as 10 in the Start Length field.
|
|
2.
|
Enter a stepping value such as 5 in the Interval field.
|
|
3.
|
Enter an end range value such as 60 in the End Length field.
|
|
4.
|
Enter a start weight such as 5 in the Start Weight field.
|
|
5.
|
Enter a weight interval such as 2 in the Weight Interval field.
|

Click Delete Diameter Table to remove the currently selected Diameter table.
Click Dismiss to close the window.
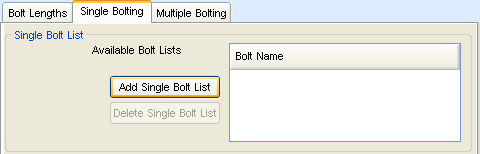
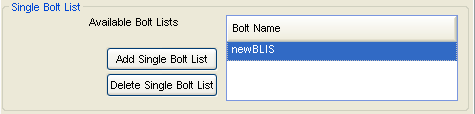
Click Add Single Bolt List and change the text in the Available Bolt Lists box to the required name.
A new BLIS element will be created in the database hierarchy and the entry will appear in the list of Available Bolts.
More entries can be added to the list of Available Bolts by repeating the above steps.
Clicking Delete Single Bolt List will remove the currently selected item from the Available Bolts list.
With an entry highlighted in the Available Bolts list it is now possible to add Single Bolt Elements (SBOL).

The caption above the Single Bolt Elements table states “Available Sbolt’s in ..”. The caption will change depending on the selected entry in the list of Available Bolts.
Click Apply.
Click Delete Bolt to remove a column of data.
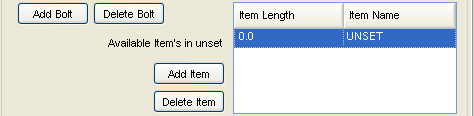
Click Add Item to add a row to the Bolt Items list.
To replace a value in the list highlight an entry then enter new values in the fields and then click Apply.
To delete a Bolt Item click Delete Item.
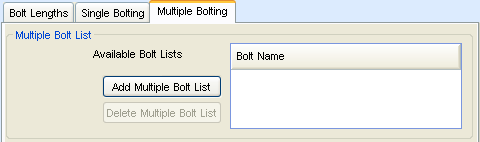
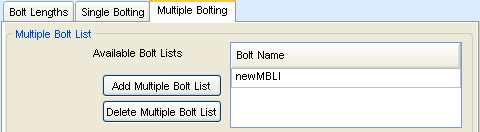
Click Add Multiple Bolt List and change the text in the Available Bolt List box to the required name.
Click Apply.
A new MBLI element will be created in the database hierarchy and the entry will appear in the list of Available Bolts.
With an entry highlighted in the Available Bolts list it is now possible to add Multiple Bolt Elements.
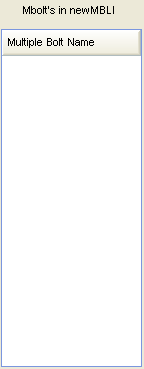
The “Mbolt’s in ...” column will show MBOL elements that are currently included in the selected Available Bolts list (the caption will change depending on the currently selected Available Bolts).
Click Add Multiple Bolt to add a new MBOL entry.
Click Delete Multiple Bolt to remove an MBOL entry from the list.
If Single Bolts have been created (refer to Create a Single Bolt Table) they can be added to the selected MBOL.
Available SBOL elements will be listed in the column labelled “Available Sbolt’s in ..”, the caption will change depending on the current Bolting Table:
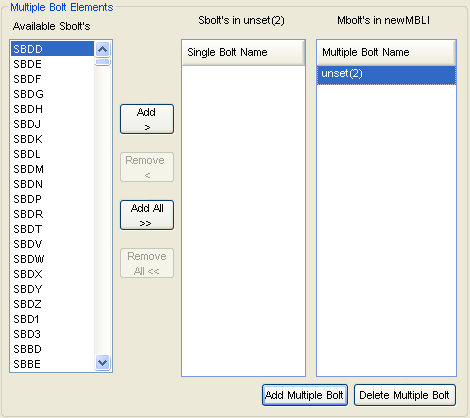
Highlight an entry in the “MBolt’s in ...” column.
Next highlight an entry in the “Available Sbolt’s in ...” column (the caption will change depending on the name of the Bolting Table currently being edited).
Click Add All >> to add all available Sbolt’s to the currently selected Multiple Bolts list.
Click Remove All << to remove all Sbolt’s from the Multiple Bolts list.