Catalogues and Specifications
User Guide
General Purpose Specification Tables : Surface Treatment : Surface Treatment Table Groups
The Equipment application allows Table Groups to be created for the purpose of setting up specific Surface Treatments (refer to Surface Treatment Definition for more information) for parts prior to being applied to a model in the MODEL application.
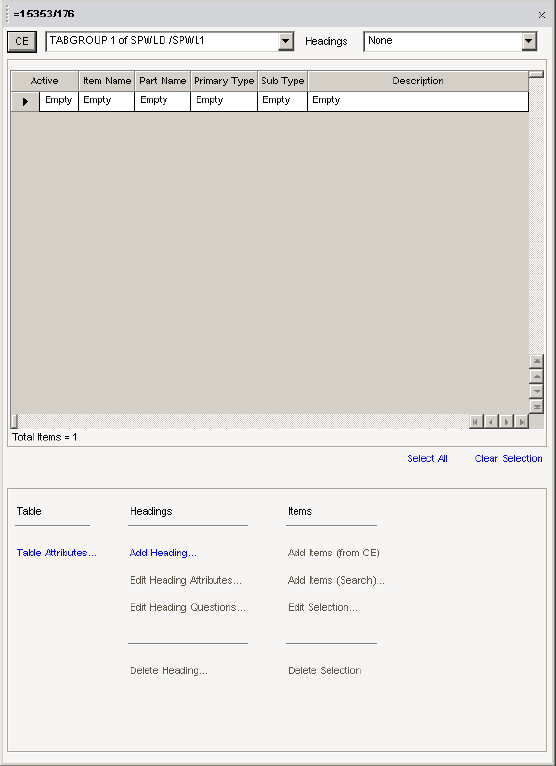
When dealing with a Surface Treatment a TABGRO will reference a PART family listing all the surface treatments that are to be available to the project (refer to Create Part Family for more information).

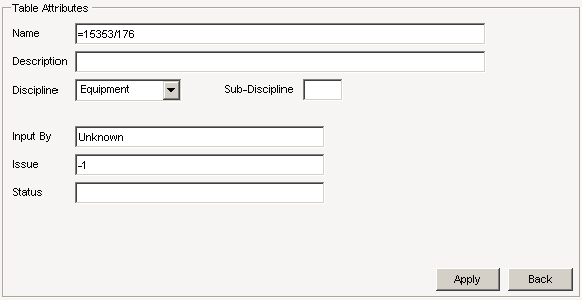
In the Description field enter an appropriate explanation of what the Table Group is to be used for.
In Discipline select a value from the drop-down, valid options are:
In the Input By field enter the name of the administrator creating the new specification.
In the Issue field enter an issue number.
In the Status field enter any additional tracking information that may be useful for identifying the status of the specification.
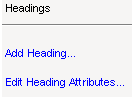
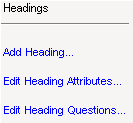
Click Add Head Heading to display the Add Heading sub window.

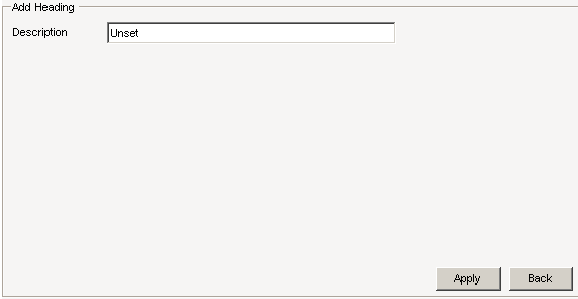
Click Apply to commit the change and go directly to the Edit Heading window below:
The Edit Heading window is displayed either via the Add Heading window or by clicking Edit Heading Attributes from the parent window.
The Edit Heading window allows changes to be made to the Description, Name and Purpose attributes of the Table Group.
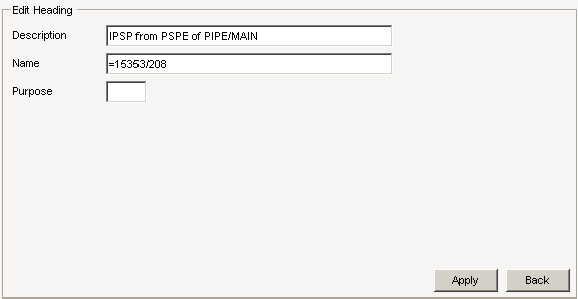
Enter appropriate values in each field and click Apply to commit the changes.
Click Back to return to the parent window.
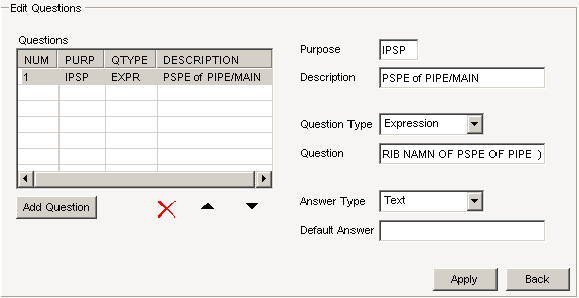
The Edit Questions window allows the user to build the Heading row of the new Table Group.
|
|
|
|
|
|
|
|
|
|
|
In the Purpose field enter an appropriate value such as IPSP, OPSP and so on.
Enter a value for the Header Description.
Select a Question Type from the drop-down, possible values are as follows:
Enter the appropriate value into the Question field. The value entered here is dependant on the selection made in the Question Type. For example if Expression was selected, enter a suitable expression such as ‘NAMN OF PSPE OF PIPE’.
Select an Answer Type from the drop-down, possible values are as follows:
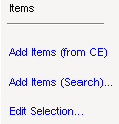
Click Add Items (from CE) to add a currently selected GPART in the Catalogue explorer to the list of Table Items in the Table Group (TABITE elements).
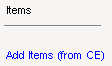

For a detailed explanation of GPARTS refer to Create Part Family for more information.
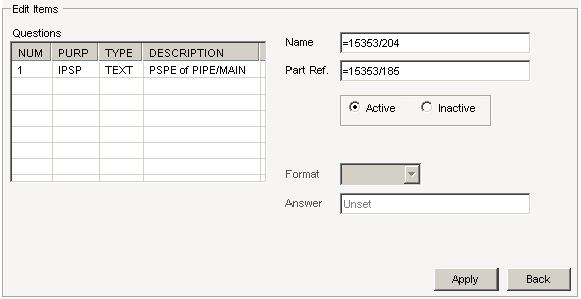
Highlight an entry in the Questions list.
The Format drop-down will display the valid answer type, for example Single.
In the Answer field enter a value if desired, such as C150.