Cable Design
User Guide
Cable : Modify Cable : Multiple Route Nodes
To create multiple route nodes, on the Cabling System tab, in the Create group, click Route select Multiple Route Nodes from the list to display the Multiple Route Nodes window:
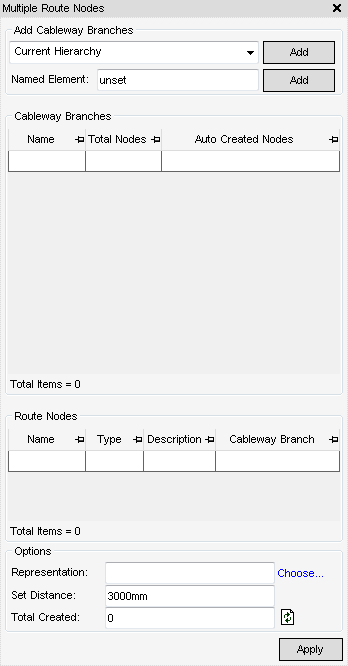
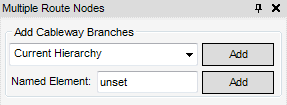
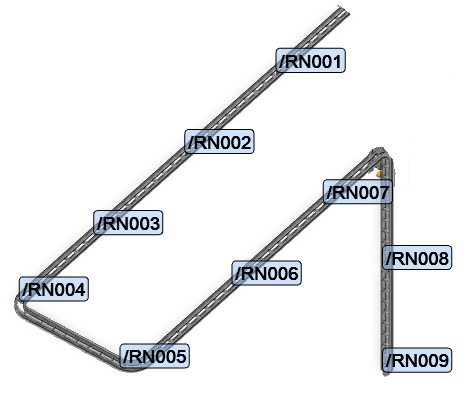
Cables are routed along cableway branches, the user must first select the cableway branches to route the cables. The Multiple Route Nodes window provides the user with two methods to add cableway branches:
From the Add Cableway Branches part of the Multiple Route Nodes window, click to display the options for the user to select the Cableway Branches.
|
Adds the currently selected hierarchy in the Design Explorer to the Cableway Branches pane of the Multiple Route Nodes window.
|
|
|
Adds the currently selected cableway branch in the Design Explorer to the Cableway Branches pane of the Multiple Route Nodes window.
|
|
|
Adds the current database to the Cableway Branches pane of the Multiple Route Nodes window. A Confirm window is displayed: Are you sure you want to add Cableway Branches in this Database?. Click Yes to add all the cableway branches in this database or click No to close the window.
|
|
|
Adds all the cableway branches to the Cableway Branches pane of the Multiple Route Nodes window. A Confirm window is displayed: Are you sure you want to add All Cableway Branches in this MDB. Click Yes to add all the cableway branches in this MDB or click No to close the window.
|
|
|
Add the cableway branches contained within the drawlist to the Cableway Branches pane of the Multiple Route Nodes window.
|
|
|
Adds the cableway branches contained within the current collections to the Cableway Branches pane of the Multiple Route Nodes window.
|
|
|
A Confirm window is displayed OK to replace currently active major application/utility ‘Standard Element Pick?’. Click Yes to pick an area element or No to close the window. The user is prompted to Pick elements in the 3D graphical view then press <Esc>.
|
|
|
A Confirm window is displayed: OK to replace currently active major application/utility “Standard Element Pick”?. Click Yes to replace or click No to close the window. Prompts the user to graphically pick an area then adds all elements within that area to the Cableway Branches pane of the Multiple Route Nodes window.
|
|
|
Adds everything enclosed within the specified/selected area/zone to the Cableway Branches pane of the Multiple Route Nodes window.
|

Once the selection option has been carried out, click Add, the Cableway Branches part of the Multiple Route Nodes window is now populated with the cableway branches along with its total nodes included in the selected for example, hierarchy, element or drawlist.
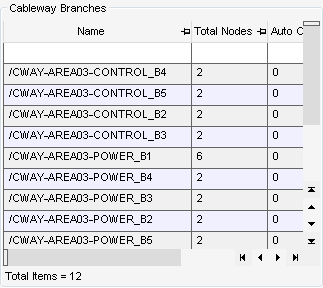
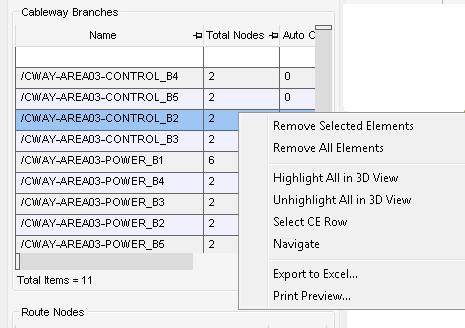
From the Cableway Branches of the Multiple Route Nodes window, the user can remove, highlight, select, navigate, export or view a print preview of the select cableway branch. Right click the required cableway branch in the grid, multi selection functionality is also available

|
The Route Node Modify Tasks window is displayed, modify the route node as required. Refer to XX for more information.
|
|
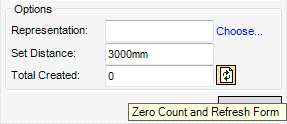
From the Options part of the Multiple Route Nodes window, the user can if required during the creation of multiple routes modes choose how the nodes are represented in the 3D view and set the spacing distance of the route nodes.
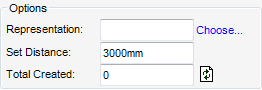
The Representation field sets the SPREF of the route node, to do this, select Choose the Choose Route Node window is displayed.
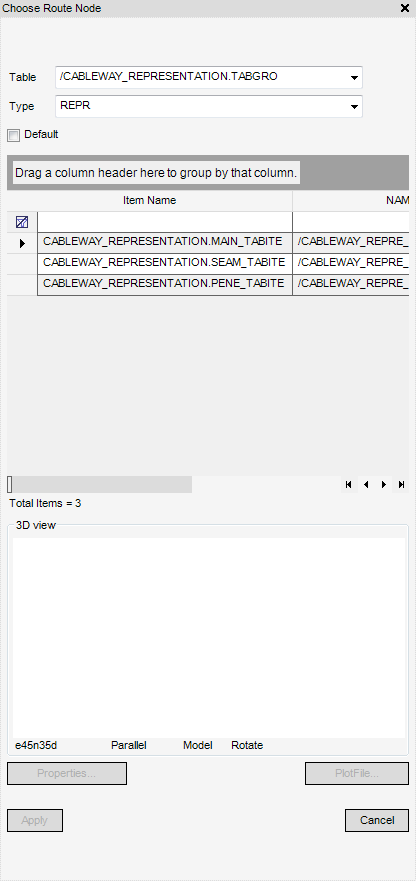
Populated with the route node representation which are available for selection. Click to select the required representation, a 3D graphical representation of the route node is also displayed in the Choose Route Node window.
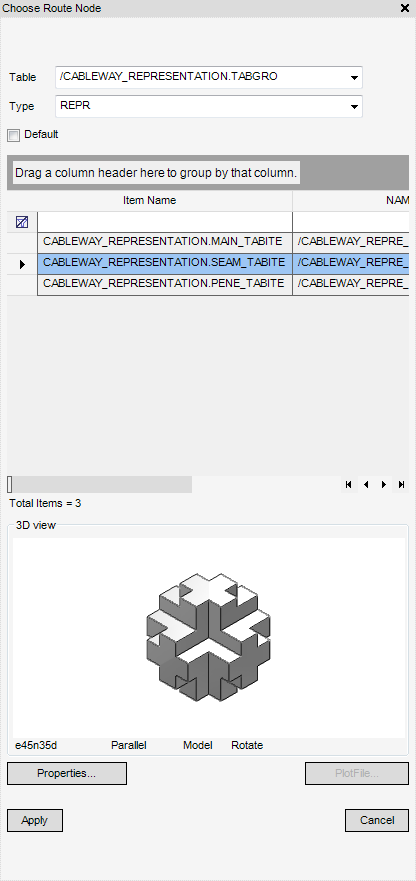
Click Properties to display the basic properties of the selected route node.
Click Apply to choose the route node.
To create multiple route nodes along the selected cableway branch, click Apply. The progress bar is displayed as the application creates multiple route nodes, when completed the Total Created field of the Options part of the Multiple Route Nodes window is populated with the number created.
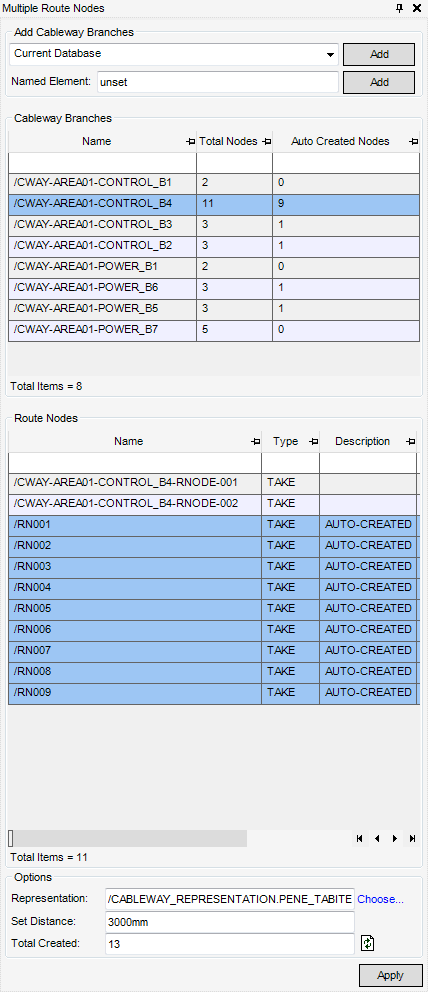
The created route node(s) are automatically created and populate the Route Nodes part of the Multiple Route Nodes window, the route nodes are auto-named and are described as AUTO-CREATED.
If required, the user can modify the basic aspects of the route nodes, on the Cabling System tab, in the Modify group, click Route, select Multiple Route Nodes from the list to display the Multiple Route Nodes window. Modify the route nodes characteristics as required.