Cable Design
User Guide
Cable : Modify Cable : Manual Route Cable
From the Tasks part of the Modify Cable window, click Manual Route Cable link to display the Manual Route Cable window. The current cable segments (if existing) are automatically displayed in the Existing Cable Segments part of the form.
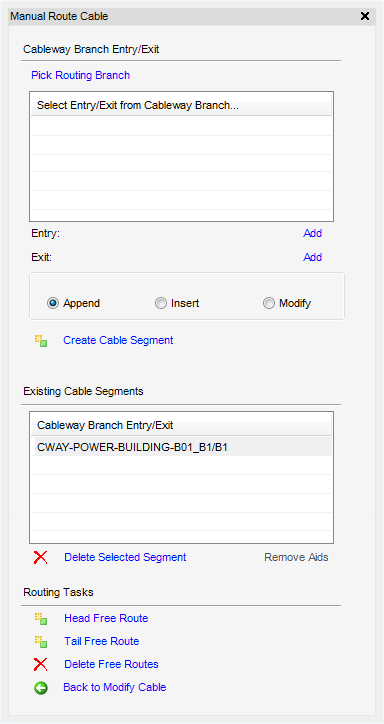
The user must first select the cableway branch to create the segment of the cable route. Click Pick Routing Branch and then select a cableway branch from the 3D view.
The Select Entry/Exit from select Cableway Branch list will populate and display the points along the cableway branch that can be used as entry and exit points. The user must select a point from the list and then click Add (either of them) next to Entry or Exit shown below the list. The selected entry and exit points for the segment must be on the same cableway branch.
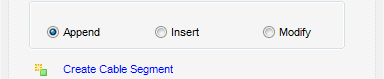
When the entry and exit points have been defined, the user can create the segment. Select Append radio button and click Create Cable Segment to add it to the end of the cable route.
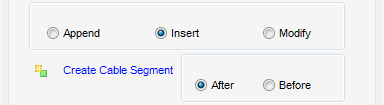
Another option is to insert the segment in between existing segments. Select Insert radio button, then select After or Before radio button. Select a segment from the Existing Cable Segments list before the user clicks Create Cable Segment.
|
Note:
|
When the user selects different creations methods with entry and exit points already selected, the user will be prompted with a Confirm window to clear the selected Entry/Exit points. Click Yes to accept or No to cancel.
|
An existing cable segment can be modified, select Modify radio button and then select a segment from the Existing Cable Segments list. Which will fill the Entry and Exit lines and can then be changed in a similar way to the creation method. When new entry and exit points have been selected, the changes can be made. Click Modify Selected Segment.
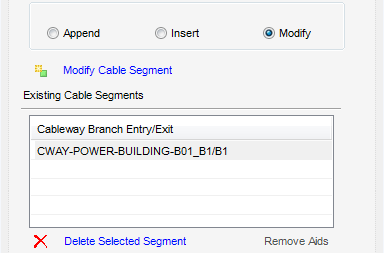
Existing cable segments can be deleted, select the item in the Existing Cable Segments list and then click Delete Selected Segment.
The user can hide any graphical aids from the 3D view, click Remove Aids to remove the graphical Aids. Click Display Aids to restore the graphical aids to the 3D view.
If the user wants the head of the cable to be free-routed, click Head Free Route. Which will route the cable outside of the cableway branches and create POINTR elements from the head of the cable to the start of the first cable segment.
If the user wants the tail of the cable to be free-routed, click Tail Free Route. Which is similar to the head free route but free routes from the end of the last cable segment to the tail of the cable.
If the user wants to delete the free routing from the head and tail of the cable, click Delete Free Routes. Which will remove any POINTR elements before the first cable segment and after the last cable segment.