Administrator
User Guide
Creating the Main Admin Elements : Databases
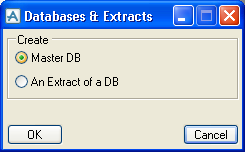
To create a database, set the Elements option list on the Admin elements form to Databases & Extracts, and click Create. You will see a small form prompting you to select whether you want to create a normal Master DB or An Extract of a DB:
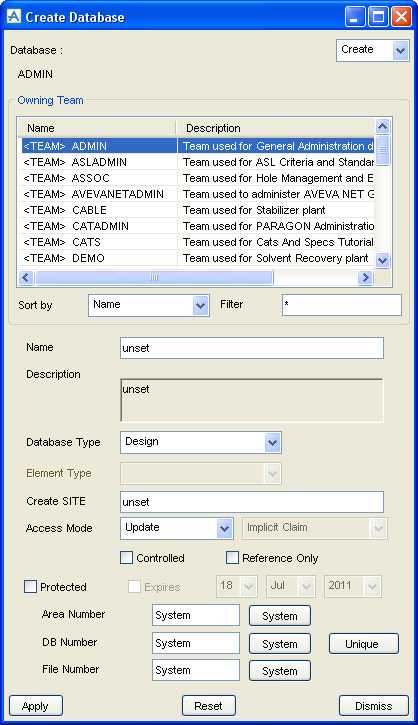
The Owning Team is selected from the scrollable list. Note the Sort by and Filter option buttons: refer to Sorting and Filtering, for further information.
After selecting a Database Type from the drop-down list the name for the Create field changes. For example if you select a database type, Design, the Create field is named Create Site. If you select a database type, Catalogue, the Create field is name Create CATA.
Selecting a database type, Engineering activates the Element Type drop-down list and named the Create field, Create ENGWLD or Create XPIWLD depending on the selection made in the Element Type field.
|
•
|
Select the Access Mode: if you choose Multiwrite, you should also select the Claim Mode from the next option list. For more information about Multiwrite Databases, refer to Multiwrite Databases and Extracts.
|
By selecting the Controlled checkbox you can specify that the database will be Controlled; that is, access is controlled by an external system. For more information, refer to CONTROLLED Databases.
By selecting the Reference Only checkbox the created database is limited to only contain elements that represent information that can be updated from both 2D and 3D applications, for example piping or cabling systems.
By selecting the Protected checkbox the databases are marked as uniquely belonging to the project from which it was protected such that restricted users cannot copy data from that database into another project, even through a physical copy of the database file. The following functionality will be unavailable when Protected is checked:
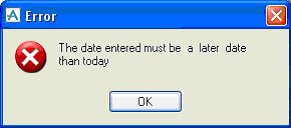
When Protected has been checked it is possible to set an expiry data. Enabling the Expires checkbox highlights the date pulldowns based on today’s date.
The Area Number, DB Number and File Number are normally set by the system, as shown by the word System entered in the text boxes. It may sometimes be necessary to set them manually.
|
•
|
The Area Number is used if you need to store databases in a different directory. Refer to Distributed Databases, for further information. You can reset this attribute by clicking the System button to the right of the text box.
|
|
•
|
The DB Number is used internally by AVEVA E3D™ to identify the database. When a database is copied or an extract is made, the copy or extract keeps the same DB number as its parent. You cannot have more than one database with the same DB number in the same MDB (unless the database is a Working Extract, refer to Types of Extracts. The DB number for a user database must be in the range 1 – 7000 or 10000 – 250000. Number between 7001 – 9999 and 250001 - 255000 are reserved for AVEVA Solutions use. If the user tries to create a new database between the specified range, an error message is displayed. To reset this attribute by clicking System to the right of the textbox. Clicking Unique allows the user to create a database within the project’s range.
|
|
•
|
The File Number is used in generating the filename of the database. For example, a database in project abc with file number 12 will be stored in the file named abc012. The File Number text box will only accept values in the range of 1-8192. This value entered must be unique within the project. If the value is set to System (using the button next to the text box) then the file number will be set to 0. This is recommended, particularly if you are going to use extracts, as it will make sure that filenames are consistent within an extract family. In modify mode, the text box is inactive: you can only change the file number to 0 by clicking the System button.
|
Click Apply, and the database will be created.