Administrator
User Guide
Creating the Main Admin Elements : Starting Up ADMIN
When the project has been set up as described in Setting Up a New Project, you can start AVEVA E3D™ as SYSTEM/XXXXXX, giving the code or long project name of the new project. Enter ADMIN by selecting Admin from the Modules option list.

The options on this menu bar provide access to all AVEVA E3D™ project administration tools. The options under the first five menu headings (Admin, Display, Query, Settings and Utilities) are similar to the options on other GUI modules. The other options are specific to ADMIN.
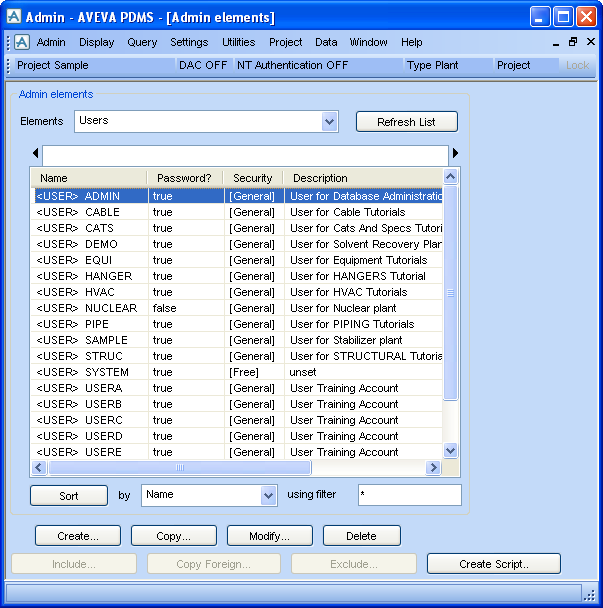
You will also see the Admin elements window, which allows the user to create, copy, modify and delete the Admin elements. This window is similar to the Members list in other modules: it displays a list of all the elements of the type shown on the Elements drop-down list.
This window has different states, depending on which element type is being displayed. The buttons at the bottom of the form (Create, Copy, Modify, Delete, etc.) will allow you to handle elements of the appropriate type. Some buttons will be inactive for some element types.