Administrator
User Guide
Font : TrueType Fonts : Setting Up TrueType Fonts
Select Project > TrueType fonts from the main menu to display the TrueType fonts configuration form:
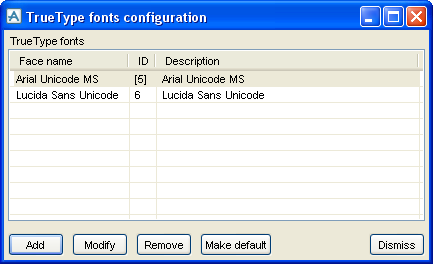
The Add button is used to add another TrueType font to the project:
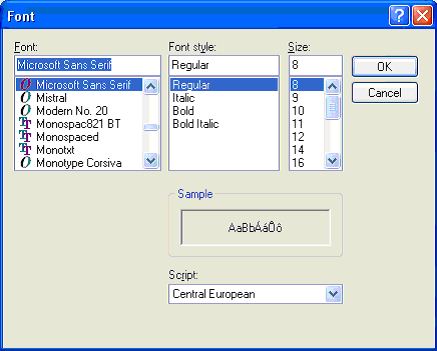
The Font style, Size, and Script are irrelevant here. They only affect the appearance of the text shown in the Sample box. By clicking on the OK button, the face name (Font list) is passed back to the main form. If this face name has not yet been configured, another form appears:
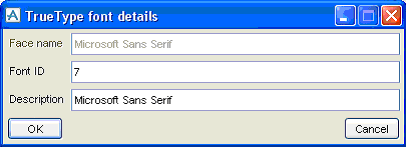
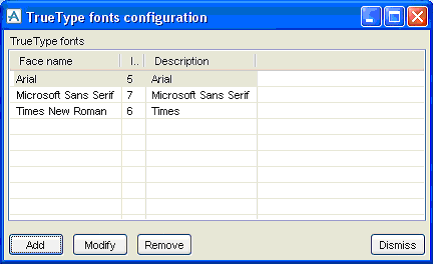
There, you need to supply required Font ID and Description (which are preset at the first free TrueType font ID), and the description matching the face name. After clicking OK the selected font is added to the system. The fonts are listed in alphabetical order of the face name, as shown below:
The Modify button allows the font ID or Description of the selected font to be changed, using the same 'TrueType font details' form as before. It is not possible to change the face name of the font.
The Remove button removes the selected font from the system, i.e. it will no longer be registered with the system and becomes unavailable for use.