Stairs Ladders and Handrails
Administrator Guide
Templates : Create Handrail Gate Template
Gate templates are used in the creation of handrails. The allowable gates are defined in the defaults by referencing gate parts. Gate parts are created in the PARAGON module, refer to Catalogue and Specifications User Guide for further information. Gate parts reference either catalogue or template gates.
To create a Gate Template element make sure the correct Area element is selected in the Templates part of the SLH Administration Tasks window.
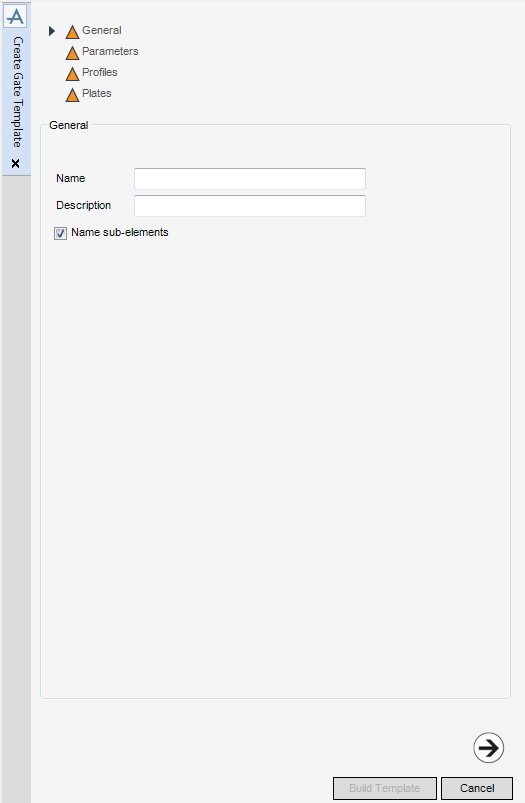
To create a Gate Template element, from the Templates part of the SLH Administration Tasks window, click Create next to the Handrail Gates drop-down list to display the Create Gate Template window.
|
Note:
|
All mandatory parts of the Create Gate Template window are indicated with an amber triangle. The SLH application replaces the amber triangle with a green tick when the Create Gate Template window has been populated with the required data.
|
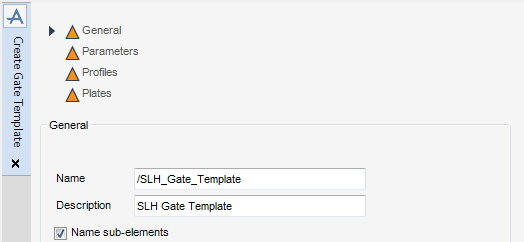
The General part of the Create Gate Template window displays by default, the administrator can name and describe the new Gate Template element.
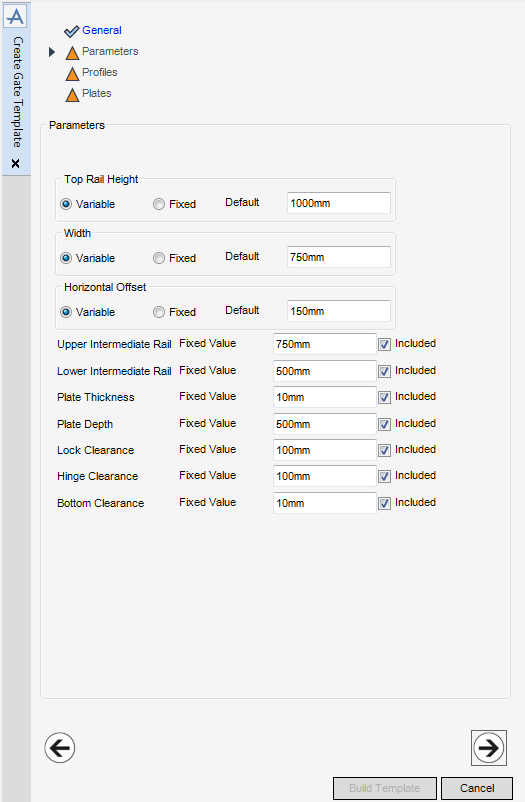
Click Next to display the Parameters part of the Create Gate Template window. Refer to Gate Template Parameters for further information.
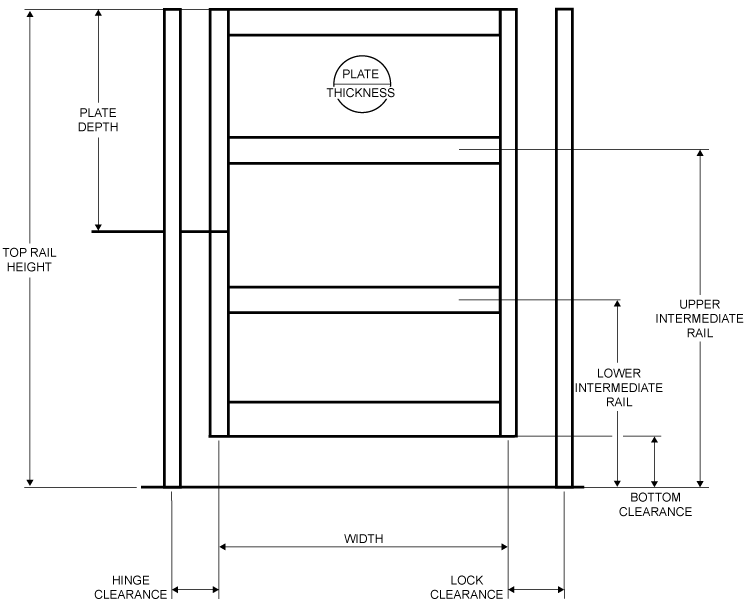
The Parameters part of the Create Gate Template window allows the administrator to define the Gate Template dimensions.
|
To remove the plate thickness element from the template, click to clear the Included check box.
|
|
|
To remove the plate depth element from the template, click to clear the Included check box.
|
|
|
To remove the lock clearance element from the template, click to clear the Included check box.
|
|
|
To remove the hinge clearance element from the template, click to clear the Included check box.
|
|
|
To remove the bottom clearance element from the template, click to clear the Included check box.
|
Click Next to display the Profiles part of the Create Gate Template window. Refer to Gate Template Profiles for further information.
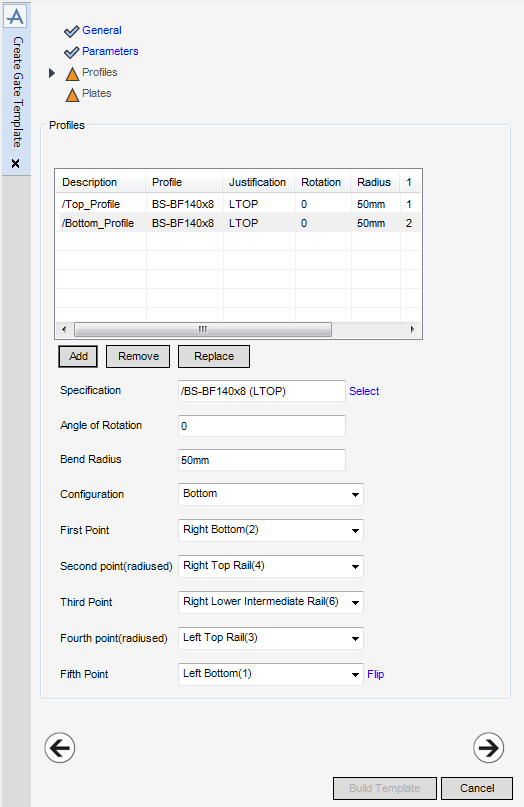
The Profiles part of the Create Gate Template window allows the administrator to define the Profiles used in the gate template. The profiles are positioned using p-points which are specified by the administrator. If a p-point is selected that requires the presence of a parameter, the SLH application includes the parameter by default.
|
The functionality available from the Profile for gate template window is identical to that available from the Top Rail Specification window. Refer to Handrail Profile Specification for further information.
The selected P-Line Justification value displays in the Justification column of the Profiles list.
|
|
|
Click Flip to reverse the order of the defined points.
|
Click Next to display the Plates part of the Create Gate Template window. Refer to Gate Template Plates for further information.
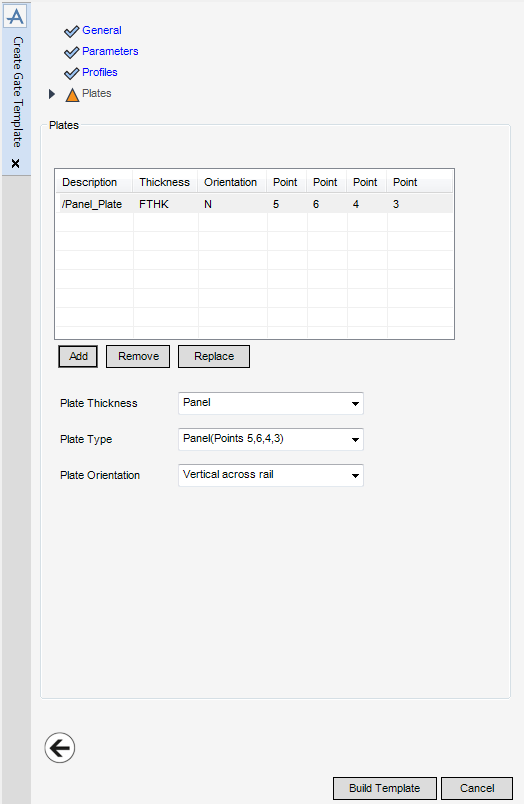
The Plates part of the Create Gate Template window allows the administrator to define the Plates used in the gate template. The plates are positioned using p-points which are specified by the administrator. If a p-point is selected that requires the presence of a parameter, the SLH application includes the parameter by default.
Click Build Template to create the gate template.

