Stairs Ladders and Handrails
Administrator Guide
Assemblies : Create Handrail Assembly
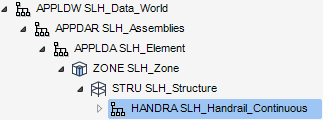
To create a Handrail Assembly element make sure the correct Structure element is selected in the Assemblies part of the SLH Administration Tasks window.
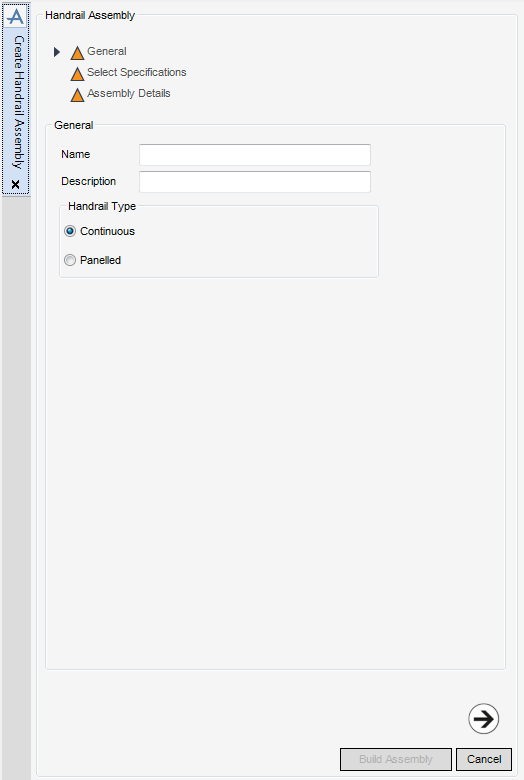
To create a Handrail Assembly element, from the Assemblies part of the SLH Administration Tasks window, click Create next to the Handrail drop-down list to display the Create Handrail Assembly window.
|
Note:
|
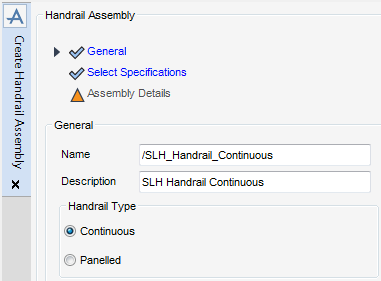
All mandatory parts of the Create Handrail Assembly window are indicated with an amber triangle. The SLH application replaces the amber triangle with a green tick when the Create Handrail Assembly window has been populated with the required data.
|
The General part of the Create Handrail Assembly window is displayed, the administrator can name and describe the new Handrail Assembly element.
|
The Continuous radio button creates a Continuous Handrail Assembly and is selected by default. Refer to Continuous Handrail Assembly for further information.
Select the Panelled radio button to create a Panelled Handrail Assembly. Refer to Panelled Handrail Assembly for further information.
|
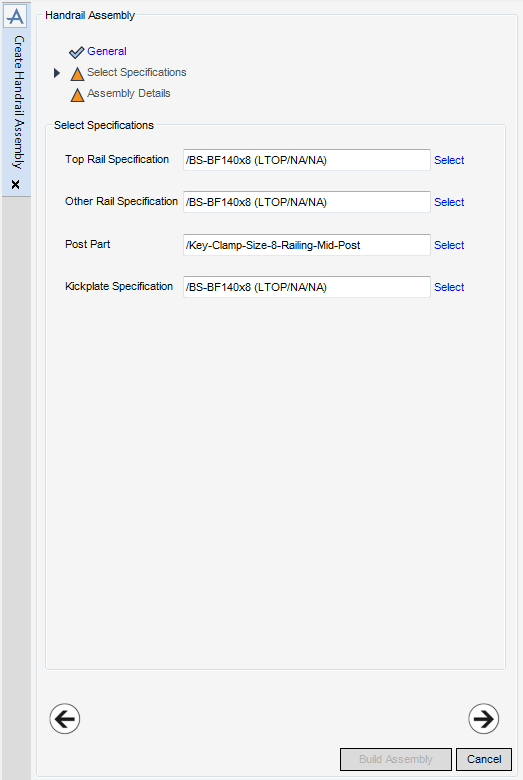
The administrator can select Specifications (refer to Continuous Handrail Select Specifications for further information) and define Assembly Details (refer to Continuous Handrail Assembly Details for further information) for the Continuous Handrail Assembly.
The Select Specifications part of the Create Handrail Assembly window allows the administrator to define the profile specifications of the top rail, other rails, post parts and the kickplate.
|
The functionality of the Top Rail Specification window is explained as part of the process to create a Default. Refer to Handrail Profile Specification for further information.
|
|
|
The functionality available from the Other Rail Specification window is identical to that available from the Top Rail Specification window. Refer to Handrail Profile Specification for further information.
|
|
|
The functionality available from the Post Part window is identical to that available from the Gate Part window. Refer to Handrail Part for further information.
|
|
|
The functionality available from the Kickplate Specification window is identical to that available from the Top Rail Specification window. Refer to Handrail Profile Specification for further information.
|
Click Next to display the Assembly Details part of the Create Handrail Assembly window. Refer to Continuous Handrail Assembly Details for further information.
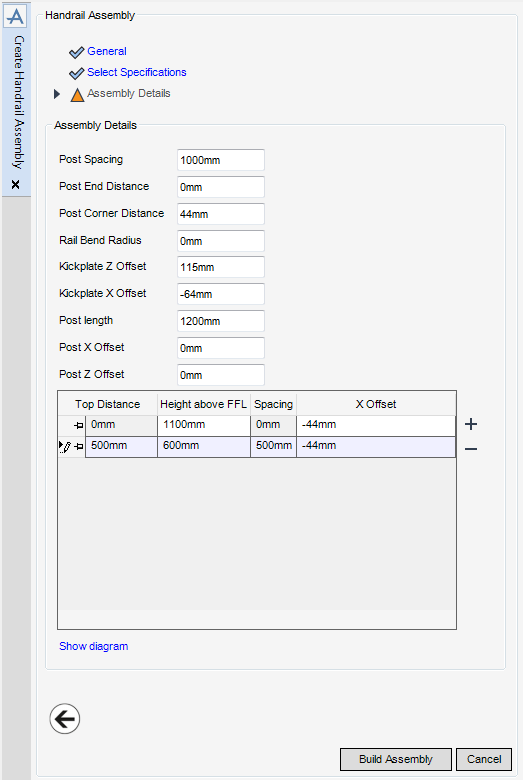
The Assembly Details part of the Create Handrail Assembly window allows the administrator to define the continuous Handrail Assembly dimensions and is populated with constraints set in defaults.
From the Assembly Details part of the Create Handrail Assembly window, define the continuous handrail dimensions.
|
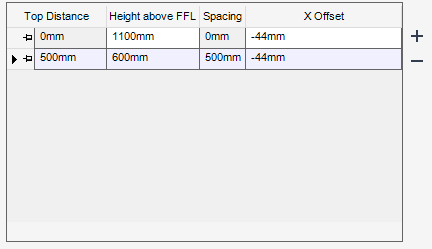
Input a value to define the distance of the rail from the rail above. The value of the top row is always zero and is not editable. If a new value is entered, the SLH application adjusts the values in the Top Distance and Height above FFL columns accordingly.
|
||
The administrator can select Specifications (refer to Panelled Handrail Select Specifications for further information) and define Assembly Details (refer to Panelled Handrail Assembly Details for further information) for the Panelled Handrail Assembly.
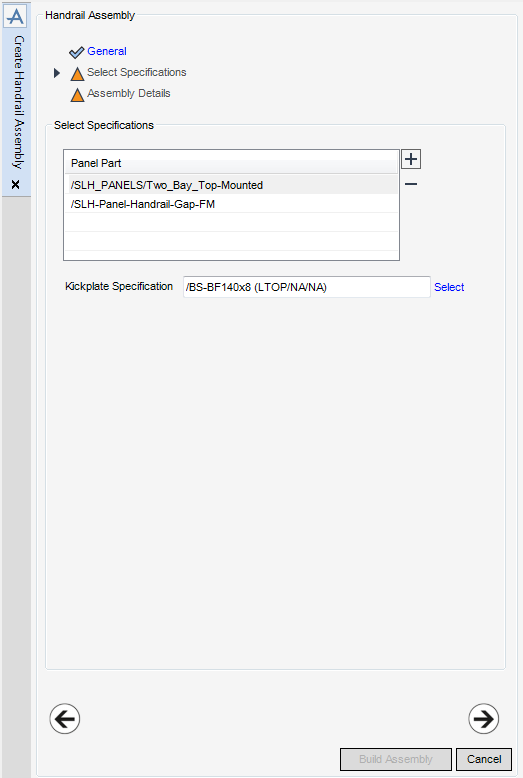
The Select Specifications part of the Create Handrail Assembly window allows the administrator to define the panel parts and the profile specification for the kickplate. Panel Parts of the handrail can be added and removed from the list of defaults.
All of the functionality for the addition and removal of Panel Parts, is identical to that available from the Detailing for Handrail part of the Create Defaults window. Refer to Handrail Part for further information.
|
Click Select to display the Kickplate Specification window.
The functionality available from the Kickplate Specification window is identical to that available from the Top Rail Specification window. Refer to Handrail Profile Specification for further information.
|
Click Next to display the Assembly Details part of the Create Handrail Assembly window. Refer to Panelled Handrail Assembly Details for further information.
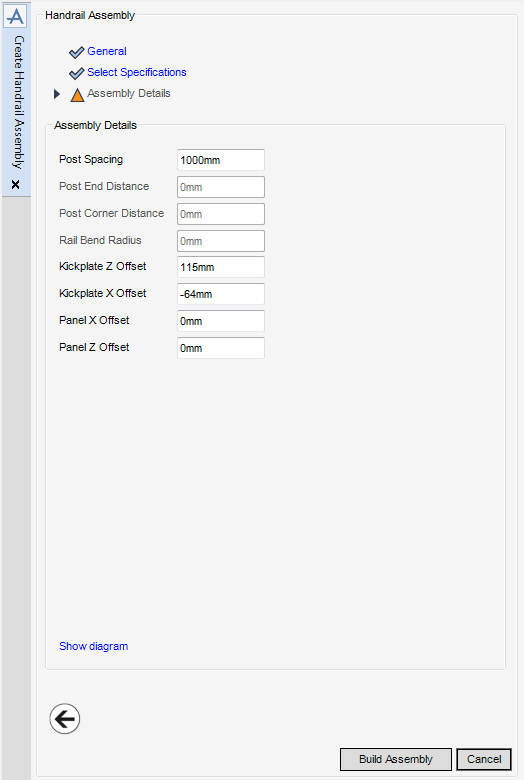
The Assembly Details part of the Create Handrail Assembly window allows the administrator to define the Handrail Assembly dimensions.
Click Create to create the assembly.

