Pipe Stress Interface
User Guide
Groups
|
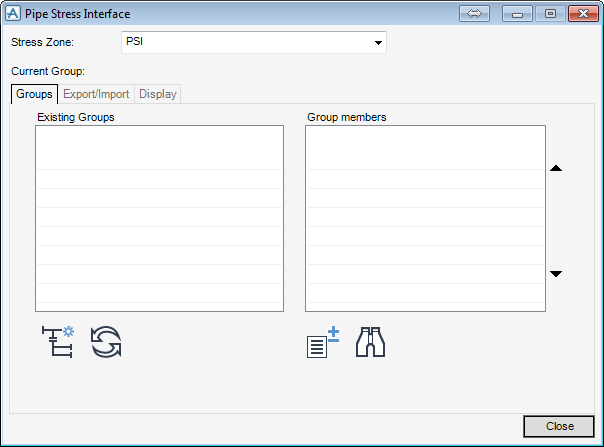
Displays the New Stress Group Name window.
|
Enter the name of the new Stress Group and click OK. Clicking Dismiss closes the window without creating a Stress Group.
|
Note:
|
When the new Stress Group is created, it will be displayed in the Existing Groups pane and in the Model Explorer hierarchy.
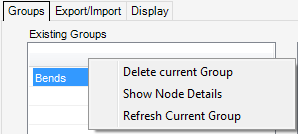
Right-click a Stress Group in the Existing Groups pane to view more options.
Displays the Node Details window.
Click Add/Remove Members. The Pipe Stress Interface window becomes greyed out and inactive. To exit the inactive window at any time, press Esc (escape key).
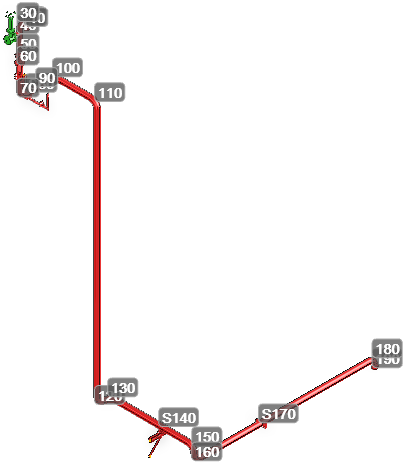
The user is prompted to Identify element, in the 3D view window. Click to select the branches to include in the Stress Group. The Nodes are displayed to aid identification.
When finished selecting the branches to include in the Stress Group, press Esc (escape key). The Pipe Stress Interface window become active.
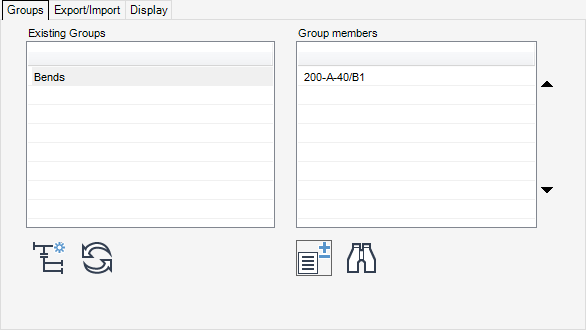
The selected branches are displayed in the Group Members pane.
Click Add/Remove Members. The Pipe Stress Interface window becomes greyed out and inactive. To exit the inactive window at any time, press Esc (escape key).
The user is prompted to Identify element, in the 3D view window. Click to select the branches to remove from the Stress Group. The Nodes are displayed to aid identification.
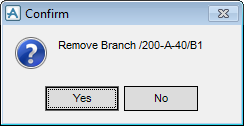
When finished selecting the branches to remove in the Stress Group, press Esc (escape key). The Pipe Stress Interface window becomes active, with the branches deleted from the Pipe Stress Interface window and the Model Explorer.
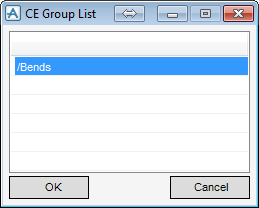
The CE Group List window lists the Stress Groups that the selected branch belongs to.

