AVEVA Clash Manager™ 14.3
User Guide
Procedures : Connect Clash Manager
|
•
|
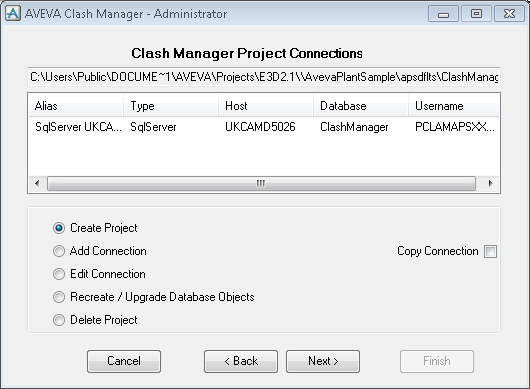
Use AVEVA Clash Manager Project Connections window to create an SQL server hosted project.
|
From the grid pane of the AVEVA Clash Manager Project Connections window populated with a list of connections, use the right click menu to:
|
|||||
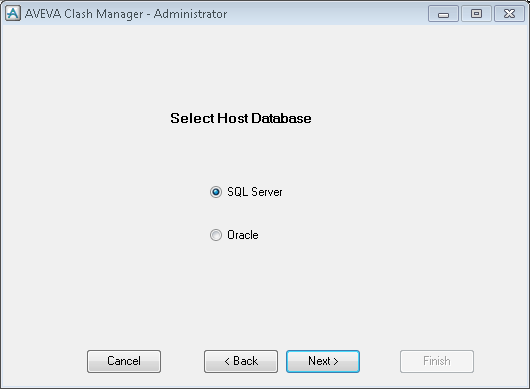
Use the AVEVA Clash Manager Select Host Database window to select an SQL host sever.
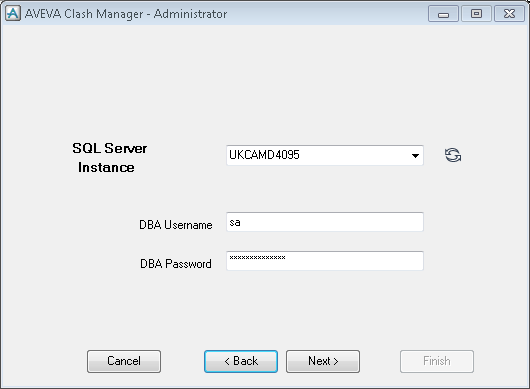
Use the AVEVA Clash Manager SQL Server Instance window to select an SQL Server Instance.
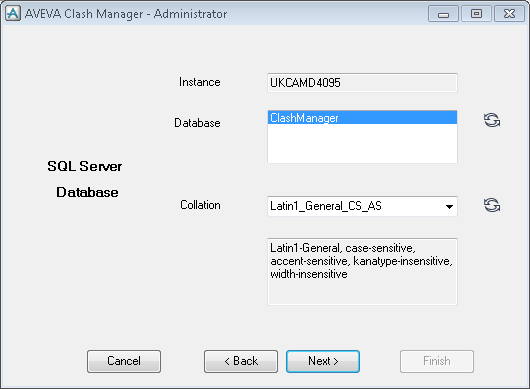
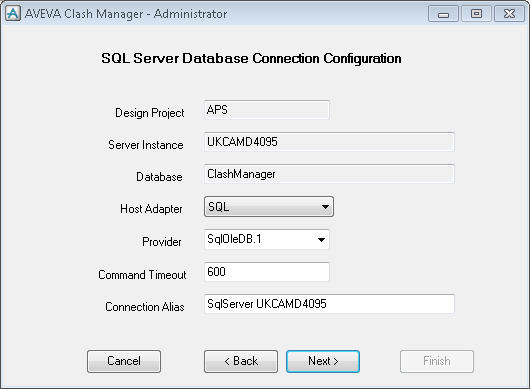
Use the AVEVA Clash Manager SQL Server Database window to select an SQL Server Database.
|
Note:
|
That there are two distinct collations used, one for the server instance and one for the project. The collation of SQL Server Instance must be case-insensitive, Latin1_General_CI_AS is a suitable choice. The collation used when creating a project should be case-sensitive as the underlying application is case-sensitive.
|
If required the Command Timeout can be modified during the life time of a project if a SQL Server timeout occurs during the load process.
The Connection Alias identifies the particular record where more than one connection is configured, a Login window is displayed where the alias is the identifier. The Login window is also displayed if the automated login process fails as a result for example - a password change on the server.
|
Note:
|
A FREE user or a member of the DESADMIN team has an opportunity to edit the connection details by selecting Connection Wizard on the Login window.
|
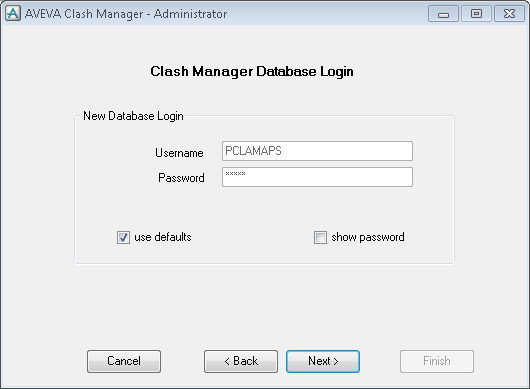
The Clash Manager Database Login details relating to the connection configuration are displayed in the AVEVA Clash Manager - Clash Manager Database Login window.
Enter in the New Database Login part of the AVEVA Clash Manager - Clash Manager Database Login window the Username and Password of the new SQL Server user that will own the tables, indexes, clash data and so on.
|
Note:
|
The SQL Server user password can be changed externally, in that case, select Edit Connection from the AVEVA Clash Manager - Clash Manager Project Connections window to update the clash manager configuration.
|
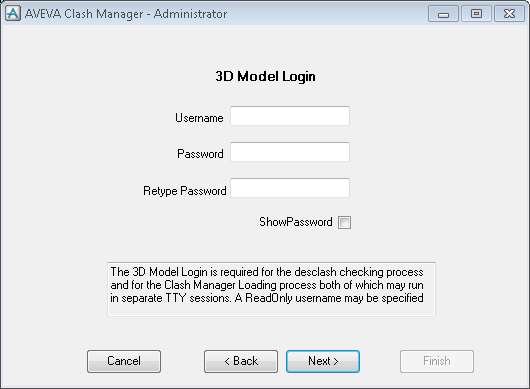
Populate the AVEVA Clash Manager - 3D Model Login window with the login details for a 3D model.
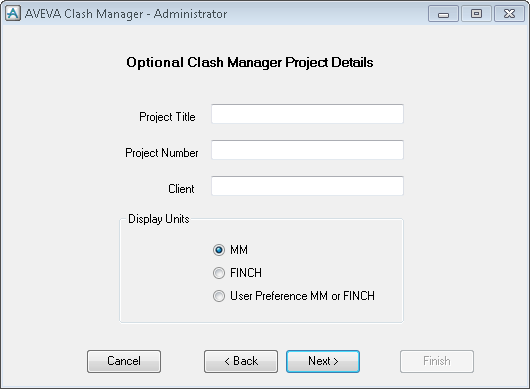
Use the AVEVA Clash Manager - Optional Clash Manager Project Details window to enter the Project Title, Project Number and Client output when a clash report is saved using Save As.
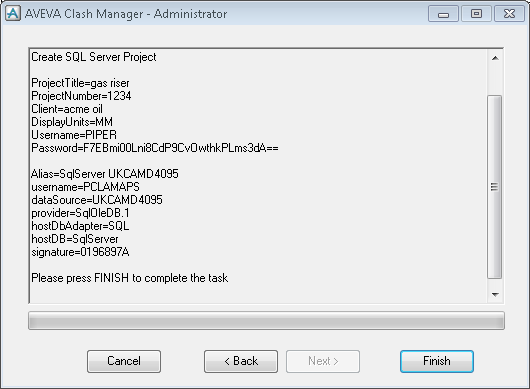
Use the AVEVA Clash Manager - Confirmation window to review details before selecting Finish to initiate creating the project.
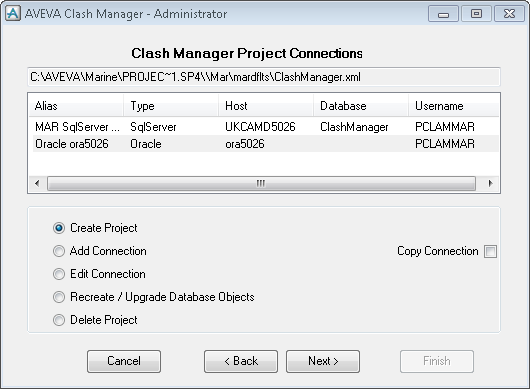
Use AVEVA Clash Manager Project Connections window to create an Oracle hosted project.
|
From the grid pane of the AVEVA Clash Manager Project Connections window populated with a list of connections, use the right click menu to:
|
|||||
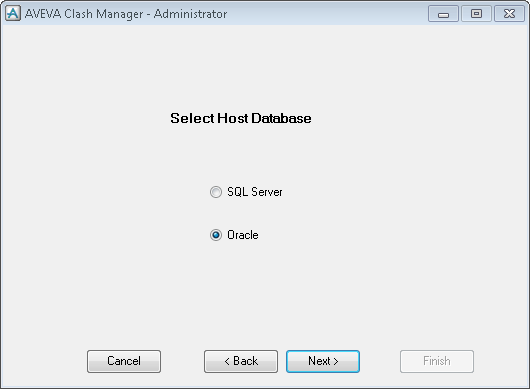
Use the AVEVA Clash Manager Select Host Database window to select an Oracle host database.
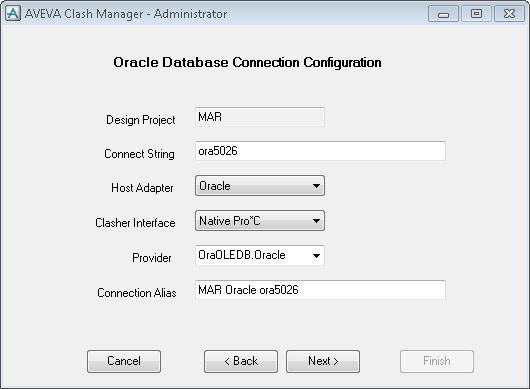
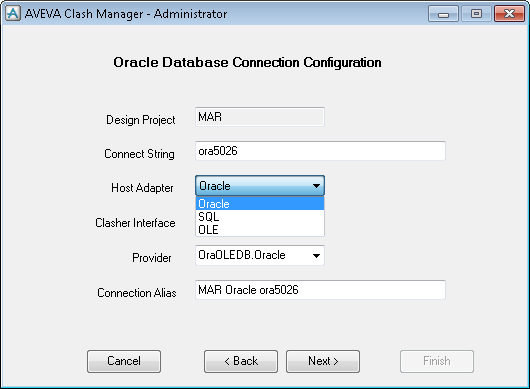
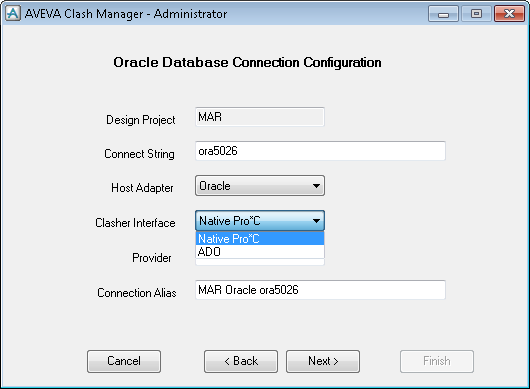
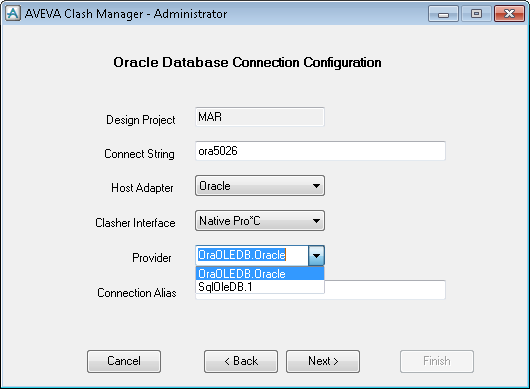
Use the AVEVA Clash Manager Oracle Database Connection Configuration window to enter the details of the selected Oracle database and connection configuration.
The Connect String identifies the Oracle instance and this should be configured in the Oracle tnsname.ora configuration file.
The Connection Alias identifies the particular connection record where more than one connection is configured, a Login window is displayed, where the alias which is the identifier is displayed. The Login window is also displayed if the automated login process fails, this could for example, be due a password change on the server.
|
Note:
|
A FREE user or a member of the DESADMIN team can edit the connections, by selecting Connection Wizard on the Login window.
|
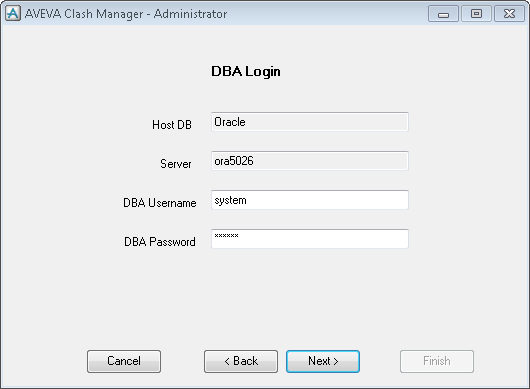
The Clash Manager Database Login details relating to the connection configuration are displayed in the AVEVA Clash Manager - DBA Login window.
Enter in the DBA Login part of the AVEVA Clash Manager - Clash Manager DBA Login window the Username and Password of the new Oracle user with the rights to create another user, create tables, indexes and so on.
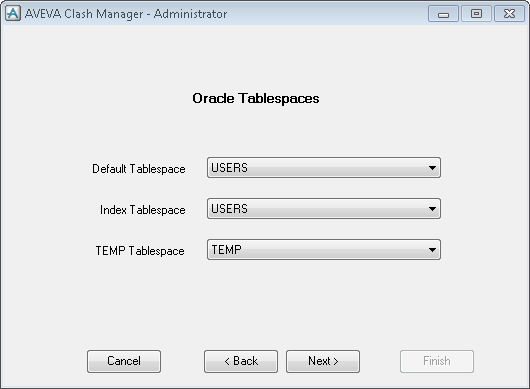
Use the AVEVA Clash Manager Oracle Tablespaces window to select the tablespaces from the drop downs populated with a list of available existing tablespaces in which AVEVA Clash Manager will store data.
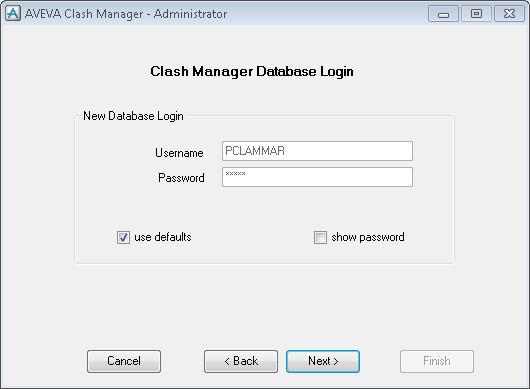
The Clash Manager Database Login details relating to the connection configuration are displayed in the AVEVA Clash Manager - Clash Manager Database Login window.
Enter in the New Database Login part of the AVEVA Clash Manager - Clash Manager Database Login window the Username and Password of the new Oracle user that will own the tables, indexes, clash data and so on.
The Oracle user password can be changed externally, in that case, select Edit Connection from the AVEVA Clash Manager - Clash Manager Project Connections window to update the clash manager configuration.
Populate the AVEVA Clash Manager - 3D Model Login window with the login details for a 3D model.
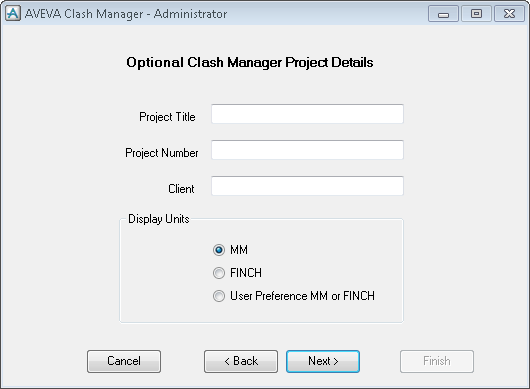
Use the AVEVA Clash Manager - Optional Clash Manager Project Details window to enter the Project Title, Project Number and Client output when a clash report is saved using Save As.
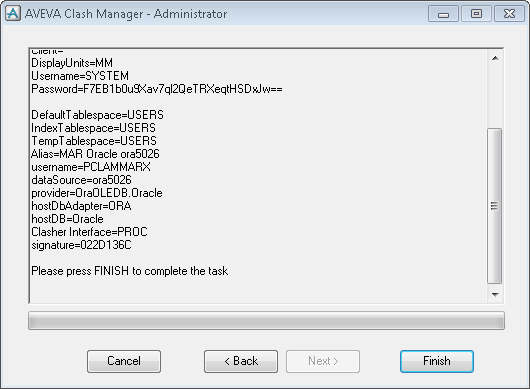
Use the AVEVA Clash Manager - Confirmation window to review details before selecting Finish to initiate creating the project.

