HVAC
HVAC Assembly : Application Dataworld Hierarchy
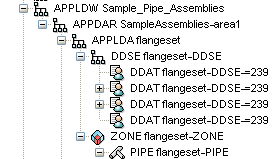
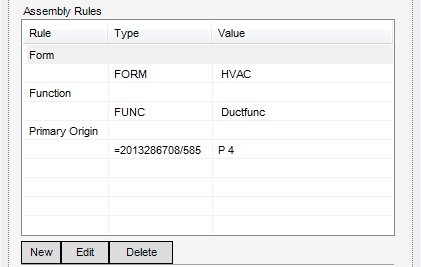
New or existing HVAC assemblies are stored here as with the Design Hierarchy the elements must be stored with a World element, followed by an Assembly Area and Assembly elements. Once the Assembly element is created an element called a Design Data Set is created below it which stores the assembly rules. For more information on assembly rules refer to Assembly Rules and zone and system element.
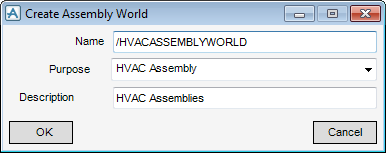
The Create Assembly World window is displayed.
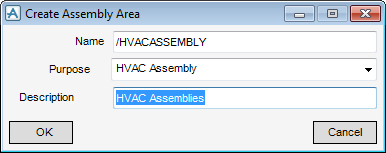
The Create Assembly Area window is displayed.
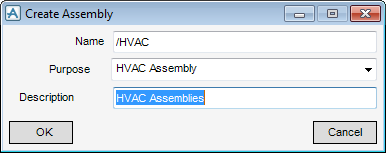
The Create Assembly window is displayed.
The Assembly World, Assembly Area and Assembly element attributes can be modified or deleted by right clicking in each of the fields. Select Modify or Delete from the pop-up menu. Selecting Modify displays either a Modify Assembly World, Modify Assembly Area or a Modify Assembly window use the window to change any of the fields. Selecting Delete displays a Confirm window prompting confirmation of the deletion.
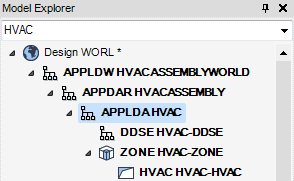
The elements are created in the Model Explorer.
|
Note:
|
The elements are only displayed in the Model Explorer if the Hide non-user System Data check box is not selected on the Explorer Settings window.
|
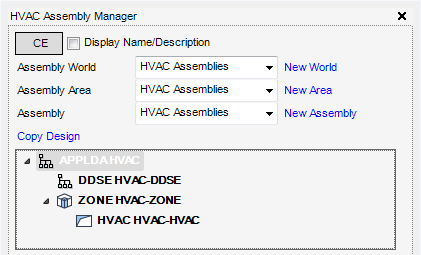
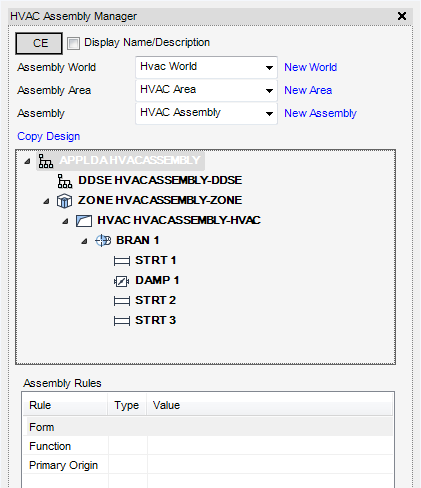
and HVAC Assembly Manager window:
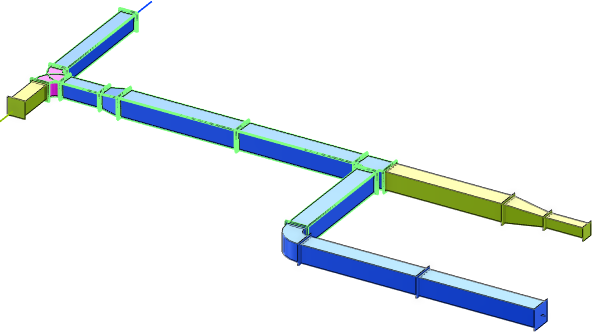
Having completed the basic Application Data World hierarchy add an assembly. In the 3D graphical view, press Ctrl key and click to highlight the elements which are to make up the assembly.
When all the elements have been selected click Copy Design.
The selected elements will be copied and a Message window is displayed confirming the copy is complete.
Make sure that the required assembly is identified current element, click CE. Select the Display/Name/Description check box to display the assembly elements by description, otherwise the assembly elements are displayed by name.

