HVAC
Spooling
The HVAC Spooling utility allows the HVAC design to be split in spools. Splitting the HVAC design into spools allows each spool to be fabricated as a single manageable entity.
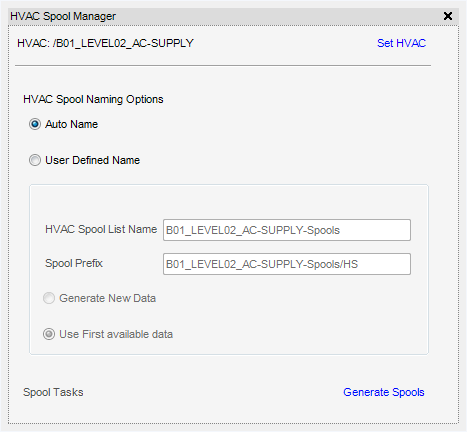
The HVAC Spool Manager window is displayed, click Set HVAC to display the RefNo of the CE is displayed in the top left hand corner. (For more information on the RefNo attribute, refer to Getting Started with Plant.
By default, Auto Name is selected, which applies auto naming rules, refer to the system administrator for further information.
|
Note:
|
Once the Auto Name checkbox is selected, a name cannot be input into the HVAC Spool List Name.
|
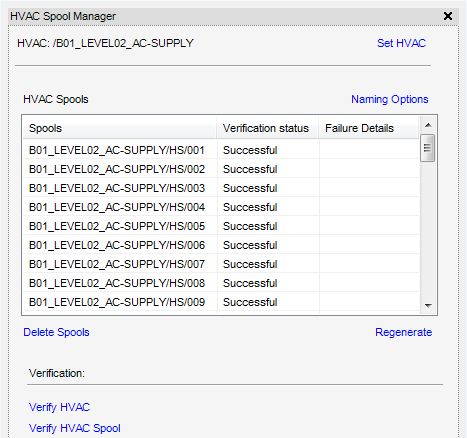
By default, the Rename spools generated by ‘Remove Spool Elements’ checkbox and Use First available data are selected, (this means any new spools generated as a result of modification are renamed using the first available data). Then select Generate Spools, the resultant spool list is displayed in the HVAC Spool Manager window, in one of two formats:
With the rename spools checkbox selected and using a spool list with say, ten spools and modifying for example, the sixth spool, a generated spool is generated. The generated spool are displayed in the HVAC Spool Manager window list and will be named as follows: 1,2,3,4,5,11,6,7,8,9,10.
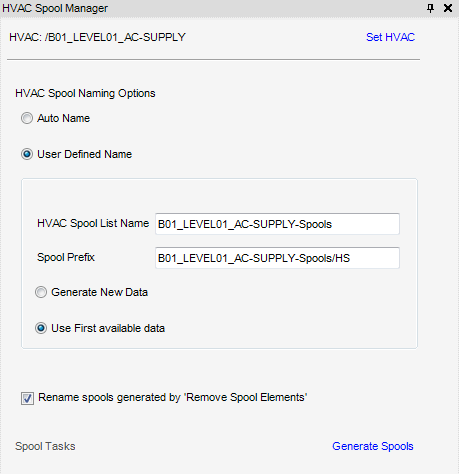
To define the name of the HVAC Spool list and Spool Prefix, without the use of auto naming rules, select User Defined Name, the HVAC Spool List Name part of the HVAC Spool Manager window becomes available for use.
By default, the Rename spools generated by ‘Remove Spool Elements’ checkbox and Use First available data are selected, if this naming format is required refer to Auto Name for further information. Then click Generate Spools, the generated spool list is displayed in the HVAC Spool Manager window.
Select Generate New Data, then select Generate Spools, the resultant spool list is displayed in the HVAC Spool Manager window.
With the rename spools checkbox selected and using a spool list with say, ten spools and modifying for example, the sixth spool, a new spool is generated. The generated spools are displayed in the HVAC Spool Manager window and will be renamed 1 to 11.
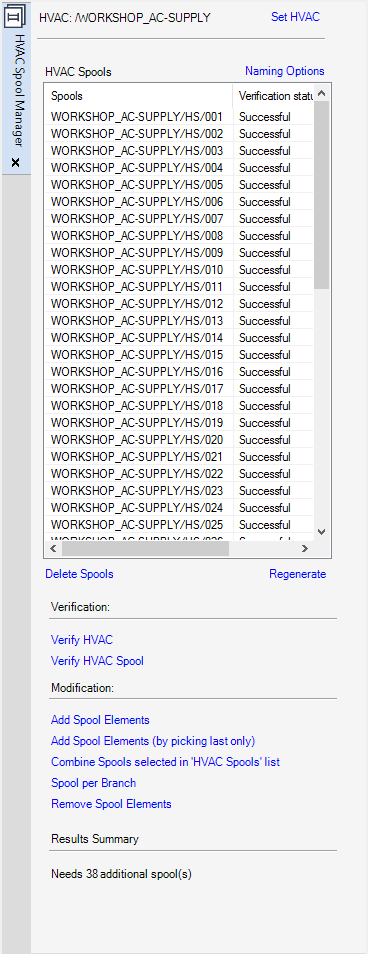
All the tasks that a user can carry out that are associated with the re-creation, modification or verification of HVAC Spools are initiated from the HVAC Spools Manager window.
The entire spools list can be deleted by clicking Delete Spools or regenerated by clicking Regenerate.
|
•
|
|
•
|
fails to meet the criteria, Failed is input into the Verification status column and the details of failure are displayed in the Failure Details column.
|
When Verify HVAC or Verify HVAC Spools is clicked a Results Summary pane appears on the HVAC Spool Manager window displaying the results of the verification.
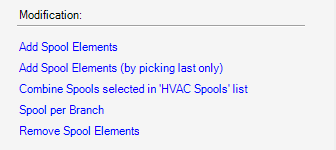
From the HVAC Spool Manager window, click the spool which the HVAC components are to be added to.
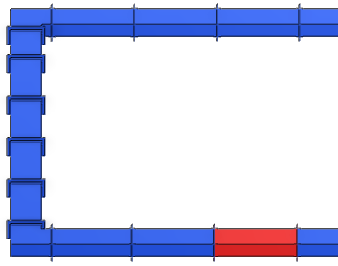
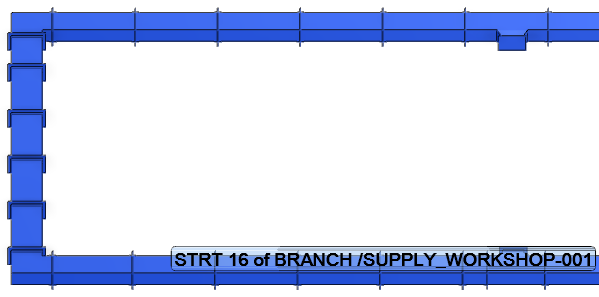
After clicking Add Spool Elements a prompt to Pick HVAC components to add to the selected spool or <escape> to complete is displayed. The spool element to be added must now be selected. In the 3D graphical view, click the spool element(s) to be added to the selected spool. When all the spool elements have been selected press Esc on the keyboard.
From the HVAC Spool Manager window, select the spool which the HVAC components are to be removed from.
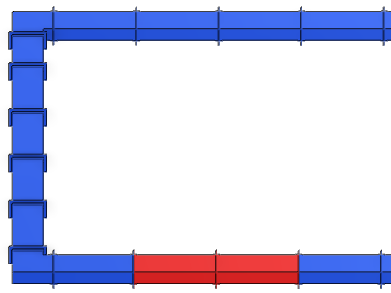
After clicking Remove Spool Elements a prompt to Pick HVAC components to remove from selected spool or <escape> to complete is displayed. The spool element to be removed must now be selected. In the 3D graphical view, click the spool element(s) to be removed from the selected spool. When all the spool elements have been selected press Esc on the keyboard.


