Equipment
Equipment : Model Equipment : Primitives
|
Use the functionality to create a cylinder primitive (CYLI) element, refer tor Cylinder Primitive for further information.
|
||
|
Use the functionality to create a cone primitive element (CONE), refer to Cone Primitive for further information.
|
||
|
Use the functionality to create a snout primitive element (SNOU), refer to Snout Primitive for further information
|
||
|
Use the functionality to create a pyramid primitive element (PYRA), refer to Pyramid Primitive for further information.
|
||
|
Use the functionality to create a dish primitive element (DISH), refer to Dish Primitive for further information.
|
||
|
Use the functionality to create an extrusion primitive element (EXTR), refer to Extrusion Primitive for further information.
|
||
|
Use the functionality to create a revolution primitive element (REVO), refer to Revolution Primitive for further information.
|
Primitives and negative primitives are created using parameters in the graphical view aligned with the default axis system (X=E, Y=N and Z=U), this is the default option. Each primitive can be positioned using relative or absolute positioning through a series of prompts, refer to Position Fields (COMMON) and Primitive Gallery for further information.
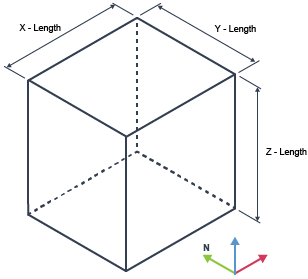
Creates a box primitive using parameters through a series of prompts in the graphical view,. For a definition of the parameters refer to Box Element (BOX)and Box (SBOX) for further information.
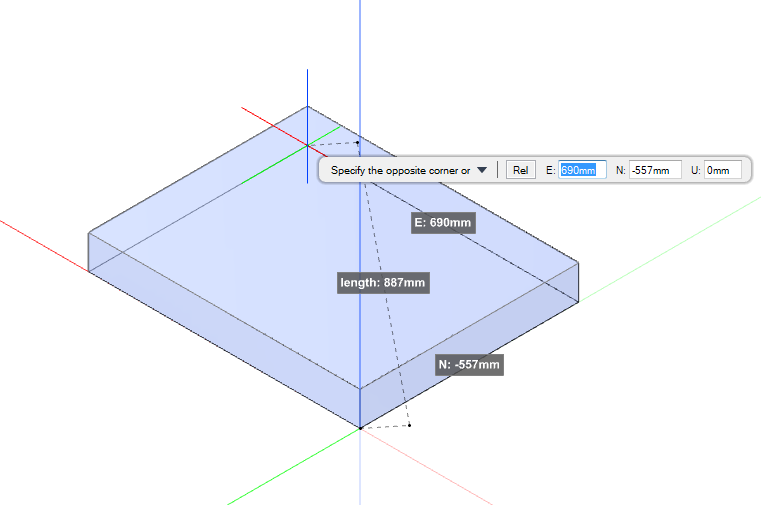
After selecting Create a Box Primitive from the Primitive Gallery, the prompt to Specify the first corner is displayed, click to identify the first corner position as the origin of the box primitive relative to its owner (EQUI element). Or input values into the dimension fields and press Enter.
The Specify the opposite corner prompt is displayed, input a value into the dimension fields and press Enter or click to identify the opposite corner of the box primitive.
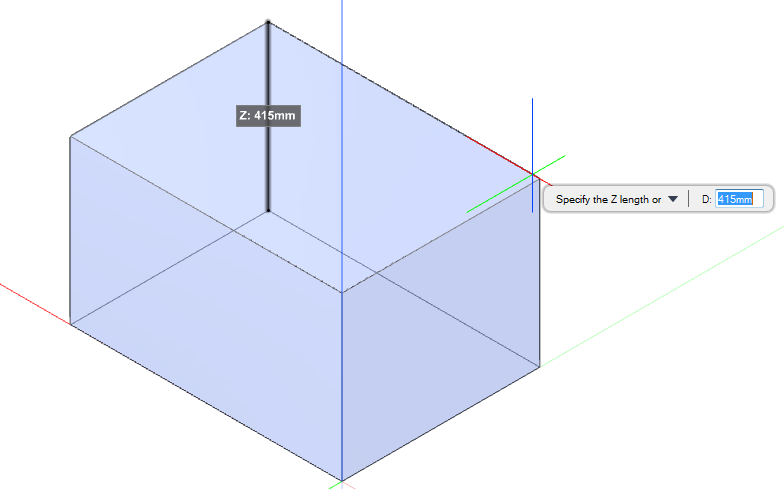
The Specify the Z length prompt is displayed, input a value into the dimension field or click to identify the height of the box primitive.
Throughout the box primitive creation process, press Esc to cancel the command, additional functionality is also available.
|
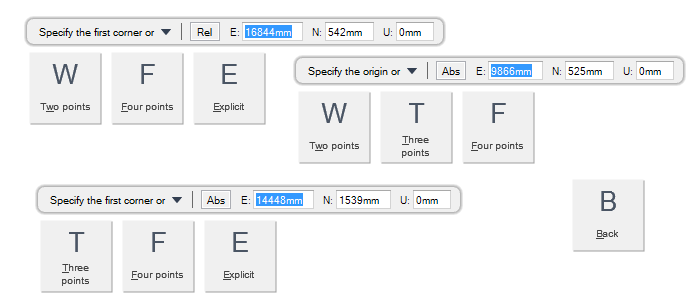
Press the down arrow key and select Back to undo the last action.
|
|
|
Press the down arrow key and select Two Points to create a box primitive with two specified points (first and opposite corners).
|
|
|
Press the down arrow key and select Three Points to create a box primitive with three specified points (first, opposite and height).
|
|
|
Press the down arrow key and select Four Points to create a box primitive with relative positioning functionality, with four specified points (origin, X, Y,Z).
|
|
|
Press the down arrow key and select Explicit to create a box primitive with absolute positioning functionality, in this case specified origin, width, length and height.
|
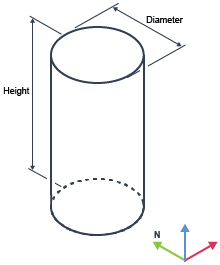
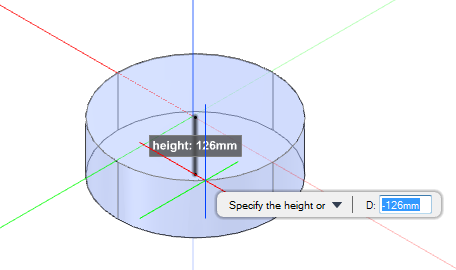
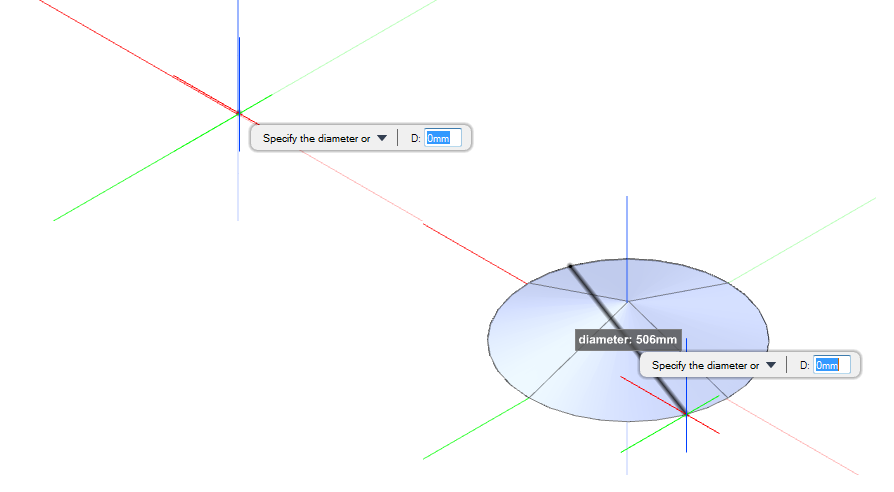
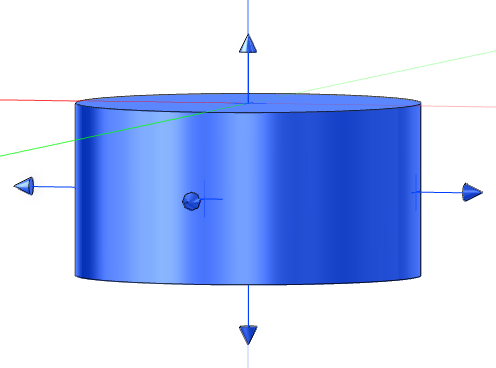
Creates a cylinder primitive through a series of prompts in the graphical view. For a definition of the parameters, refer to Cylinder Element (CYLINDER), Cylinder (SCYL) and Cylinder (LCYL) for further information.
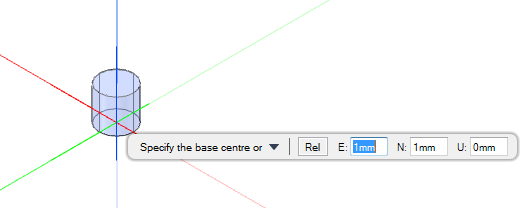
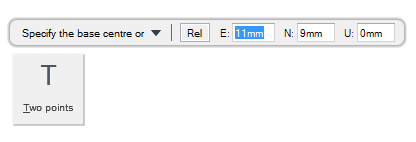
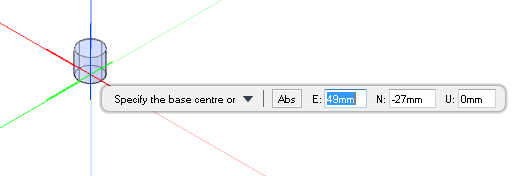
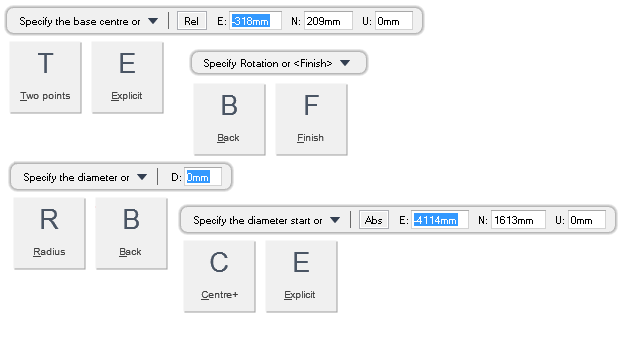
After selecting Create a Cylinder Primitive from the Primitive Gallery, the prompt to Specify the base centre is displayed, click to identify the base centre position as the origin of the cylinder primitive relative to its owner (EQUI element). Or input values into the dimension fields and press Enter.
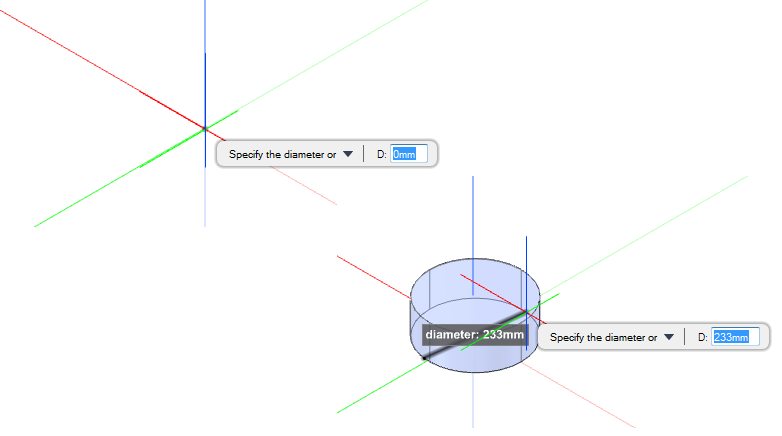
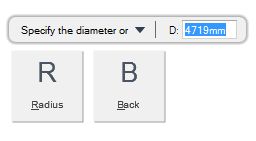
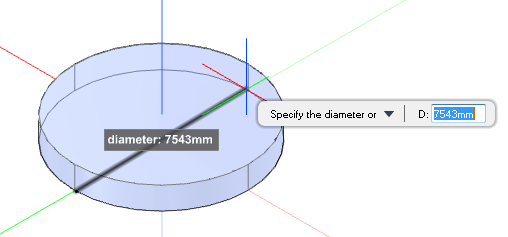
The Specify the diameter prompt is displayed, click to identify the diameter or input values in the dimension fields and press Enter.
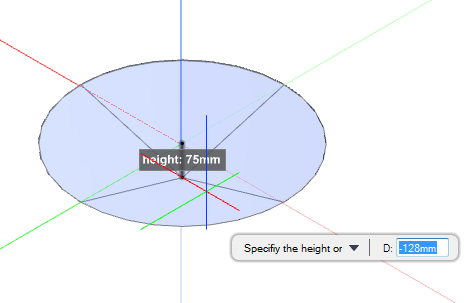
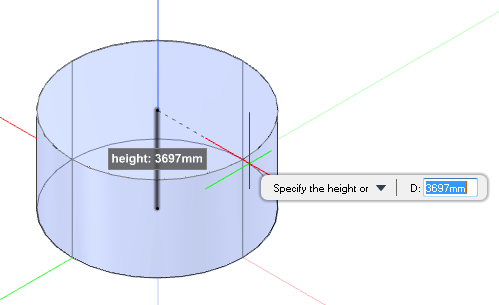
The Specify the height prompt is displayed, click to identify the height of the cylinder or input a value in the dimension field and press Enter.
Throughout the cylinder primitive creation process, press Esc to cancel the command, additional functionality is also available.
|
Press the down arrow key and select Radius to create the curved part of the cylinder primitive with a specified centre point and radius.
|
|
|
Press the down arrow key and select Back to undo the last action.
|
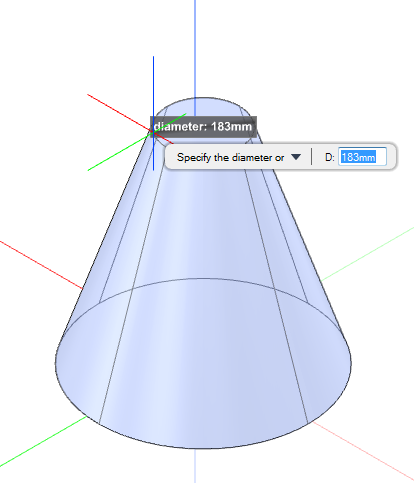
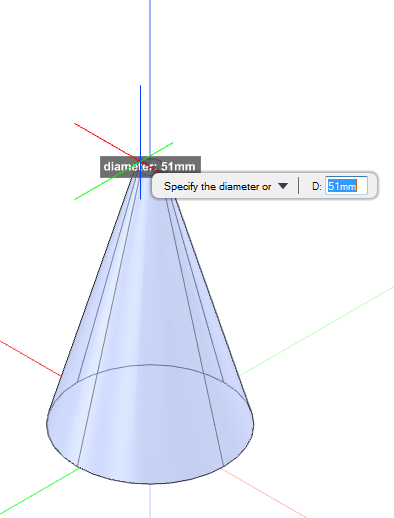
Creates a cone primitive using parameters through a series of prompts in the graphical view, for a definition of the parameters refer to Cone Element (CONE) and Cone (SCON) for further information.
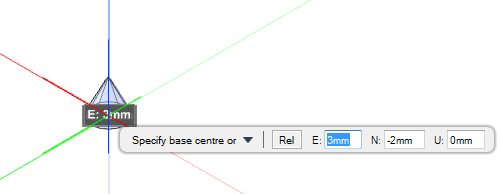
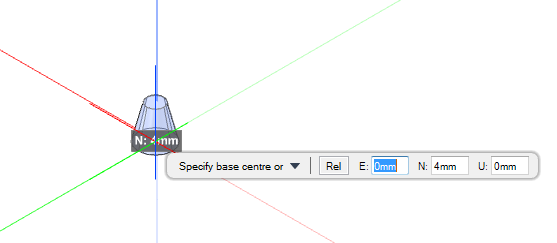
After selecting Create a Cone Primitive from the Primitive Gallery, the prompt to Specify the base centre is displayed, click to identify the base centre position as the origin of the cone primitive relative to its owner (EQUI element). Or input values into the dimension fields and press Enter.
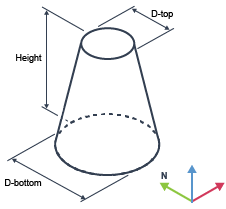
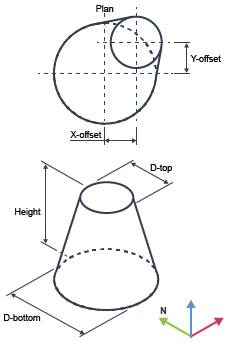
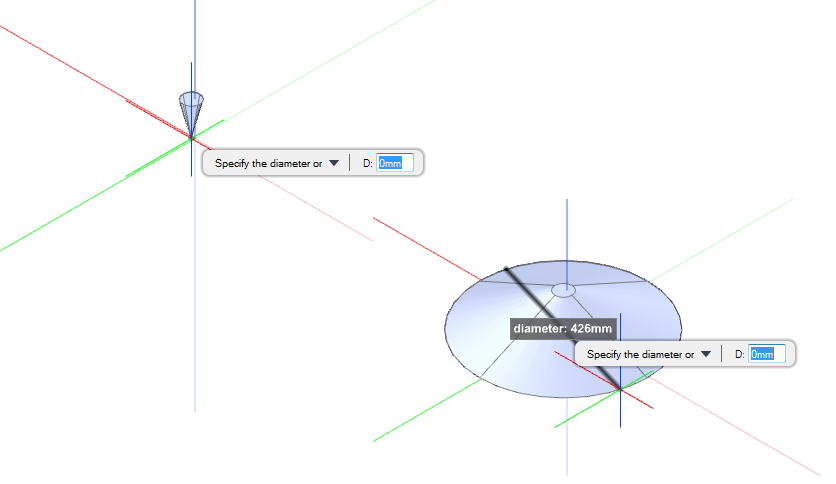
The Specify the diameter prompt is displayed, click to identify the D-bottom diameter or input values in the dimension fields and press Enter.
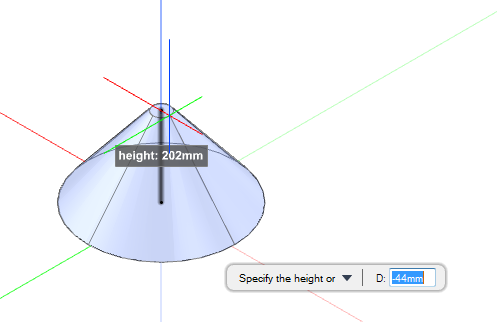
The Specify the height prompt is displayed. click to identify the height of the vertex above the base or input a value in the dimension field and press Enter.
The Specify the diameter prompt is displayed, click to identify the D-top diameter or input values in the dimension fields and press Enter.
Throughout the cone primitive creation process, press Esc to cancel the command, additional functionality is also available.
|
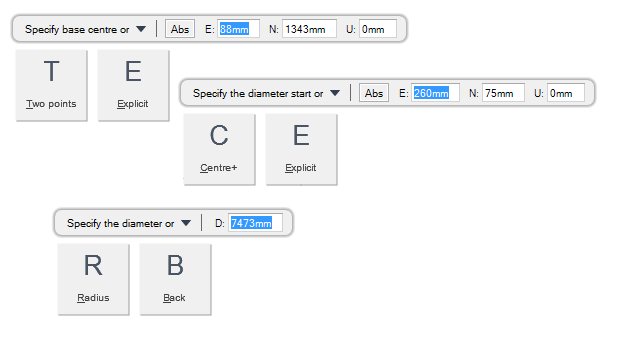
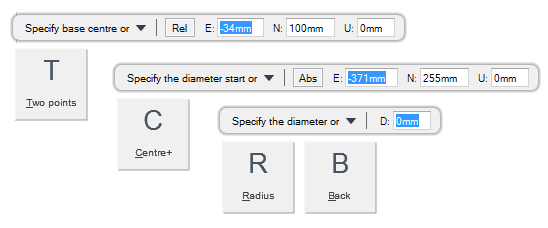
Press the down arrow key and select Two Points to create the curved part of the cone primitive with two specified points (diameter start and end).
|
|
|
Press the down arrow key and select Explicit to create a cone primitive with an absolute positioning functionality, in this case specified origin, D-top, D-bottom and height.
|
|
|
Press the down arrow and select Centre+ to create the curved part of the cone primitive with a specified centre point and radius/diameter point.
|
|
|
Press the down arrow key and select Radius to create the curved part of the cone primitive with a specified centre point and radius.
|
|
|
Press the down arrow key and select Back to undo the action.
|
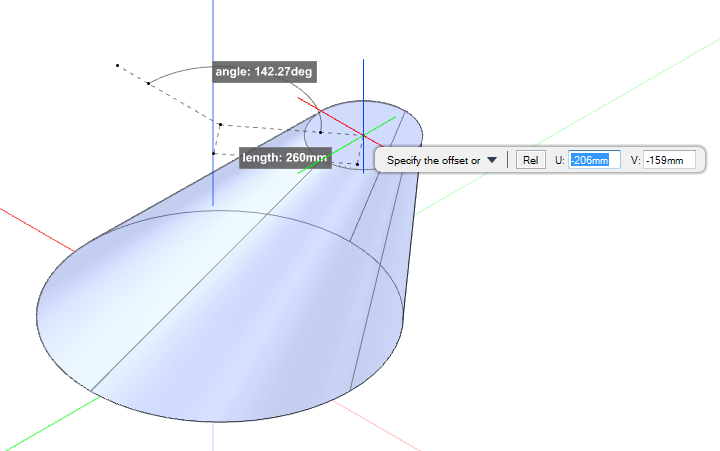
Creates a snout primitive using parameters through a series of prompts in the graphical view. Refer to Snout (LSNO) and Snout Element (SNOUT) for further information.
After selecting Create a Snout Primitive from the Primitive Gallery, the prompt to Specify the base centre is displayed, click to identify the base centre position as the origin of the snout primitive relative to its owner (EQUI element). Or input values into the dimension fields and press Enter.
The Specify the diameter prompt is displayed, click to identify the D-bottom diameter or input values in the dimension fields and press Enter.
The Specify the height prompt is displayed, click to identify the height of the snout or input a value in the dimension field and press Enter.
The Specify the diameter prompt is displayed, click to identify the D-top diameter or input a value in the dimension field and press Enter.
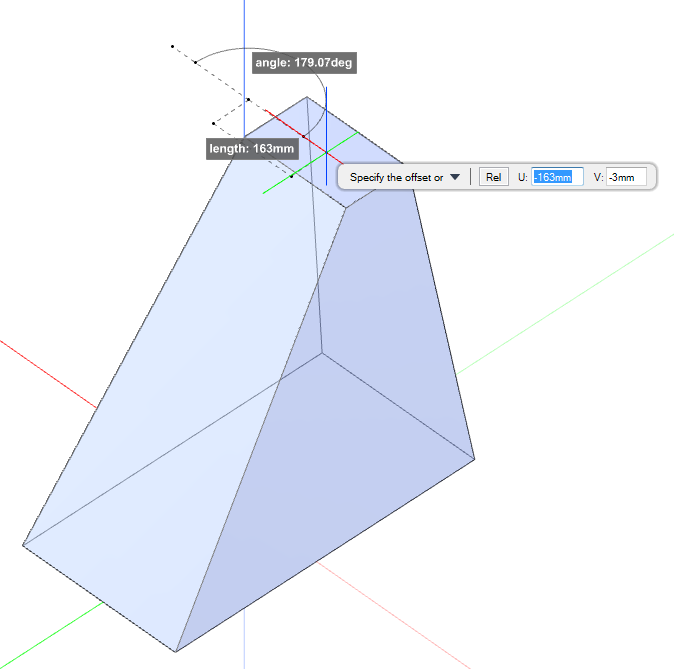
The Specify the offset prompt is displayed, click to identify the offset of the snout primitive or input values in the dimension fields and press Enter.
Throughout the snout primitive creation process, press Esc to cancel the command, additional functionality is also available.
|
Press the down arrow key and select Two Points to create the curved part of the snout primitive with two specified points (diameter start and end).
|
|
|
Press the down arrow and select Centre+ to create the curved part of the snout primitive with a specified centre point and radius/diameter point.
|
|
|
Press the down arrow key and select Radius to create the curved part of the snout primitive with a specified centre point and radius.
|
|
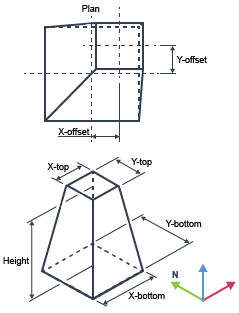
Creates a pyramid primitive using parameters through a series of prompts in the graphical view. Refer to Pyramid (LPYR) and Pyramid Element (PYRAMID) for further information.
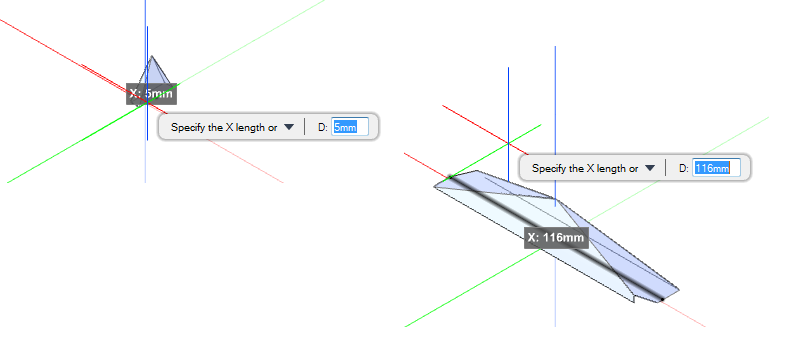
After selecting Create a Pyramid Primitive from the Primitive Gallery, the prompt to Specify the base centre is displayed, click to identify the base centre as the origin of the pyramid primitive relative to its owner (EQUI element). Or input values into the dimension fields and press Enter.
The Specify the X length prompt is displayed, click to identify the bottom X length or input a value in the dimension field and press Enter.
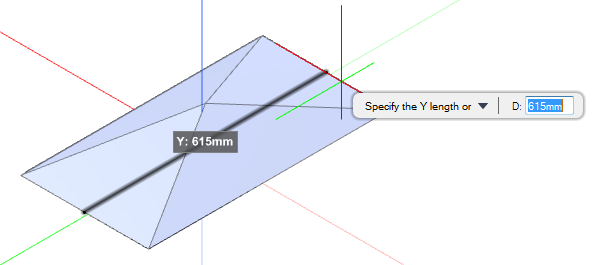
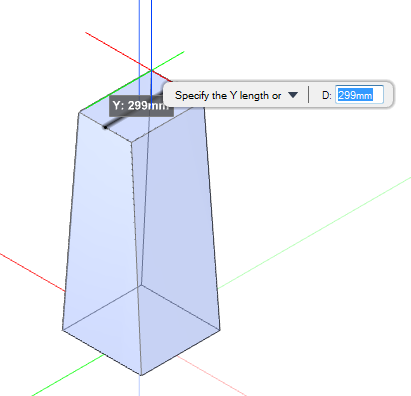
The Specify the Y length prompt is displayed, click to identify the bottom Y length or input a value in the dimension field and press Enter.
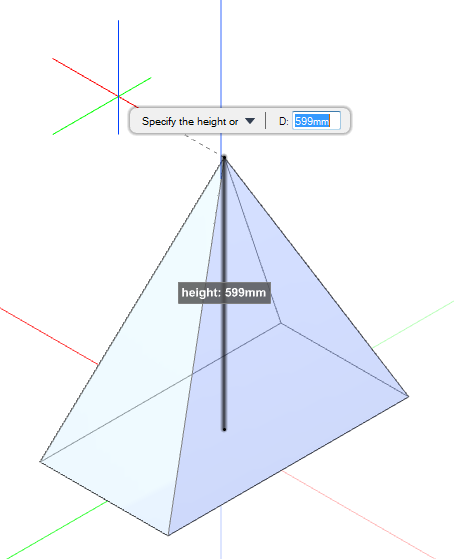
The Specify the height prompt is displayed, click to identify the height of the pyramid or input a value in the dimension field and press Enter.
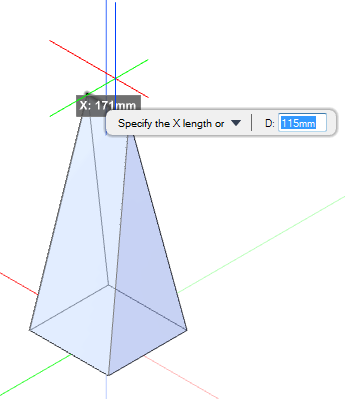
The Specify the X length prompt is displayed, click to indentify the top X length or input a value in the dimension field and press Enter.
The Specify the Y length prompt is displayed, click to indentify the top Y length or input a value in the dimension field and press Enter.
The Specify the offset prompt is displayed, click to indentify the offset for the pyramid or input a value in the dimension field and press Enter.
Throughout the pyramid creation process, press Esc to cancel the command, additional functionality is also available.
|
Press the down arrow and select Two Points to create the base of the pyramid with two specified points (first and opposite corner).
|
Creates a dish primitive using parameters through a series of prompts in the graphical view. Refer to Dish (SDSH) and Dish Element (DISH) for further information.
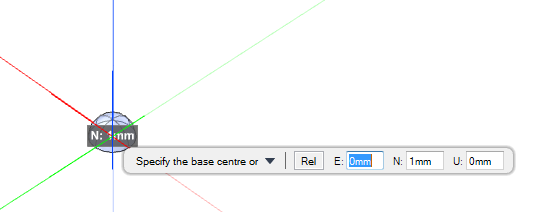
After selecting Create a Dish Primitive from the Primitive Gallery, the prompt Specify the base centre is displayed, click to indentify the base centre position as the origin of the dish primitive relative to its owner (EQUI element). Or input values into the dimension fields and press Enter.
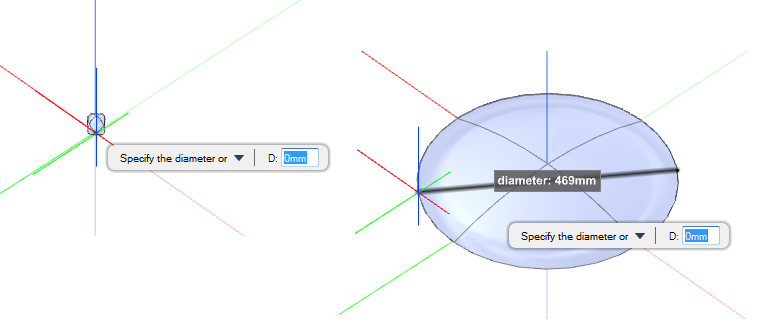
The Specify the diameter prompt is displayed, click to indentify the diameter of the dish primitive or input a value in the dimension field and press Enter.
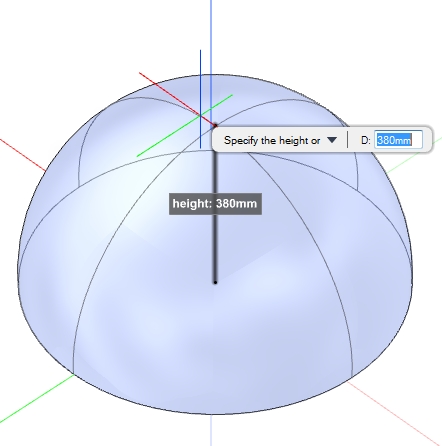
The Specify the height prompt is displayed, click to indentify the height of the dish primitive r input a value in the dimension field and press Enter.
Throughout the dish primitive creation process, press Esc to cancel the command, additional functionality is also available.
|
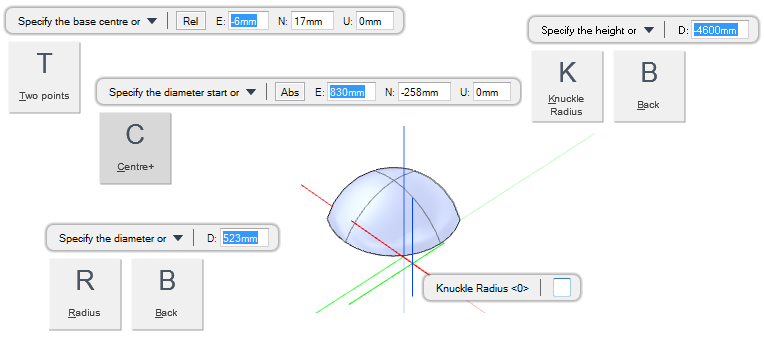
Press the down arrow key and select Two Points to create the base of the dish primitive (diameter start and end).
|
|
|
Press the down arrow and select Centre+ to create the curved part of the dish primitive with a specified centre point and radius/diameter point.
|
|
|
Press the down arrow key and select Radius to create the curved part of the dish primitive with a specified centre point and radius.
|
|
|
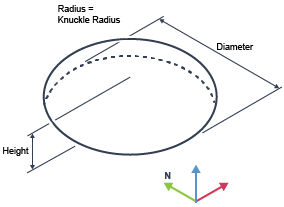
Press the down arrow key and select Knuckle Radius to create the transition between the cylinder and dish (knuckle).
|
|
Creates an extrusion primitive using parameters through a series of prompts in the graphical view. Refer to User-defined Extrusion (SEXT) for further information.
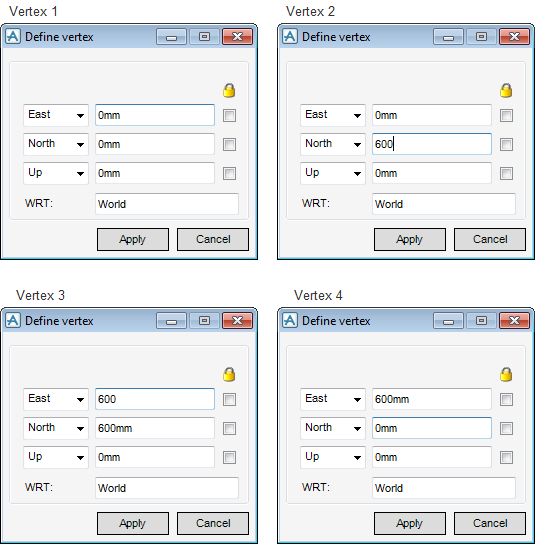
After selecting Create an Extrusion primitive from the Primitive Gallery, the prompt to Specify first corner (fillet radius: 0mm) is displayed, click to identify the first vertice (SVER). Or input values into the dimension fields and press Enter.
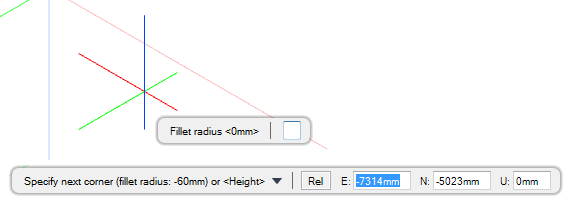
If required, SVER element(s) can have radius applied to create a convex or concave fillet. press the down arrow key and select Fillet Radius, to display the Fillet radius <0mm> prompt. Input a value in the dimension field and press Enter.
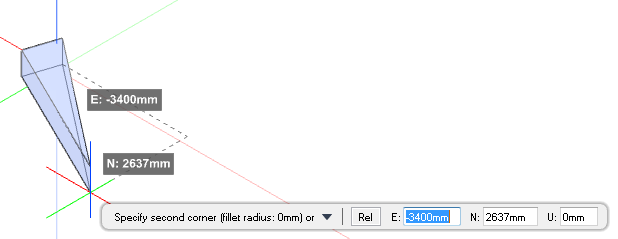
The Specify second corner (fillet radius: 0mm) prompt is displayed, click to identify the second SVER element, or input values into the dimension fields and press Enter.
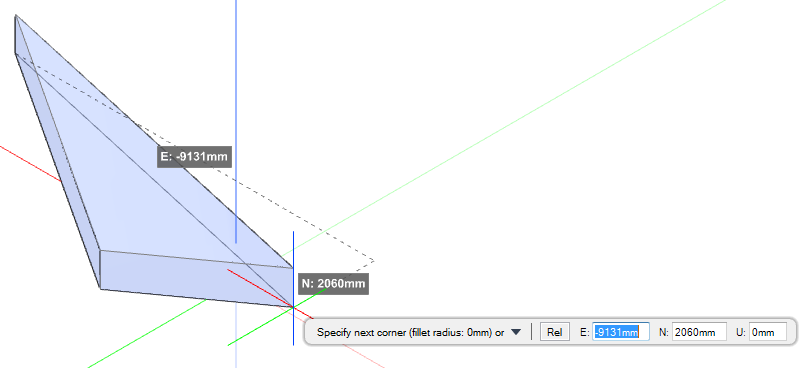
The Specify the next corner (fillet radius: 0mm) prompt is displayed, click to identify the next SVER element, or input values into the dimension fields and press Enter.
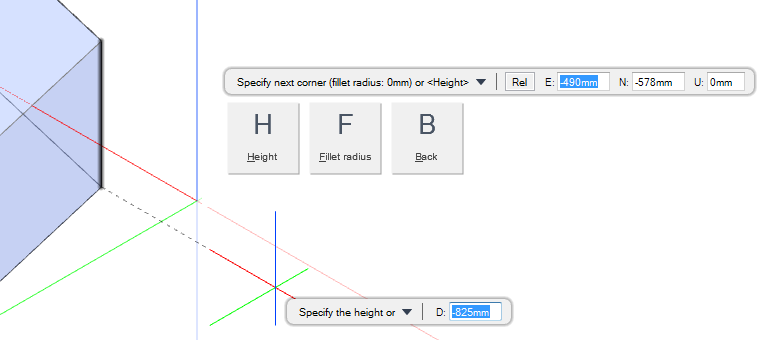
Continue to identify SVER elements as required, once complete press the down arrow to select Height, the Specify the height prompt is displayed.
Click to identify the height of the extrusion or input a value into the dimension field and press Enter.
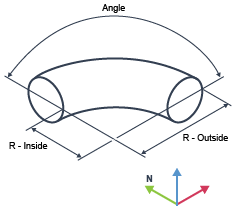
Creates an circular torus primitive using parameters through a series of prompts in the graphical view. Refer to Circular Torus (SCTO) and Circular Torus Element (CTORUS) for further information.
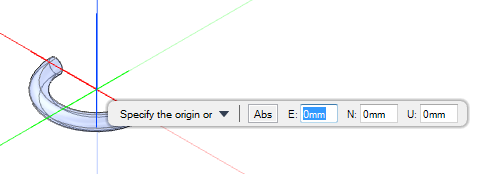
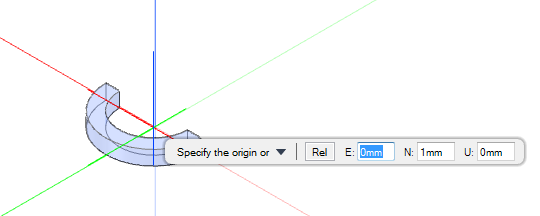
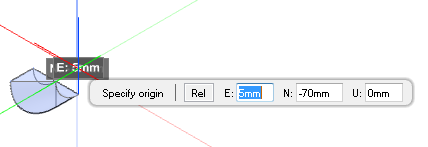
After selecting Create Circular Torus Primitive from the Primitive Gallery, the prompt to Specify the origin is displayed. Click to identify the origin of the circular torus primitive relative to its owner or input values into the dimension fields and press Enter.
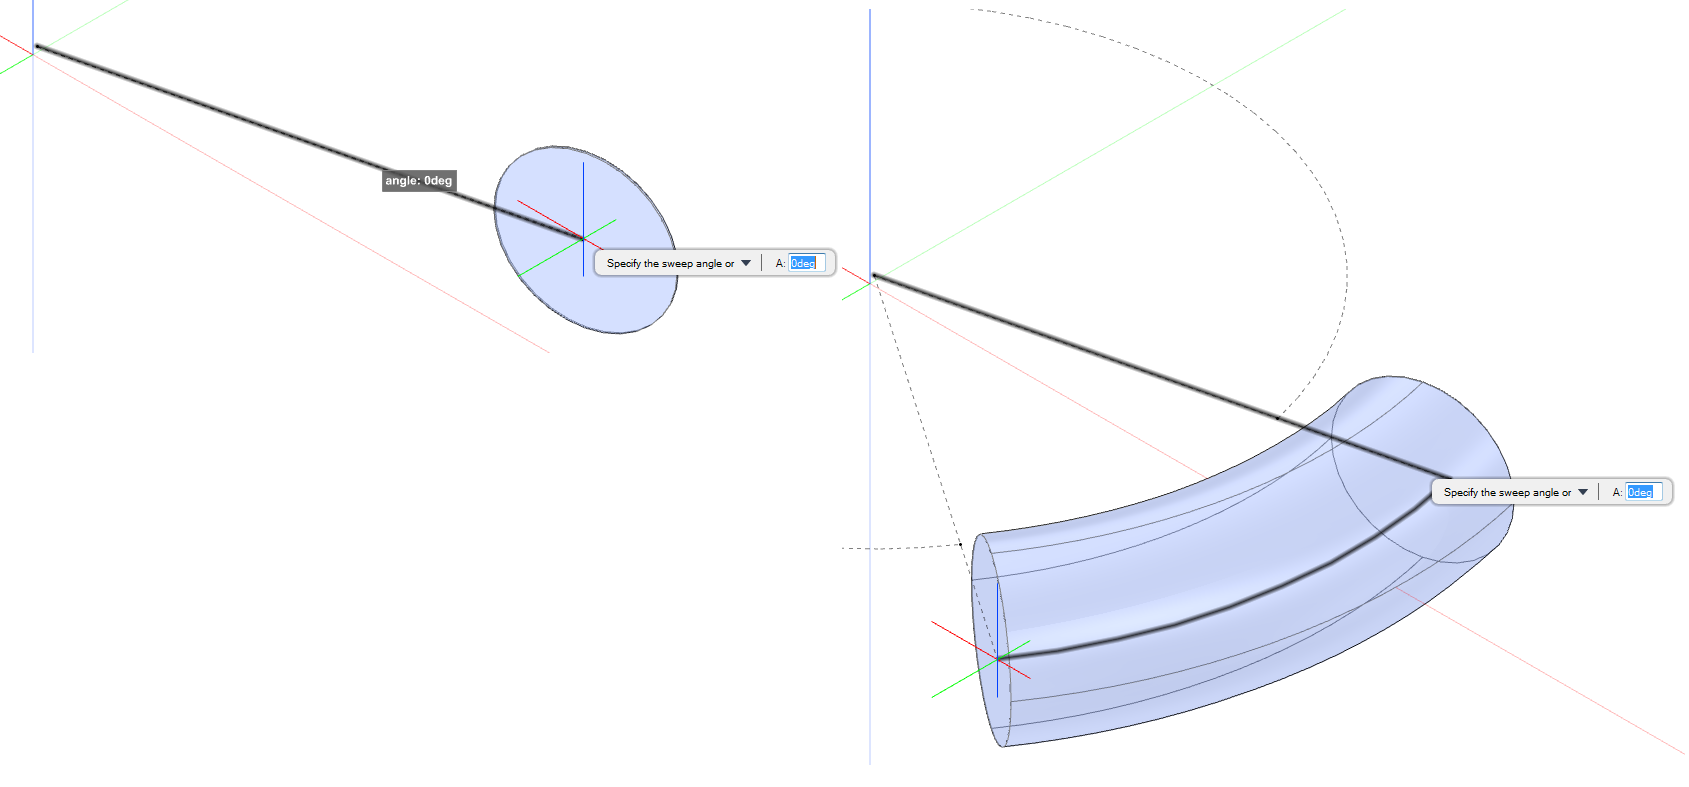
The Specify the start point prompt is displayed, click to identify the start point of the outside radius or input values into the dimension fields and press Enter.
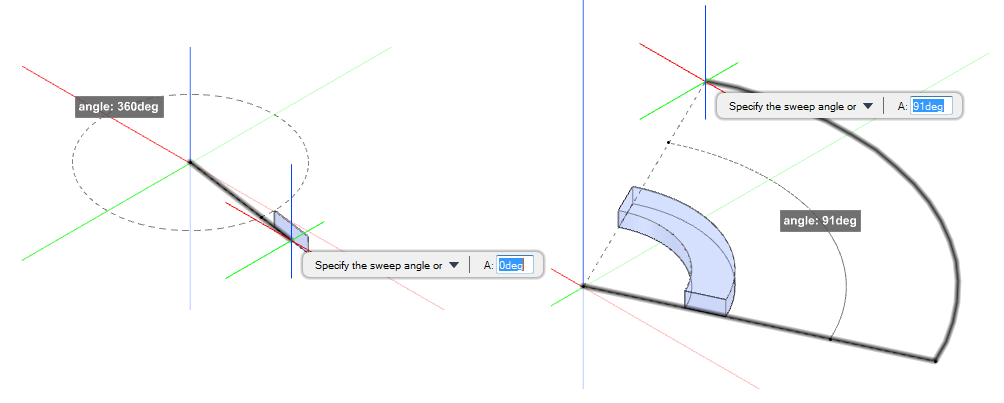
The Specify the sweep angle prompt is displayed, click to identify the sweep angle of the outside radius or input value into dimension field and press Enter.
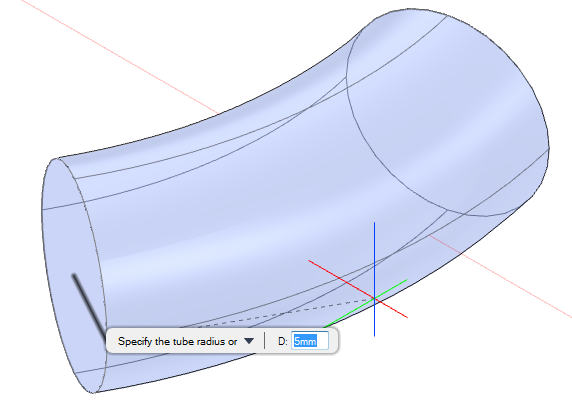
The Specify the tube radius prompt is displayed, click to identify the inside radius or input a value in the dimension field and press Enter.
Throughout the dish primitive creation process, press Esc to cancel the command, additional functionality is also available.
|
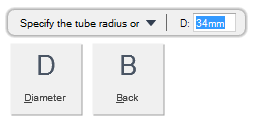
Press the down arrow key and select Diameter to create the inside/outside radius of the circular torus primitive with a specified origin and diameter.
|
|
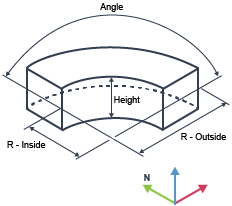
Creates an rectangular torus primitive using parameters through a series of prompts in the graphical view. Refer to Rectangular Torus (SRTO) and Rectangular Torus Element (RTORUS) for further information.
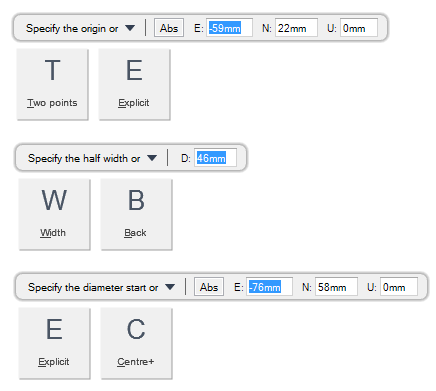
After selecting Create Rectangular Torus Primitive from the Primitive Gallery, the Specify the origin prompt is displayed, click to identify the origin of the rectangular torus primitive or input values into the dimension fields and press Enter.
The Specify sweep angle prompt is displayed, click to identify the sweep angle or input an value in the dimension field and press Enter.
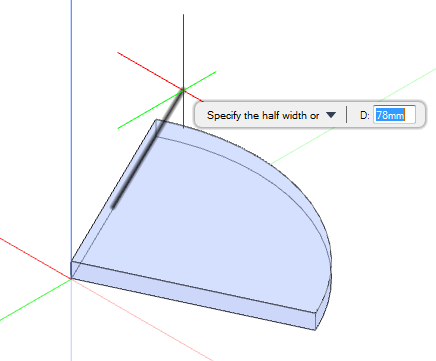
The Specify the half width prompt is displayed, click to identify the width of the rectangular torus primitive or input a value in the dimension field and press Enter.
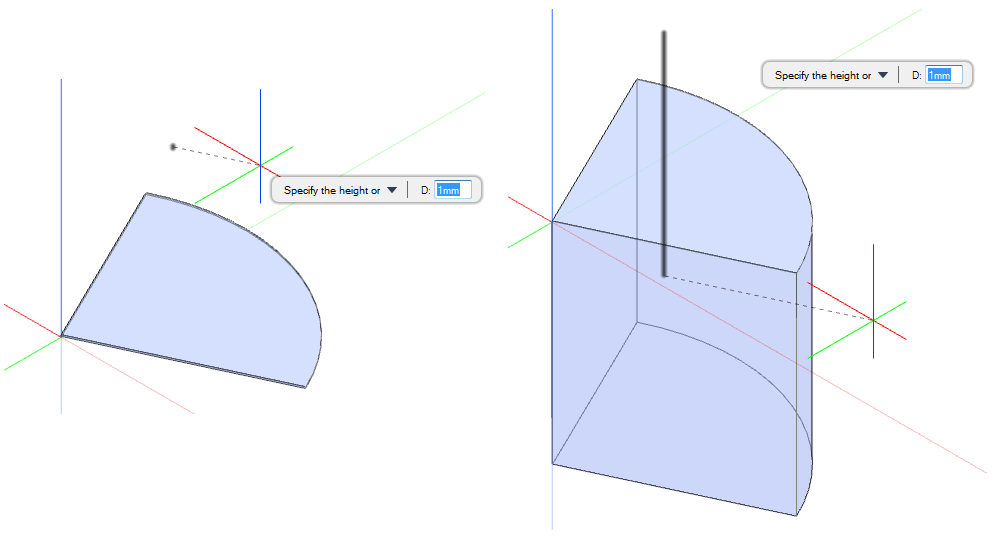
The Specify the height prompt is displayed, click to identify the height of the rectangular torus primitive or input a value in the dimension field and press Enter.
Throughout the rectangular torus primitive creation process, press Esc to cancel the command, additional functionality is available.
|
Press the down arrow key and select Two Points to create a rectangular torus primitive (diameter start and end).
|
|
|
Press the down arrow key and select Explicit to create a rectangular torus primitive with a specified origin, start angle, sweep angle, inner radius, outside radius and height.
|
|
|
Press the down arrow key and select Width of the rectangular torus primitive.
|
|
|
Press the down arrow key and select Centre+ to create a rectangular torus primitive with a specified centre point and a radius.
|
|
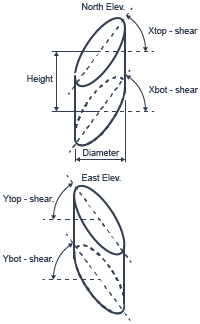
Creates an sloped cylinder primitive using parameters through a series of prompts in the graphical view. Refer to Slope Bottom Cylinder Element (SLCYLINDER) for further information.
After selecting Create a Sloped Cylinder Primitive from the Primitive Gallery, the Specify the base centre prompt is displayed, click to identify the origin of the sloped cylinder primitive or input values into the dimension fields and press Enter.
The Specify the diameter prompt is displayed, click to identify the origin of the sloped cylinder or input a value in the dimension field and press Enter.
The Specify the height prompt is displayed, click to identify the height of the sloped cylinder or input a value in the dimension field and press Enter.
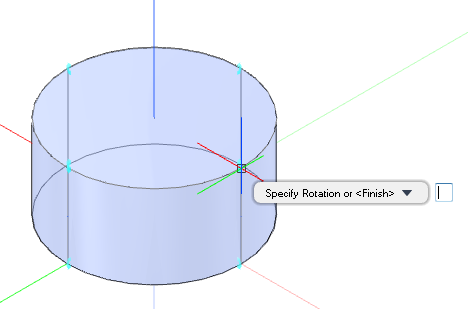
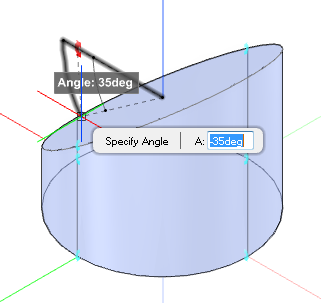
The Specify Rotation prompt is displayed, click to identify the rotation point for the slope or input a value in the dimension field and press Enter.
The Specify Angle prompt is displayed, click to identify the angle or input a value in the dimension field and press Enter.
Throughout the sloped cylinder primitive creation process, press Esc to cancel the command, additional functionality is available.
|
Press the down arrow key and select Two Points to create the base diameter of the sloped cylinder primitive (diameter start and end).
|
|
|
Press the down arrow key and select Explicit to create a sloped cylinder primitive with absolute positioning functionality, in this case specified origin, base diameter and height.
|
|
|
Press the down arrow key and select Radius to create the base diameter of the sloped cylinder primitive.
|
|
|
Press the down arrow key and select Centre+ to specify the base centre of the sloped cylinder primitive.
|
|
|
Press the down arrow key and select Back to undo the action.
|
|
|
Press the down arrow key and select Finish to end the process.
|
Creates a revolution primitive (2D shape) using parameters through a series of prompts in the graphical view. Refer to Revolution Element (REVOLUTION) for further information.
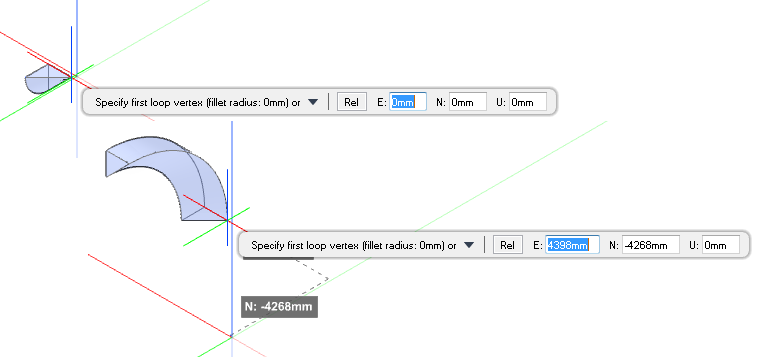
After selecting Create a Revolution Primitive from the Primitive Gallery, the Specify origin prompt is displayed, click to identify the origin of the revolution primitive (defines the axis about which the loop is rotated and the plane in which the loop is defined). Or input values into the dimension fields and press Enter.
The Specify first loop vertex (fillet radius: 0mm) prompt is displayed, click to identify the first loop vertex or input values into the dimension fields and press Enter. Vertices define the outline of the 2D shape
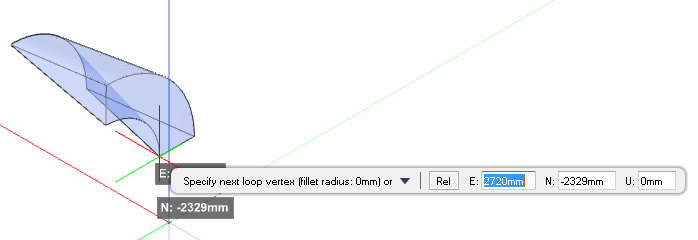
The Specify second loop vertex (fillet radius: 0mm) prompt is displayed, click to identify the second loop vertex or input values into the dimension fields and press Enter.
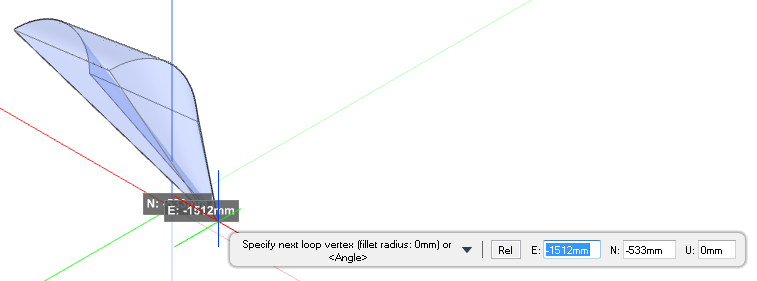
The Specify next loop vertex (fillet radius: 0mm) prompt is displayed, click to identify the next loop vertex or input values into the dimension fields and press Enter.
Continue identifying the vertices to complete the outline of the 2D shape, after the third selection, the Specify next loop vertex (fillet radius: 0mm) or <Angle> prompt is displayed.
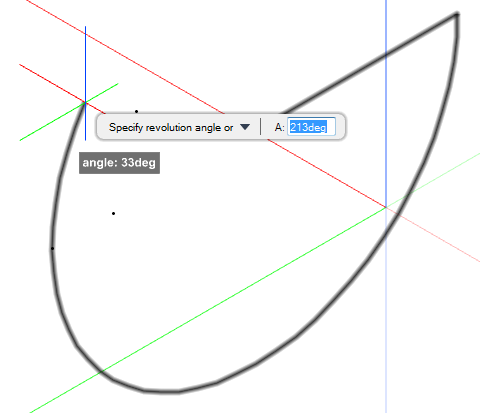
Select Angle, the Specify revolution angle prompt is displayed, click to identify the revolution angle or enter an angle in the field and press Enter.
|
Use the functionality to create a negative box primitive (NBOX) element, refer to Box Primitive for further information.
|
||
|
Use the functionality to create a negative cone primitive (NCONE) element, refer to Cone Primitive for further information.
|
||
|
Use the functionality to create a negative snout primitive (NSNOU) element, refer to Snout Primitive for further information.
|
||
|
Use the functionality to create a negative pyramid primitive (NPYRA) element, refer to Pyramid Primitive for further information.
|
||
|
Use the functionality to create a negative dish primitive (NDISH) element, refer to Dish Primitive for further information.
|
||

