Common Functionality
Global : Extract Control
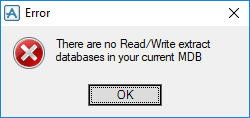
The Extract Data Control window is only available if there is an extract database in the MDB. If no extract database exists an error window is displayed.
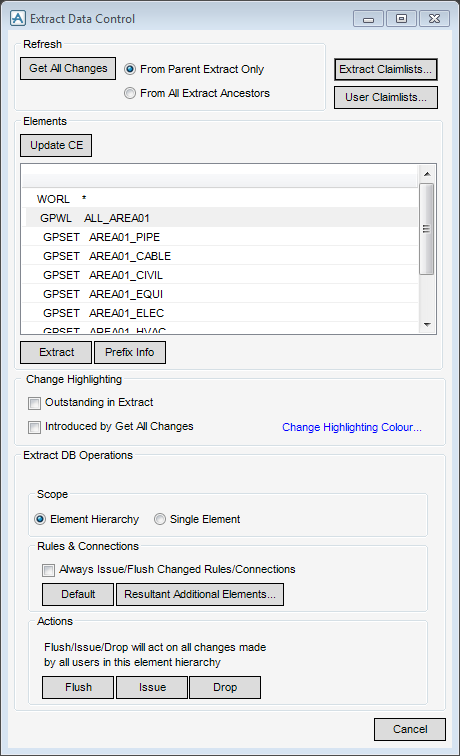
The following options are available in the Extract Data Control window:
|
Refreshes views of data in the databases which own extracts in the current MDB. Two options control if data is collected From Parent Extract only or From All Extract Ancestors.
|
||
|
When you select Update CE, the list of elements is updated to show the extract element hierarchy for the current element. The Update CE can be used to bring up-to-date the information displayed on the Extract Data Control window if displayed data has changed since the window was last displayed or updated.
|
||
|
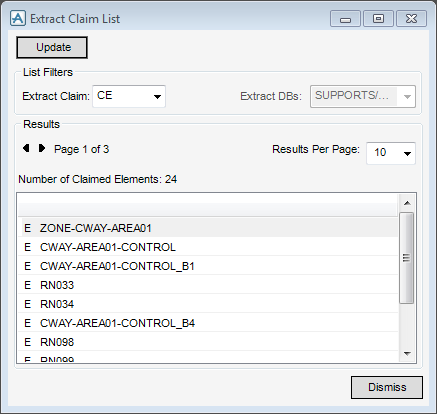
Displays the Extract Claim List window.
|
||
|
Click Update to update the window to the current selected extract claim (for example CE, MDB or Dbs).
|
||
|
CE - Current Element
MDB - Master Database
Dbs - Databases, activates Extract DBs, click drop-down arrow and select from the list of available databases.
|
||
|
Number of results per page can be set to 10, 20, 50 or 100. This selects the number of elements displayed in the scrolling list, which shows a list of all elements claimed to an extract DB in the current element hierarchy. The arrow buttons are used to page backwards and forwards through the list, respectively.
|
||
|
Click Dismiss to exit.
|
||
The Elements scroll list displays the hierarchy of the database elements around a selected element along with information about the extract claim status of each element.
Changes to elements selected from the list can be Flushed, Issued or Dropped, click the appropriate option.
Click Prefix Info to display a summary of the codes.
When an element is marked CM, changes to the element can be flushed, issued or dropped.
Change Highlighting can be used to colour changes that have been made to a database during a Extract session, select the following:
|
Click to highlight in the extract 3D view any elements that were changed in the parent database outside the extract. The highlighting is cleared when the window is closed, or if the Outstanding in Extract check box is selected. In the latter case the Introduced by Get All Changes check box becomes unselected.
|
|||
|
|||
|
Click to open the Change Highlighting Colour window. Choose a colour to use in the 3D view when either of the above have been selected.
|
Use the following Extract DB Operations options to change the way a Flush, Issue or Drop operation is performed.
Use the Rules & Connections options to control how a Flush or Issue operation behaves when considering elements which have Rules assigned or Connected items.
Click Flush, Issue or Drop, to have an impact on any changes made by all users in the Element hierarchy, which is displayed in the Extract Data Control window.


