Common Functionality
Data Check : Surface Treatment
Surface treatments consist of surface preparation, primer, paint description, manufacturer and a coating thickness. Surface treatments are defined in Paragon and stored in a Catalogue database.
The database MASTER/PIPECATA, in the AVEVA sample data project MAS, contains a number of predefined surface treatments, for further information refer to Surface Treatment Definition for further information.
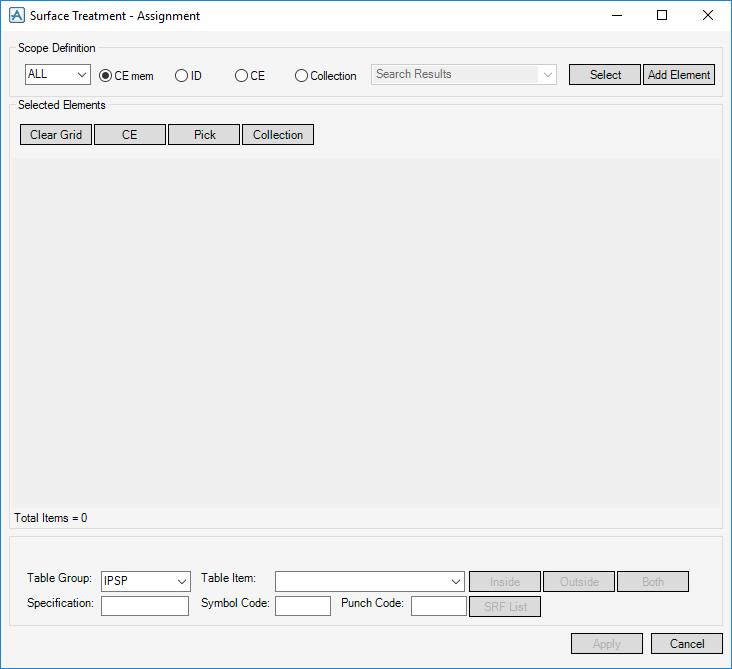
Use the Surface Treatment Assignment window to select the elements to assign the surface treatment to, the surface treatment to be applied and where it is to be applied.
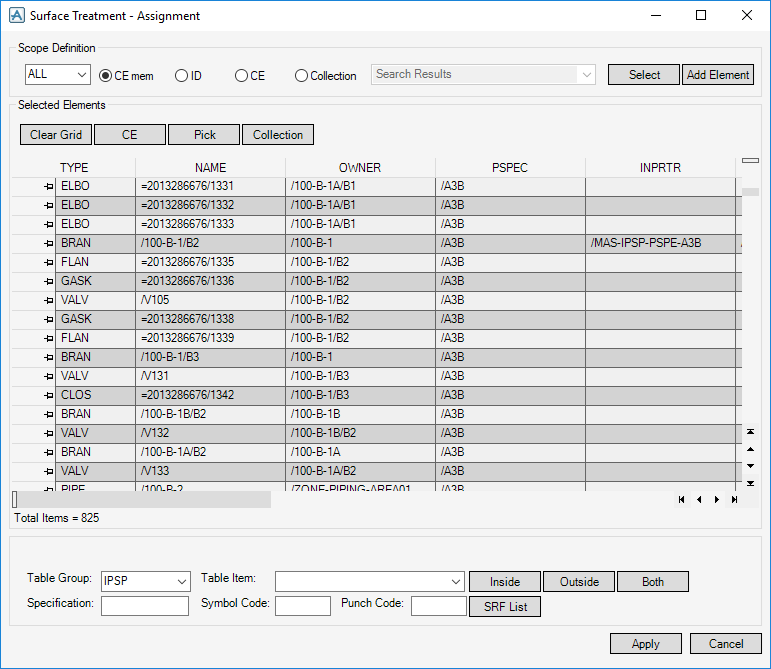
The Scope definition area of the window assists in selecting database elements to assign surface treatment to and displays them in the Selected elements area of the window in a grid.
The Scope definition drop-down options list can be used to filter by a particular element type, For example, if PIPE is selected and a ZONE containing only EQUI elements is selected, the Selected elements grid does not display any results. Similarly, if EQUI is selected and a ZONE containing only EQUI elements is selected, only the EQUI elements are displayed in the grid. However, if ALL is selected the Zone containing only EQUI elements displays the NOZZ elements as well.
The radio buttons in the Scope definition area have the following functionality:
Click Select or Add Item to populate the Selected elements grid with the elements based on the chosen method and criteria.
The Select option clears the grid of any existing elements and adds the selected items.
The Add Item option appends the selected items to the items already displayed in the grid.
|
Note:
|
Surface treatments are referenced by Design elements through the attributes Inprtref and Ouprtref representing the inside surface treatment and the outside surface treatment respectively. Only elements with these attributes can have a surface treatment assigned to them. Therefore only items which have Inprtref and Ouprtref attributes are added to the grid. Items without these attributes are ignored.
|
Once the Selected elements grid is populated, elements from the grid must be selected to apply the surface treatment. Selections can be made from the grid using standard Windows selection methods.
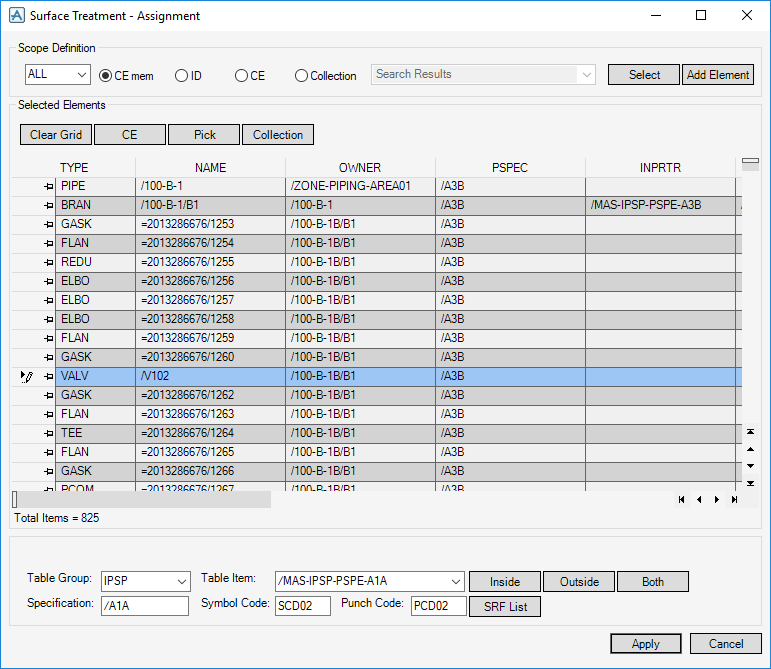
Once the elements required have been selected, the surface treatment to be applied and where it is to be applied, can be selected from the bottom part of the Surface Treatment – Assignment window.
The database MASTER/PIPECATA contains four predefined Table groups (Selection Tables) which can be selected using the Table group drop-down list.
The Table Group drop-down list has the following options:
Each Table Group option has a number of specification based table items which are selected from the Table item drop-down list:
When a Table item has been selected, the Specification if applicable, Symbol code and Punch code text boxes are automatically filled with the relevant information.
Once the elements to apply the surface treatment to and the required surface treatment have been selected. Click either Inside, Outside or Both to update the Selected elements grid with the appropriate settings.
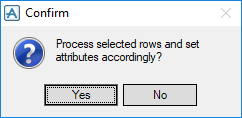
Click Apply and a warning message is displayed.
Click OK assigns the surface treatment to the specified items and removes them from the Selected elements grid.
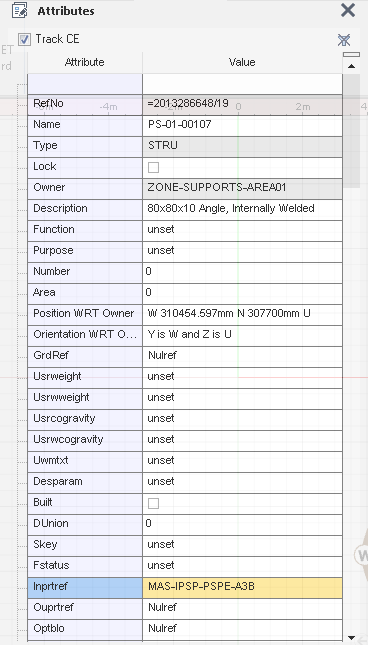
Viewing the Attributes (on the Home tab, in the Common group, click Attributes list) of the processed elements it can be seen that the Inprtref attribute has been displayed accordingly.
Once items have been selected from the Selected elements grid, right-click in the grid item displays a pop-up menu which has the following options:
|
|||
|
Opens the Surface Treatment - Selection window. Refer to Surface Treatment - Selection for further information.
|
|||
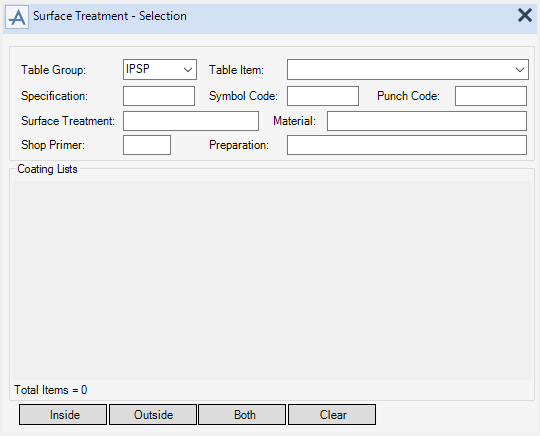
Once the items have been selected from the Selected elements grid, click SRFList at the bottom of the Surface Treatment – Assignment window to display the Surface Treatment – Selection window.
The Surface Treatment - Selection window contains Table group and Table item drop-down list, whose functionality is the same as previously described for the Surface Treatment – Assignment window. However, selecting a Table group and Table item displays details and coatings of the surface treatment.
Click Inside, Outside or Both to update the selected items in the grid with the details from the selected surface treatment.
Click Clear to clear the details on the window.
Click Apply on the Surface Treatment – Assignment window to update the attributes on the selected items after the grid is updated.
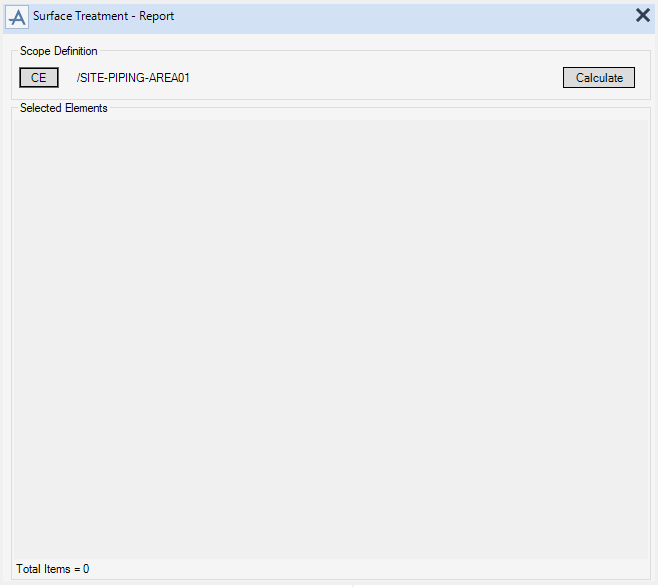
When the Surface Treatment - Report window is loaded, the CE is set automatically. Navigating to another element within the Model Explorer. Click CE to set that as the current CE for the Surface Treatment - Report window.
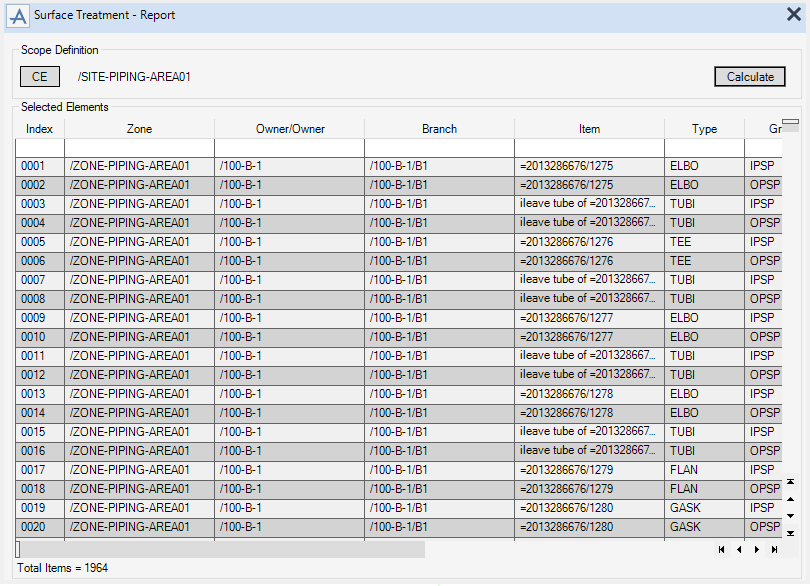
Click Calculate to calculate the inside and outside surface area for each component owned by the CE and displays the results in the Selected elements grid.
|
Note:
|
Once you have selected items from the Selected elements grid, right-click in the grid to display a pop-up menu which has the following options:

