Common Functionality
Hole Management System : Addition of Managed Holes : Create Penetration in the Equipment Application
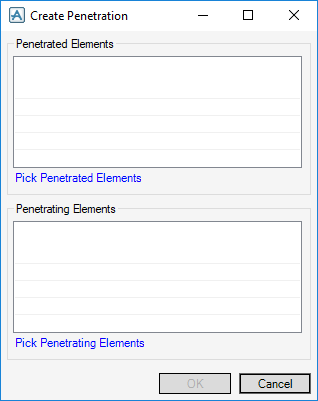
To request an Equipment Penetration on the Equipment tab, in the Penetrate group, click Create Penetration to display the Create Penetration window:
When you click Pick Penetrated Items, you are prompted to identify one or more items to be penetrated with a Managed Hole. If an item already in the Penetrated Items list is selected, it is removed from that list.
Click Pick Penetrating Items, you are prompted to identify one or more equipment or sub equipment elements that contain an equipment penetration profile which defines the shape of a Managed Hole required by that equipment. If an item already in the Penetrating Items list is selected, it is removed from that list.
Click OK creates an entry in the Hole Management system, and creates a Penetration Point (DPCA element) on the equipment.
The next step is to change the status of each new penetration to Requested using the Hole Management window. Refer to Create Pipe Penetration with a Penetration Component for further information.
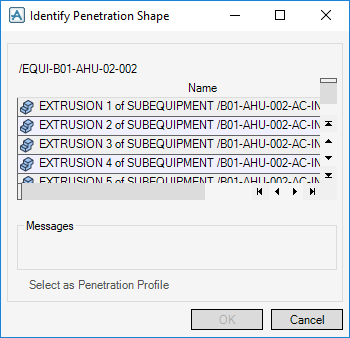
In the Equipment and Design Template applications, on the Equipment tab, in the Tools group, click Penetration Profile to allow an existing extrusion element to be identified as the penetration profile. The list on the window displays all extrusions in the current equipment or design template that are valid shapes for the hole management system.
Select an extrusion in the list to display the outline of the profile even if the extrusion is not currently displayed. When a suitable extrusion has been selected, click Select as penetration profile. A tick next to an extrusion in the list displays that this is currently selected to be the penetration profile.
Click OK on the window to create port elements in the equipment or design template which identifies the selected penetration profile to the hole management system.


