Catalogues and Specifications
User Guide
Supports : Active Standards
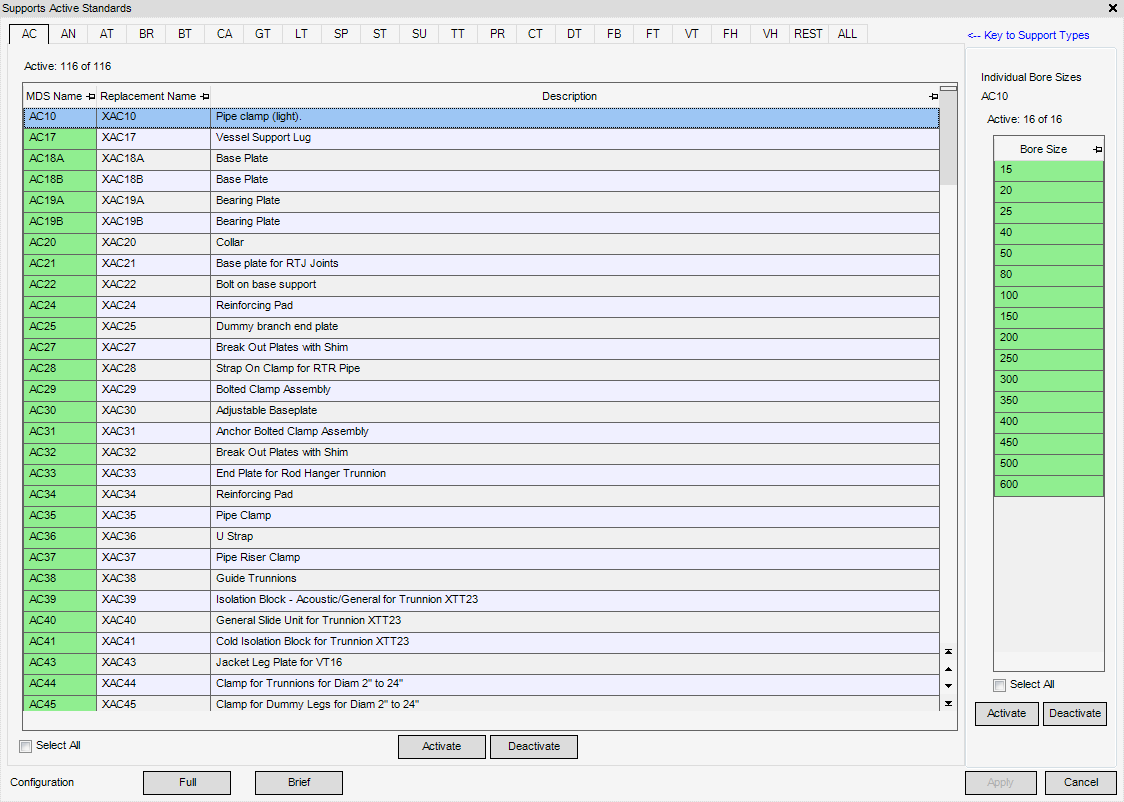
Tabs along the top of the window allow you to select the support type and the list of available supports displays the corresponding supports. The active status for each support is indicated by the colour of the first column, green indicates active and amber indicates inactive. Multiple supports can be selected in the list of available supports and you can Activate or Deactivate them respectively. If a single support is selected, the active status of individual bore sizes can also be defined using the list of available bore sizes.
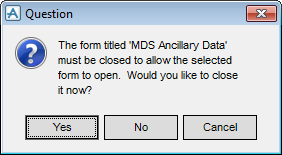
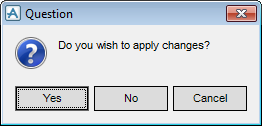
Changes made are only applied to the database when Apply is clicked. Cancel removes the window. If changes have been made, but not applied, a window displays asking if the changes are to be applied before exiting.
If you select Yes and changes on the original window are not applied, you are asked to apply changes.
Click Cancel to leave the original window open and cancel the process.
Click Full to make all supports active, click Brief to activate a small subset of supports for demonstration purposes.
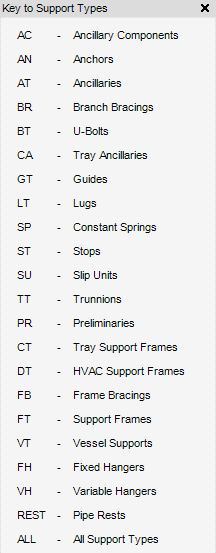
Click Key to Support Types in the top-right hand corner of the window to display the Key to Support Types window, providing a description of the support types.
The list of available supports displays all the supports for the selected tab. There are three information columns; MDS Name, Replacement Name and Description. The active status of each support is indicated by the colour of the first column:
You can select and modify multiple rows in the list. Click Activate to define a support as active or Deactivate to define a support as inactive.
Click the Select All check box to select all supports in the list of available supports.
You can select and modify multiple rows in the list. Click Activate to define a bore size as active or Deactivate to define a bore size as inactive.
Click the Select All check box to select all supports in the list of available bore sizes.
|
Allows you to export the currently selected list of available supports/bore sizes to an Excel file. Select from the drop-down list to display the Save to Excel window. You can navigate to a location and name the exported Excel file.
|
|


