Cable Design
User Guide
Branch Tools : Split Cableway Branches
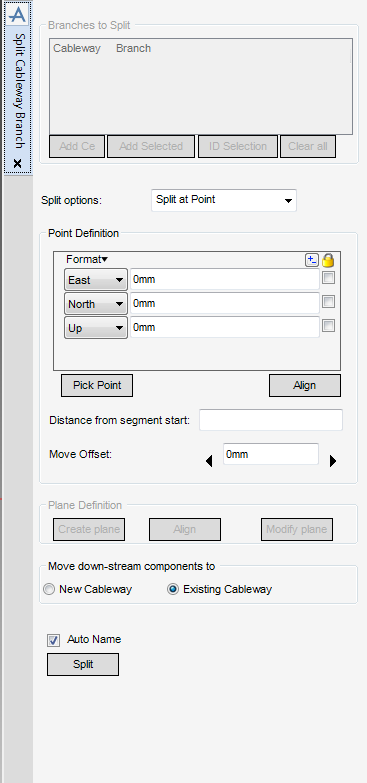
A prompt to Pick on the segment which the branch should be split: is displayed. Once selected the split point is labelled in the 3D view, and the Point Definition part of then Split Cableway Branch window, is populated with the coordinates of the split point. If required, select one or all of the Lock boxes to fix the co-ordinate along the axes.
Defines a value in the box and use the right or left arrow to respectively increase or decrease the Distance from segment start by that value.
|
Note:
|
Select Auto Name check box to apply the autonaming rules, the software automatically creates a new name for the element.
|
Click Split, the cableway branch is split at the point picked and the split is also displayed in the Model Explorer:
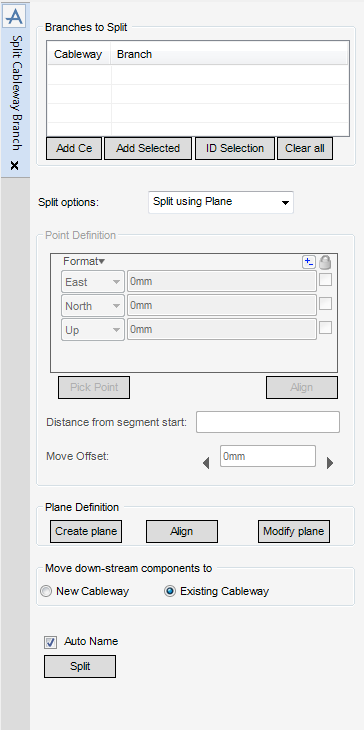
Chose Split using Plane from the Split options: drop-down menu, the Split Cableway Branch window is displayed with the relevant options displayed.
|
Adds the currently selected element in design hierarchy into the Branches to Split list.
|
|
|
Pick the Cableway branch(es) in the 3D view, and click Add Selected. The branch or branch(es) are added to the Branch to Split list
|
|
To create the plane, select Create Plane, a prompt to Pick on the segment which the branch should be split: is displayed, once the segment is selected the plane is displayed in the 3D view.
To align the plane with another element, select Align, a prompt to Pick to define position (Snap) Snap: is displayed. Once the selection has been made, the plane is aligned with the selected element in the 3D view.
Use to modify and/or explicitly position the plane, select Modify plane, the Modify plane window is displayed. Enter new plane parameters for the plane and select OK to commit changes.
|
Note:
|
Select Auto Name check box to apply the autonaming rules, the software automatically creates a new name for the element.
|


