Design In Context
Introduction
Design In Context allows you to view AVEVA NET documents from within AVEVA Everything3D™, AVEVA Diagram™ and AVEVA Engineering™ based on objects selected in these applications. Design in Context is able to search for and present data differently depending on what type of data is selected. For example, searching for documents related to an existing system, which is not yet modelled in the current model, but contains information useful to the designer.
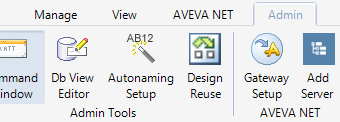
To setup a server, on the Admin tab, in the AVEVA NET group, click Add Server to display the Dashboard Server Selection window. Refer to Dashboard Server for further information.
All the other commands are available in the Context group within the TOOLS tab and on the Associated Documents window accessed by clicking Browse. Refer to Associated Documents for further information.
|
Click to display the Associated Documents window. Refer to Associated Documents for further information.
|
|
To setup a server, on the Admin tab, in the AVEVA NET group, click Add Server to display the Dashboard Server Selection window. Refer to Dashboard Server for further information.
All the other commands are available from the AVEVA NET tab.
|
Click to display the Associated Documents window. Refer to Associated Documents for further information.
|
||
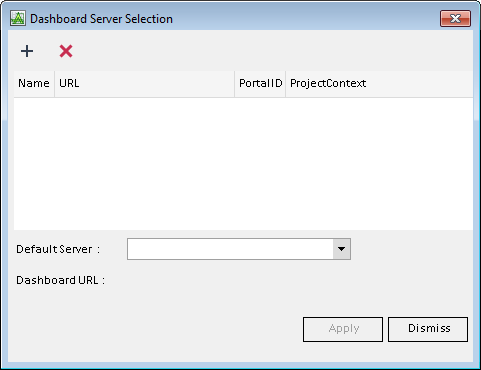
To use Design in Context you need to set up a server connection with AVEVA NET Dashboard in order to access the data. To set up a server connection, click Add Server to display the Dashboard Server Selection window.
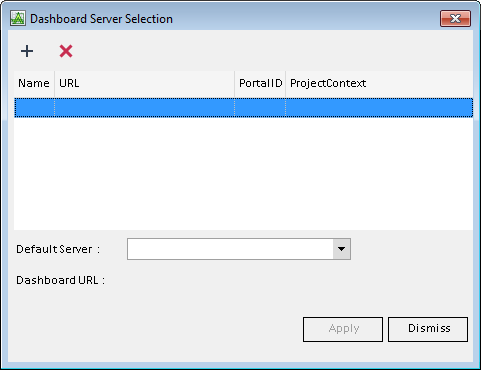
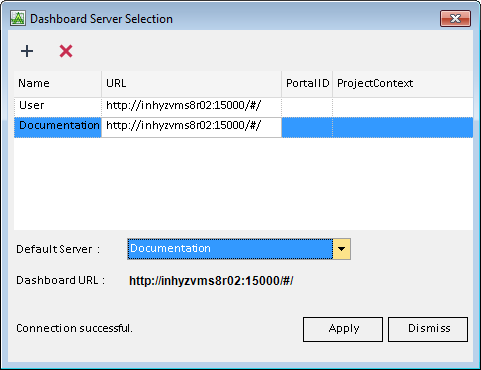
You must enter the correct values into the attribute fields and then select the Default Server from the drop down list.
When you have added a server, the Dashboard Server Selection window will display that the connection was successful.
Multiple server connections can be added and the required server connection can be set as default by selecting from the Default Server drop down list.
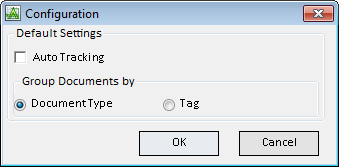
You can configure the default settings for Design In Context by clicking Configure to display the Configuration window.
If the Auto Tracking check box is selected, the current element is displayed in the Search field of the Associated Documents window and an automatic search will be performed and the results displayed.
If the Auto Tracking check box is not selected, the current element is displayed in the Search field of the Associated Document window but no automatic search is performed. To perform a search you must click Search.
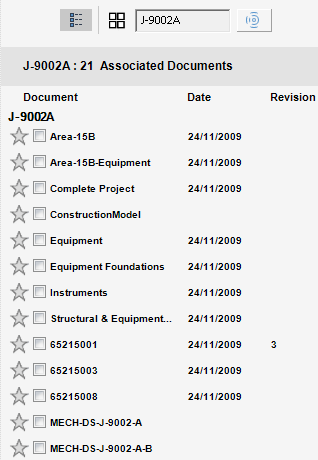
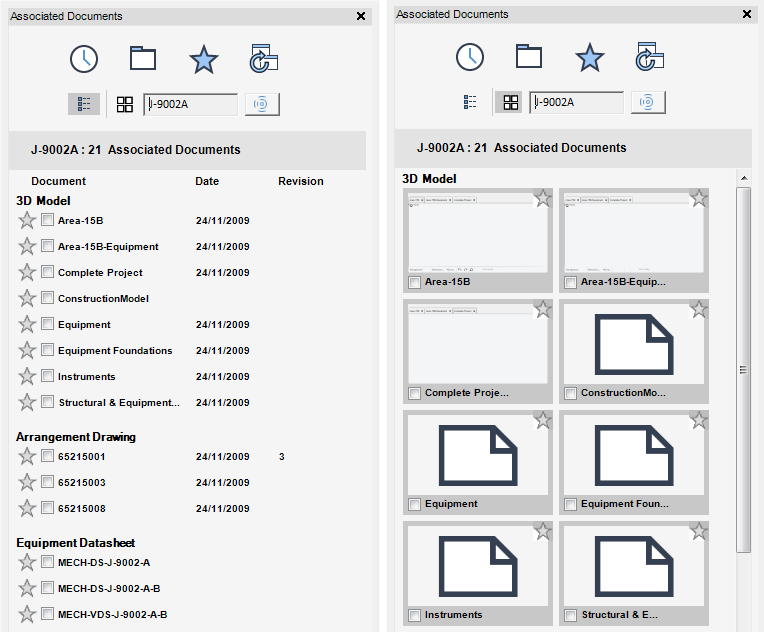
Allows you to change the way the results on the Associated Documents window are displayed, either by Document Type or by Tag.
If Document Type is selected, all of the Tags are grouped and displayed in different groups for a particular Document Type.
If Tag is selected, all of the Document Types are grouped and displayed in a list.
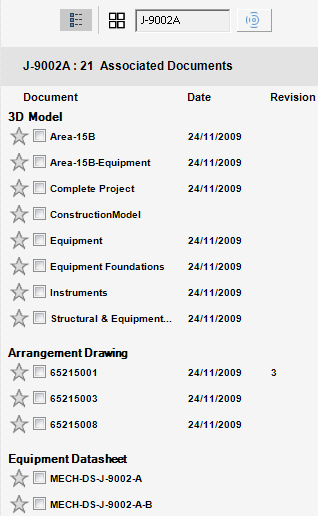
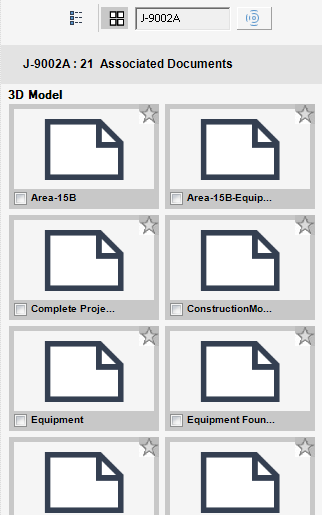
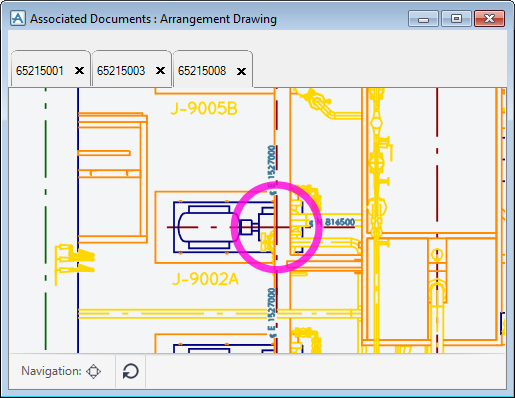
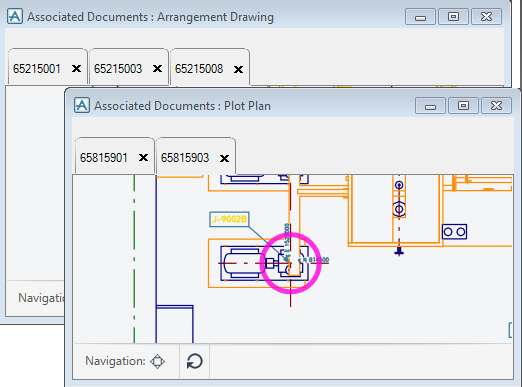
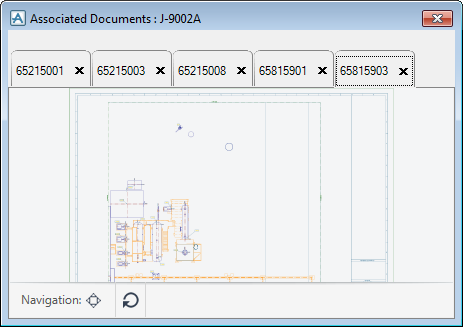
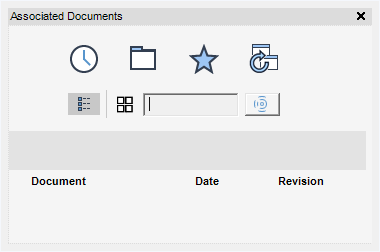
The Associated Documents window allows you to do all the navigating activity for Design In Context.
In AVEVA Diagrams™ and AVEVA Engineering™ the Associated Documents window can also be opened in a specific mode by clicking either Recent Documents, Collections, Favourites or Restore from the Manage group on the AVEVA NET tab.
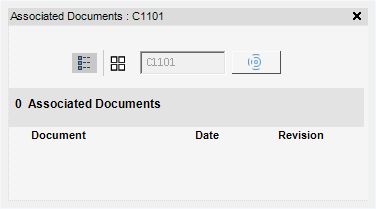
The current item selected in the application will be displayed in the Search field. Click on  to list the documents related to that item. If the Auto Tracking check box has been selected on the Configuration window, the current element is displayed in the Search field of the Associated Documents window and an automatic search is performed and the results displayed.
|
Click to display the list of saved Collections. Refer to Collections for further information.
|
||
|
Click to display the list of documents saved to the Favourites group. Refer to Favourite Documents for further information.
|
||
You can create a user defined set of documents called Collections. Each collection can be named and a number of different documents can be saved within the collection.
To add a new collection click Collections to display the Associated Documents window in collections mode.
Click New Collection and enter a name in the displayed field.
|
Click to save the new collection. The collection is added to the Collections list.
|
||
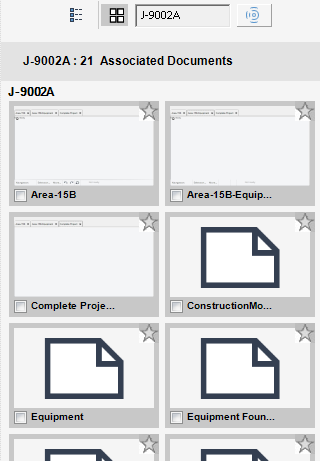
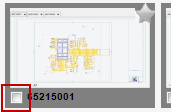
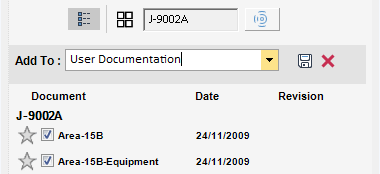
To add documents to an existing or a new collection, select the check box(es) preceding the document name in the List View or select the check box(es) located bottom left in the Thumbnail View.
To create a new collection, you can either select New Set from the drop down list and click Save which will create a new collection named New Set or type a new name for the collection in the field and click Save.
Clicking Cancel with return you back to the document list without creating a new collection.
Clicking Cancel will return you back to the collection list without editing the collection name.
|
Clicking Cancel will return you back to the collection list without deleting the collection.
|
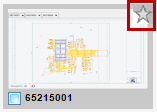
You can add documents to a favourite group by clicking  preceding the document name in the List View or located top right in the Thumbnail View.
To remove a documents from Favourites, click the blue star in either the List View, Thumbnail View or the Favourites View. In the List View and Thumbnail View the star will revert back to grey. In the Favourites view the document will be removed.
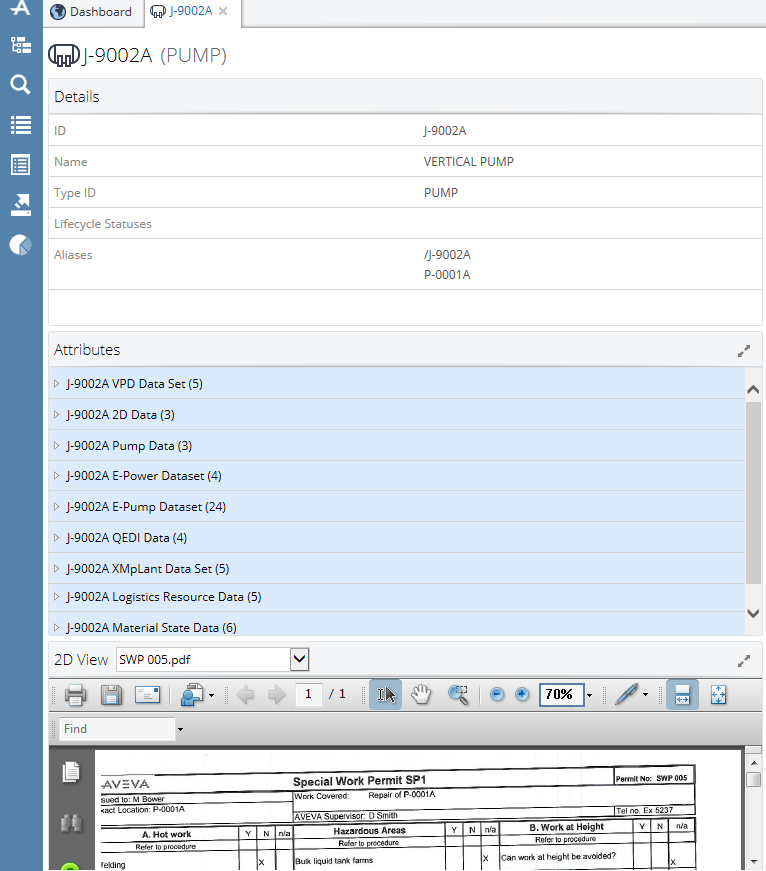
The currently selected item in the explorer can be displayed in the AVEVA NET Dashboard by clicking AVEVA NET Dashboard.


